
To get the best picture from your ultra-short-throw projector, keep it 3 to 12 inches from the wall or screen, and make certain it’s properly aligned to prevent keystoning. Choose a smooth, flat surface like matte wall paint or a quality projection screen—avoid textured or glossy surfaces that cause distortion or glare. Proper placement and surface choice boost brightness and clarity. Curious how to optimize further? Keep exploring for expert tips that can transform your setup.
Key Takeaways
- Place ultra-short-throw projectors 3 to 12 inches from the wall for optimal image size and clarity.
- Use flat, matte wall surfaces or specialized projection screens to prevent distortion and enhance image quality.
- Properly calibrate your projector regularly to maintain accurate colors and sharp visuals over time.
- Minimize ambient light and avoid reflective surfaces to prevent glare and improve visibility.
- Mount the projector level with the display surface and align the lens with the screen center to prevent keystoning.
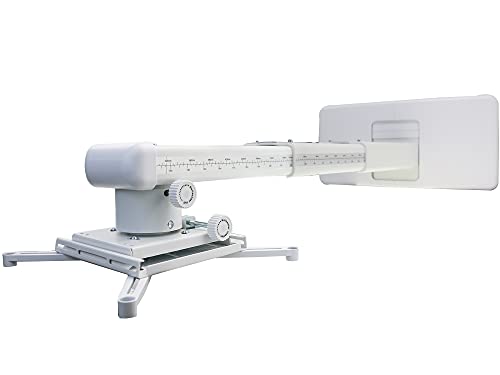
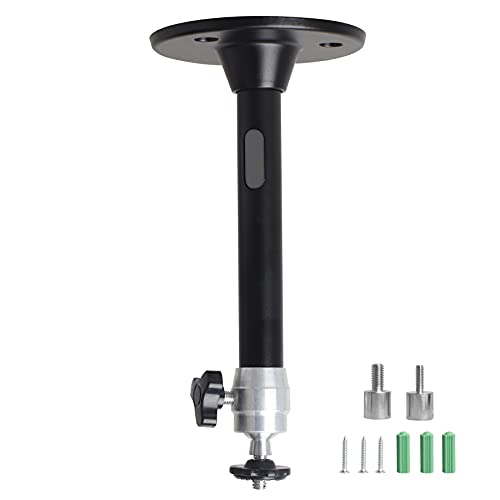
NC Projector Wall Mount with Universal mounting ,Telescopic Bracket Hanger,33lbs Load Capacity,High-Precision Adjustable: (12.8’’-29.13’’),white,(TYYZJ02)
ultra Short Throw Projection,Most sturdy of all, great fine tune knobs, best manual (very very detailed),It has the…
As an affiliate, we earn on qualifying purchases.
As an affiliate, we earn on qualifying purchases.
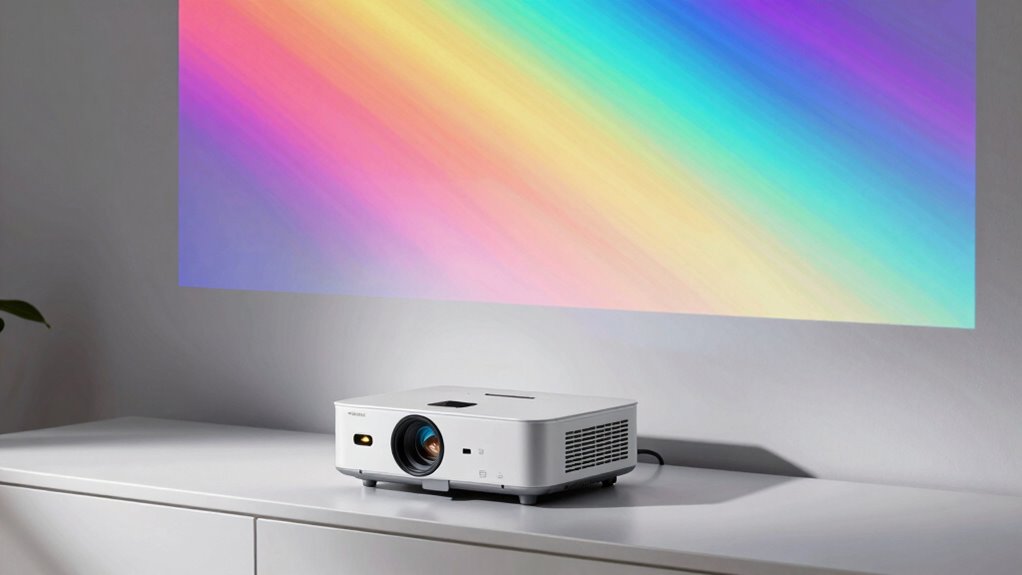
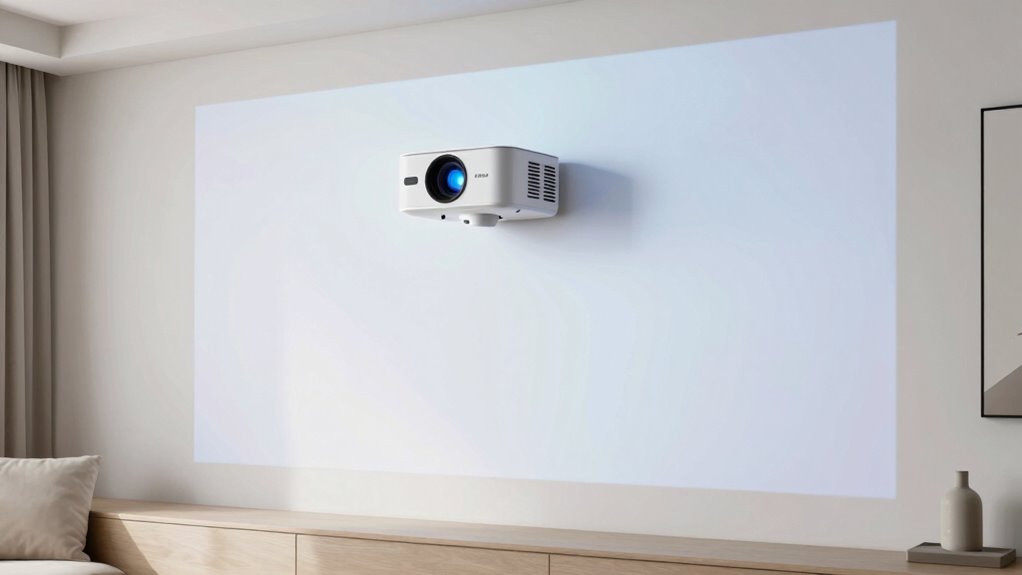
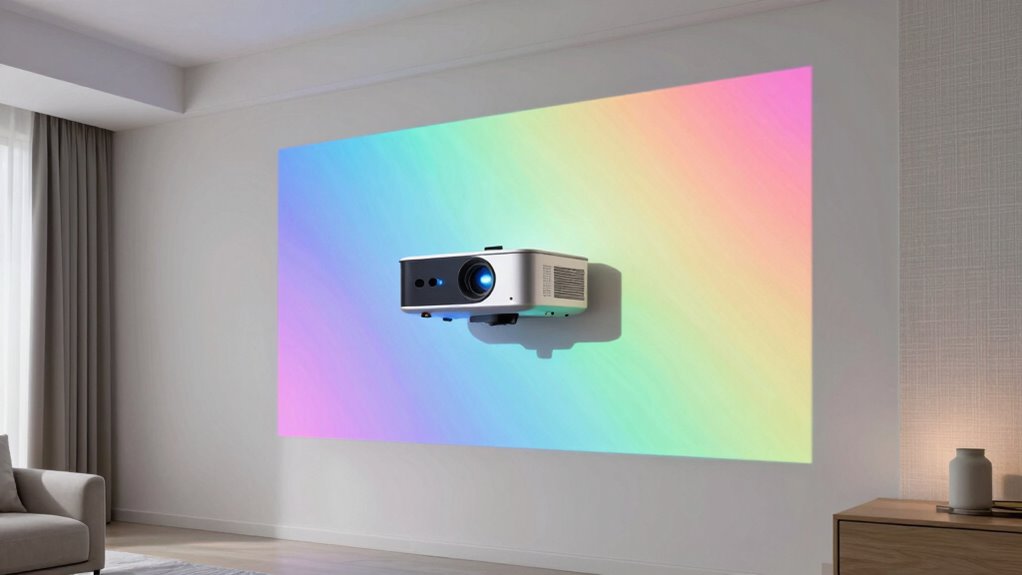
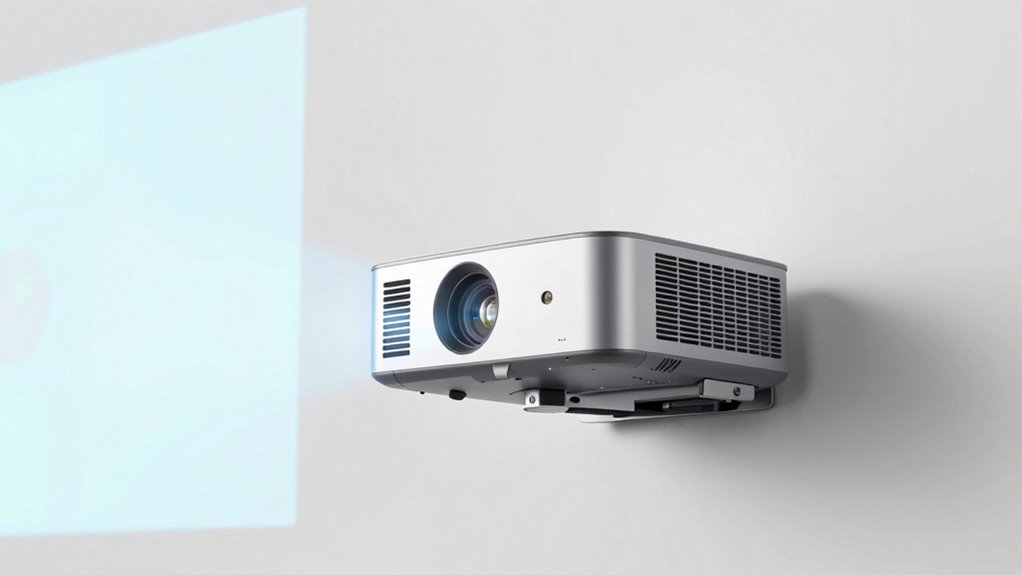
How Do Ultra-Short-Throw Projectors Work?
Ultra-short-throw projectors work by projecting images from a very close distance to the screen or wall, often just inches away. This is possible thanks to advanced projection technology, which uses specialized optics to produce a bright, clear image in a compact space. The key lies in lens design; ultra-short-throw lenses are engineered to spread light over a wider angle, allowing the projector to sit close to the surface without distorting the picture. These lenses often incorporate multiple elements to reduce distortion and improve focus. By combining innovative projection technology with carefully crafted lens design, these projectors deliver large, high-quality images in tight spaces, making them ideal for small rooms or situations where space is limited. Additionally, lens engineering plays a crucial role in maximizing image quality and minimizing artifacts such as shadows or glare. The integration of advanced optics ensures consistent performance across different environments and usage scenarios.

Valerion 100-inch Fixed Frame Projector Screen, 1.3 dB Gain, 80% PQE, 4K/8K Ultra HD, 3D Wall Mount Projector Screen, Works with Long Throw, Short Throw & Ultra Short Throw Projectors
Matte White Screen with 1.3 Gain:Provides enhanced brightness and contrast for superior image quality, ensuring vivid and clear…
As an affiliate, we earn on qualifying purchases.
As an affiliate, we earn on qualifying purchases.
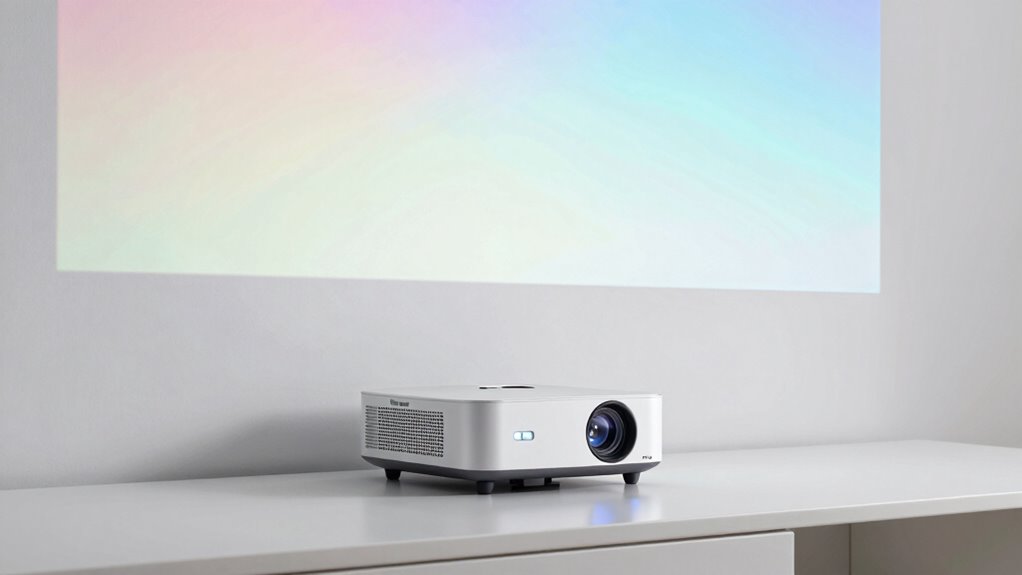
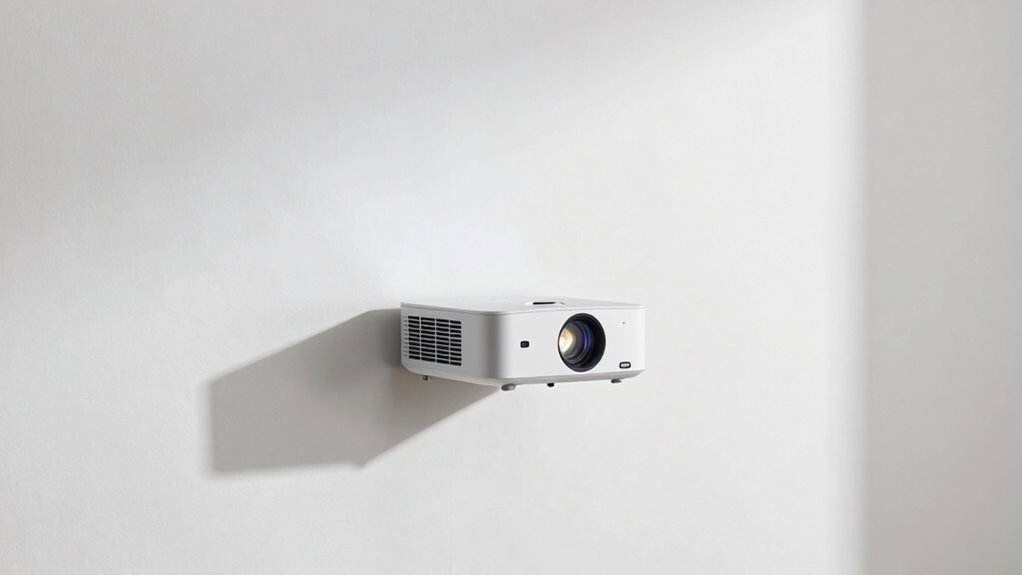
Where Should You Place Your Projector for the Best Image?
To achieve the best image quality with your ultra-short-throw projector, positioning it correctly is essential. Ceiling mounting is often the ideal choice, as it keeps the projector stable and reduces shadows or obstructions. Place it close to the wall or screen, ensuring the lens is aligned at the optimal height for a clear, focused image. Be mindful of ambient lighting; bright rooms can wash out the picture, so consider dimming lights or using blackout curtains. Avoid placing the projector in direct sunlight or areas with strong reflections, as these can degrade image clarity. Proper placement minimizes distortions and enhances sharpness, giving you a crisp, vibrant picture. Adjust the projector’s angle and height for perfect alignment, ensuring the image fills your screen without keystoning. Understanding smartphone settings and accessories can help you optimize your viewing setup for the best possible experience. Additionally, using calibration tools can help fine-tune the image for optimal clarity and color accuracy.

DSLRKIT Lens Focus Calibration Tool Alignment Ruler Folding Card(Pack of 2)
This compact ruler allows you to determine if your lens is auto-focusing accurately as it should. It is…
As an affiliate, we earn on qualifying purchases.
As an affiliate, we earn on qualifying purchases.
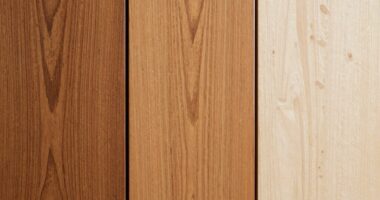
What Are the Best Wall or Screen Surfaces for Your Projector?
Choosing the right wall or screen surface can considerably improve your projector’s image quality. A smooth, matte projection surface minimizes glare and enhances color accuracy. Wall paint designed for projection, like special projection paint, provides a flat, neutral background that boosts contrast. Avoid glossy or textured surfaces, which distort images. The table below highlights key options:
| Surface Type | Advantages |
|---|---|
| Matte wall paint | Even, vibrant images |
| Specialized projection screen | Superior color and contrast |
| Plain drywall | Budget-friendly, decent quality |
| Textured surfaces | Can cause image distortion |
Your choice influences clarity and brightness, making your viewing experience sharper and more immersive.
YiePhiot Mini Ceiling Wall Projector Mount Stand Compatible with QKK, DR.J, DBPOWER, Anker, VANKYO, AAXA, Jinhoo, PVO, TMY, AuKing and Most Other Mini Projector (175mm, Black)
Universal Mount: The Universal Projector Mount is compatible with most mini projectors, including CLOKOWE, HAPPRUN, ELEPHAS, NICPOW and…
As an affiliate, we earn on qualifying purchases.
As an affiliate, we earn on qualifying purchases.
How Do Wall Texture and Color Affect Your Picture Quality?
Wall texture and color play a crucial role in how your projected image appears. A smooth, flat wall surface minimizes distortions and guarantees sharp, clear visuals. Rough or textured walls can scatter light, causing blurriness or uneven brightness, which diminishes picture quality. When selecting wall color, opt for neutral shades like white or light gray, as they reflect more light and keep colors accurate. Dark or bold colors absorb light, dulling the image and reducing contrast. Bright or glossy finishes can create glare, interfering with visibility. For the best results, choose a matte, neutral-colored wall with minimal texture. This combination helps your ultra-short-throw projector deliver vibrant, crisp images with vivid colors and high contrast, enhancing your viewing experience.
What Is the Optimal Distance and Height for Your Ultra-Short-Throw Projector?
Finding the right distance and height for your ultra-short-throw projector is essential to achieving a sharp, evenly lit image. Ideal projector placement ensures clarity and avoids distortions. Generally, place your projector 3 to 12 inches from the wall or screen. If ceiling mounting, position it so the lens is level with the center of the display surface. Use this table to guide you:
| Placement Type | Distance from Screen | Height from Floor |
|---|---|---|
| Floor-mounted | 3-12 inches | Slightly below or level with the screen center |
| Ceiling-mounted | Near the ceiling | Level with or slightly above the screen center |
Proper placement minimizes keystone effects and maximizes image quality.
Common Mistakes When Setting Up Your Ultra-Short-Throw Projector
One common mistake when setting up an ultra-short-throw projector is placing it too close or too far from the screen, which can cause distorted or blurry images. To avoid this, guarantee you position the projector at the recommended distance for your model. Poor cable management is another mistake; messy cables can trip you up or cause connection issues. Use cable clips or conduits to keep everything tidy and prevent accidental disconnections. Additionally, neglecting sound integration can lead to audio mismatch or echoing. Connect your projector to external speakers or sound systems properly, and test audio levels before final setup. Proper cable management and sound integration are vital for a clean, seamless viewing experience and avoiding common setup pitfalls.
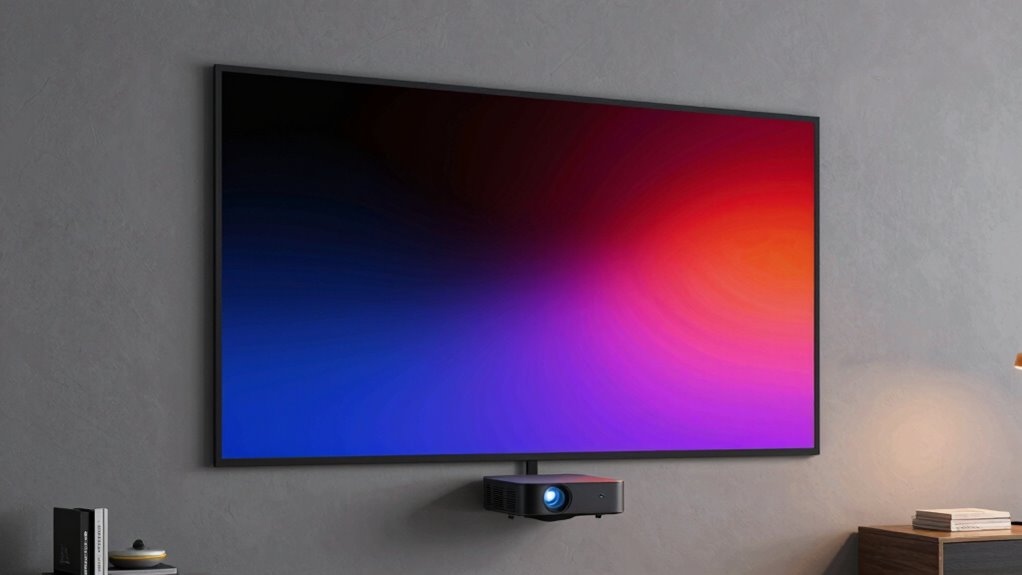
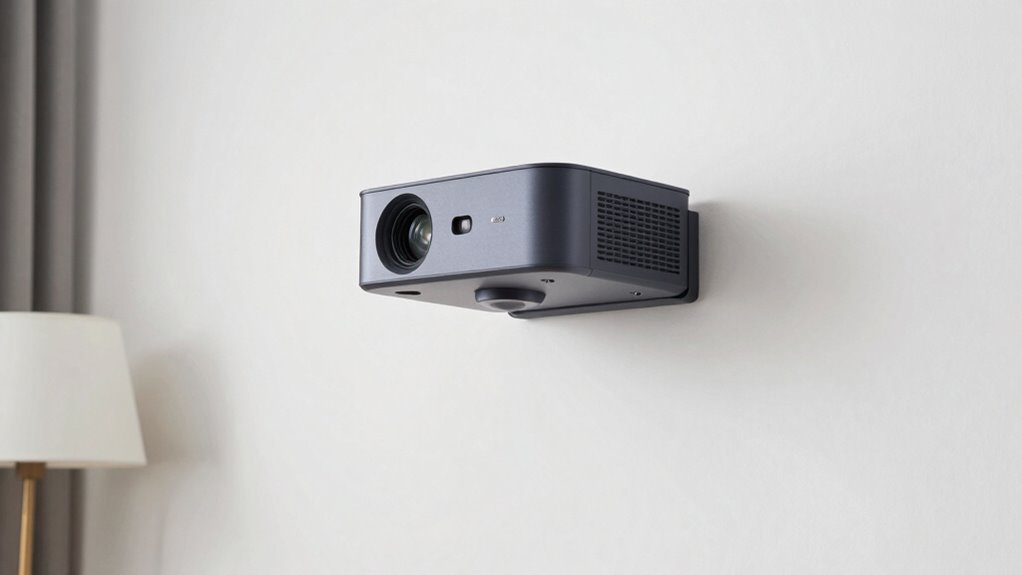
How to Mount and Position Your Projector Safely and Securely
Ensuring your projector is mounted and positioned securely is essential for ideal performance and safety. Start by selecting sturdy mounting brackets that support your projector’s weight and fit your space. Attach the brackets firmly to the ceiling or wall, following the manufacturer’s instructions. Proper positioning is key: align the projector so it projects correctly onto your screen or wall, avoiding shadows and obstructions. Use cable management solutions to keep cords organized and out of the way, reducing tripping hazards and preventing accidental disconnections. Secure all cables to prevent strain on ports, which can cause damage over time. Double-check that the projector is stable and aligned before finalizing the setup. A secure, well-organized mount ensures optimal image quality and safety. Smart home technology can also be integrated to monitor and control your projector remotely, enhancing your viewing experience. Additionally, considering secure mounting practices can help prevent accidents and ensure long-term stability of your setup.
Tips to Improve Brightness and Color Accuracy in Your Space
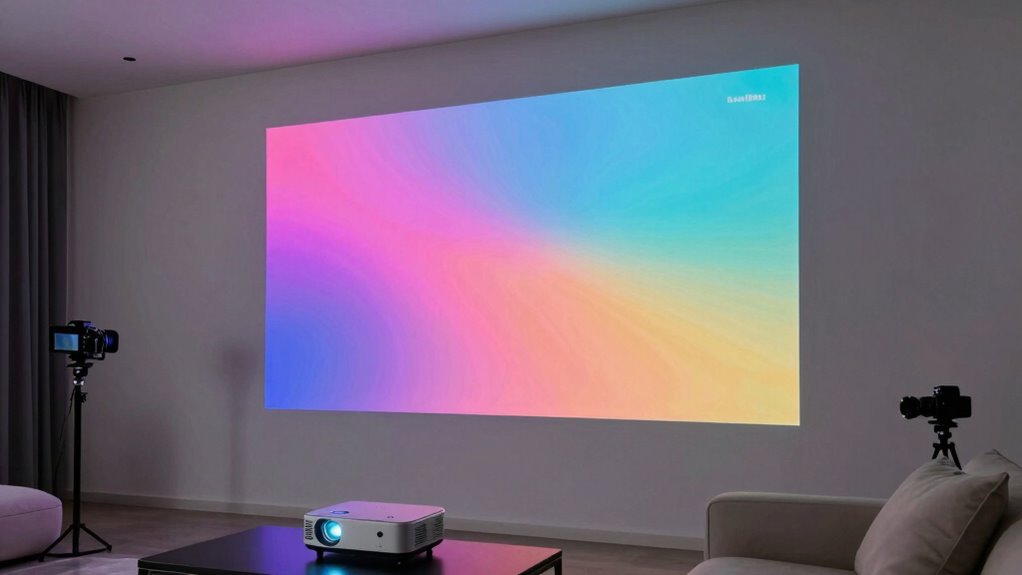
To boost brightness and color accuracy in your space, start by optimizing your projector’s placement. Minimize ambient lighting by dimming or blocking windows to reduce glare and improve contrast. Use calibration techniques like adjusting color temperature and contrast settings to fine-tune image quality. Proper placement ensures the projector’s light fully illuminates the screen without distortion or washout. Consider using a light meter or calibration tools for precise adjustments. Avoid direct light hitting the screen, as it diminishes brightness and skews colors. Keep the projector at the recommended distance from the wall or screen for ideal brightness levels. Regularly recalibrate to maintain color accuracy, especially if you change ambient lighting or move the projector. These steps help deliver vibrant, true-to-life visuals.
Frequently Asked Questions
Can Ultra-Short-Throw Projectors Be Used Outdoors Effectively?
Yes, you can use ultra-short-throw projectors outdoors effectively, but look for models with outdoor durability and weatherproof features. These projectors are designed to withstand elements like rain, humidity, and dust, ensuring reliable performance outside. Keep in mind, though, that even weatherproof models perform best under covered areas. Proper placement and protection from direct sunlight or extreme weather will help you get the best image quality and longevity.
What Maintenance Is Required for Ultra-Short-Throw Projectors?
Think of your ultra-short-throw projector as a trusty sidekick needing regular care. You’ll need to replace the lamp when it dims and clean the lens to keep images sharp. Dust and fingerprints can obscure clarity, so frequent lens cleaning is essential. Also, check air filters and vents to prevent overheating. With simple maintenance like this, your projector stays in top shape, ensuring a cinematic experience every time.
How Do Ambient Light Conditions Influence Projector Performance?
Ambient light greatly impacts your projector’s performance by reducing contrast and image clarity. When there’s too much ambient light, your projector struggles to produce vibrant colors and sharp details, making it harder to see the picture clearly. To optimize contrast, control ambient light by dimming room lights or using blackout curtains. This ensures your projector delivers the best possible image quality, even in well-lit environments.
Are There Specific Audio Considerations for Ultra-Short-Throw Setups?
Sure, because your ultra-short-throw setup isn’t complete without a symphony of perfectly placed speakers. You’ll want to focus on precise audio calibration to avoid sound muddling, and consider strategic speaker placement to keep audio from bouncing off walls or being drowned out by visuals. Remember, good sound isn’t just an add-on; it’s part of the immersive experience. Tinker with placement and calibration, and you’ll enjoy your setup more.
What Are the Energy Consumption Differences Between Projector Models?
You’ll find that different projector models vary in energy efficiency and power consumption. Generally, newer models are designed to use less energy, helping you save on electricity bills. Look for projectors with energy-saving features like eco modes or LED lamps, which consume less power. Comparing specs, you’ll notice that some projectors use markedly less power, making them more eco-friendly and cost-effective over time.
Conclusion
So, after all this, remember that setting up your ultra-short-throw projector isn’t rocket science—unless you want it to be. Ignore the guidelines, and you might just get a picture worth a thousand words… or a headache. Perfect placement, surface, and positioning are your friends, but hey, who needs rules anyway? Just hope you enjoy that perfectly imperfect setup, because sometimes, the best view comes from ignoring all the advice.