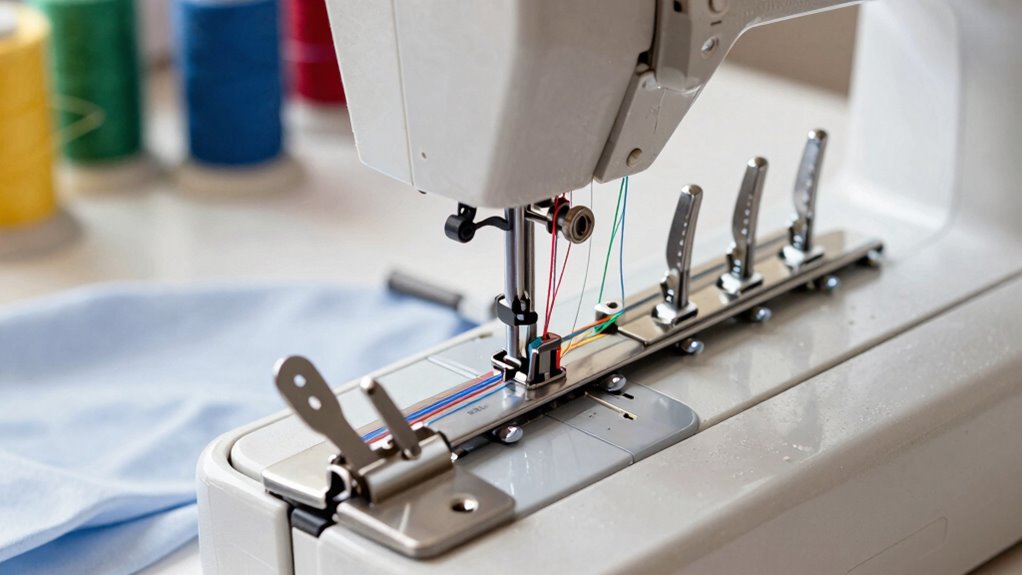

To master your serger’s threading, follow the correct sequence and closely follow the specific model diagram. Make sure the thread sits properly in all guides, tension discs, and loopers. Double-check for any misrouting or loose threads, as these cause uneven stitches or bunching. Regularly maintain your machine by cleaning lint and changing dull blades. Patience and careful attention will improve your sewing results—keep exploring the tips to avoid common mistakes and boost your confidence.
Key Takeaways
- Follow the correct threading sequence and model-specific diagrams to prevent stitch issues.
- Double-check thread paths in tension discs, guides, and loopers for proper seating.
- Regularly clean lint and change dull blades to maintain smooth threading and stitch quality.
- Test on scrap fabric to fine-tune tension and identify problems early.
- Be patient and organized to ensure precise threading and avoid common mistakes.
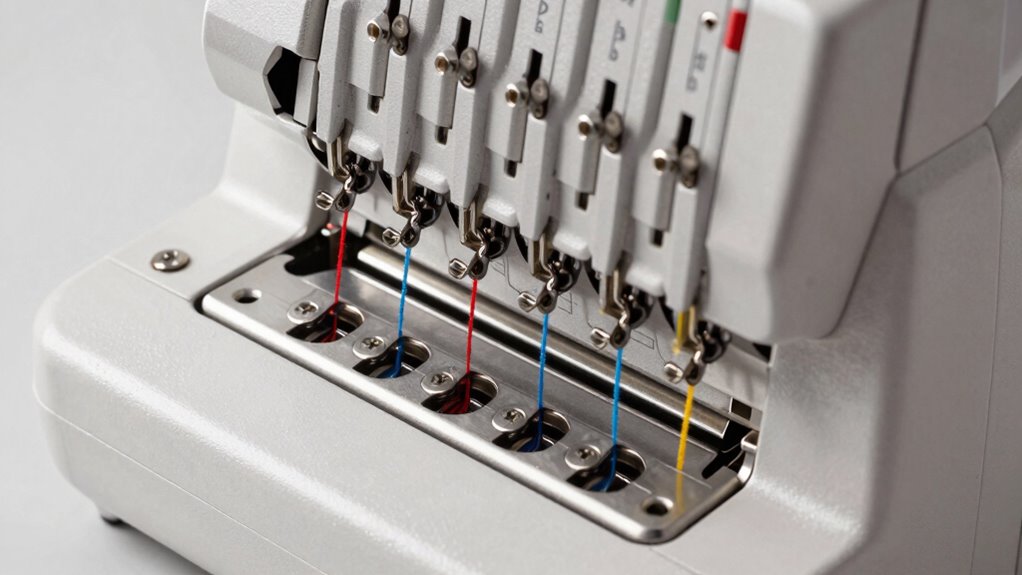
Serging can seem intimidating at first, but mastering the threading process is vital for smooth, professional-looking seams. When you get comfortable with threading your serger, you’ll notice a significant improvement in your sewing projects. Proper threading guarantees your machine runs efficiently, minimizes thread breakage, and produces clean, even stitches. To keep your serger in top shape, regular sewing machine maintenance is essential. This includes cleaning lint from the tension discs, changing blades when dull, and oiling moving parts as recommended by the manufacturer. When your machine is well-maintained, threading becomes easier because you won’t be fighting against mechanical issues or inconsistent stitch quality. Additionally, understanding the threading sequence for your specific model is crucial to avoid common mistakes and ensure optimal stitch quality.
Getting the right fabric selection tips is also key in preventing common beginner mistakes. Choose fabrics that suit your skill level and the project at hand. For instance, lightweight fabrics like cotton or silk are easier to handle when you’re just learning to serge, while heavier fabrics like denim or canvas require more patience and sometimes special needles. Before you start, test your settings and threads on scrap fabric similar to your project. This practice helps you identify issues with tension or stitch quality early, saving you frustration later. Using the appropriate fabric can prevent issues like puckering or skipped stitches, which often occur when the fabric is too thick or too slippery for your machine’s current settings. Incorporating proper fabric handling techniques can further improve your results and reduce mistakes.
Choosing the right fabric and testing settings helps prevent puckering and skipped stitches.
When threading your serger, pay close attention to the sequence and tension of the threads. Follow the threading diagram for your specific model, as incorrect threading is one of the most common beginner mistakes. Take your time and double-check each thread path, ensuring that the threads are seated correctly in the tension discs, guides, and loopers. Remember, a well-threaded machine will run smoothly and produce uniform stitches. If you notice irregular stitches or thread bunching, rethread your machine carefully and adjust the tension settings if necessary. Avoid rushing through the process; patience is key to mastering the technique.
Finally, keep your workspace organized and your tools accessible. Having a clear, clutter-free area makes the threading process more straightforward and reduces mistakes. With consistent sewing machine maintenance, careful fabric selection, and attention to detail during threading, you’ll develop confidence and precision in your serging skills. Over time, what once seemed complicated will become second nature, allowing you to focus on creating beautiful, professional-looking projects.
As an affiliate, we earn on qualifying purchases.
Frequently Asked Questions
How Often Should I Oil My Serger?
You should oil your serger every 8-10 hours of sewing, especially if you notice it running noisily or threads catching. Proper oiling keeps the machine running smoothly, preventing issues with thread tension and needle selection. Always use sewing machine oil and follow your serger’s manual for specific points to oil. Regular maintenance guarantees your serger operates efficiently, giving you consistent stitch quality and fewer troubleshooting headaches.
Can I Use Regular Thread Instead of Serger Thread?
You can’t just use regular thread instead of serger thread; it’s a case of apples and oranges. Thread compatibility is key, as serger threads are stronger and designed to handle the machine’s tension. Plus, with so many color options, using the right thread guarantees your seams look professional. Skimp on this, and you might find yourself in a pickle, with skipped stitches or jams. Play it safe for perfect results.
What’s the Best Way to Store a Serger?
To store your serger properly, keep it in a clean, dry place away from dust. Cover it with a dust cover or cloth to prevent debris from affecting thread tension and fabric compatibility. Make certain to wind down the threads and loosen the tension disks to avoid unnecessary stress on the machine’s parts. Regularly clean and oil your serger to ensure smooth operation and prevent rust or damage over time.
How Do I Troubleshoot Uneven Stitches?
Imagine your serger as a delicate dance partner, and uneven stitches are missteps. To fix this, start with tension adjustment—check if threads are snug but not tight. Adjust tension on each thread to improve stitch quality, making your seams smooth as silk. Test on scrap fabric, then fine-tune until your stitches glide evenly. With patience, you’ll restore harmony to your sewing, turning imperfections into perfect stitches.
Is It Necessary to Use All Four Threads?
You don’t always need to use all four threads on your serger, especially for lighter fabrics or decorative sewing. However, using all four threads provides a stronger, more professional seam. Make sure your thread tension and thread compatibility are correct, as improper tension or incompatible threads can cause issues even with all four threads. Adjusting tension and ensuring threads match in type and weight helps achieve even, secure stitches.
Conclusion
As you master threading your serger, imagine yourself weaving a delicate tapestry, each thread a essential strand in a beautiful design. Every mistake is like a loose fiber, threatening to unravel your work. But with patience and practice, you’ll tighten those threads, creating a strong, seamless fabric of confidence. Remember, each stitch you perfect is a step closer to turning your sewing dreams into a vibrant, lasting masterpiece. Keep going—you’re crafting more than fabric; you’re building your skills.