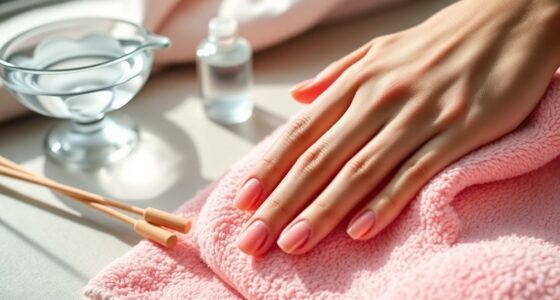
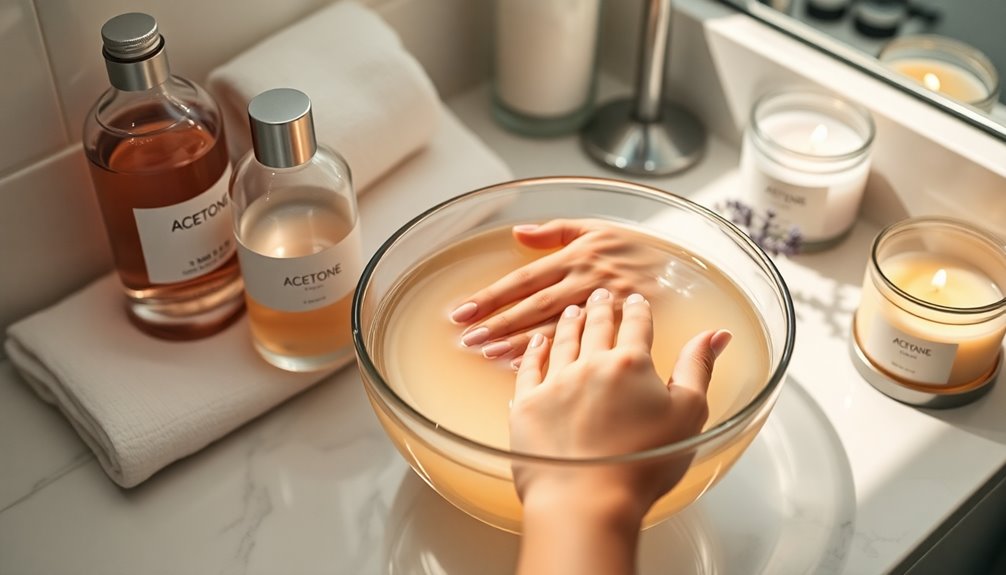
To remove gel nails at home, gather 100% pure acetone, cotton, aluminum foil, and petroleum jelly. Protect your skin with jelly and soak cotton in acetone. Place it on your nails and wrap with foil for 10-30 minutes. Once the time's up, the gel should slide off easily. If it doesn't, gently push it off. Afterward, wash your hands and apply nourishing oils for recovery. Want to know more about post-removal care and other tips?
Key Takeaways
- Gather necessary materials: 100% acetone, cotton balls, aluminum foil, petroleum jelly, and a thick towel for a clean workspace.
- Protect your skin by applying petroleum jelly around the cuticles before starting the removal process.
- Soak cotton balls in acetone, place them on nails, and wrap each finger tightly with aluminum foil for 10 to 30 minutes.
- After soaking, remove the wraps and cotton; gently push off any remaining gel polish with a soft tool or thumbnail.
- Wash hands with mild soap post-removal, and apply nourishing oils or balms to restore moisture to your nails and cuticles.
Materials Needed
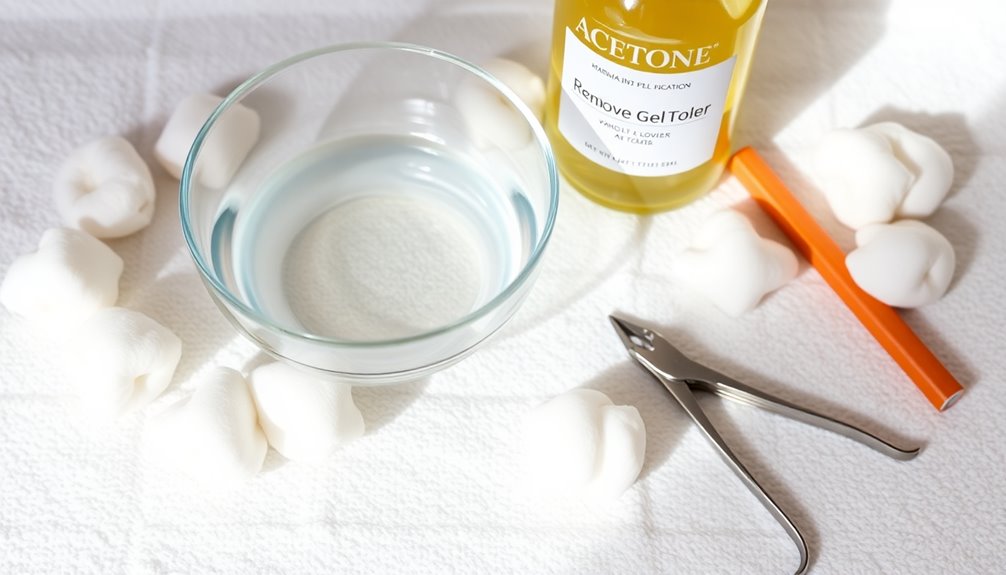
To successfully remove gel nails at home, you'll need a few essential materials. First, grab some 100% pure acetone, as it's the most effective solvent to dissolve gel polish.
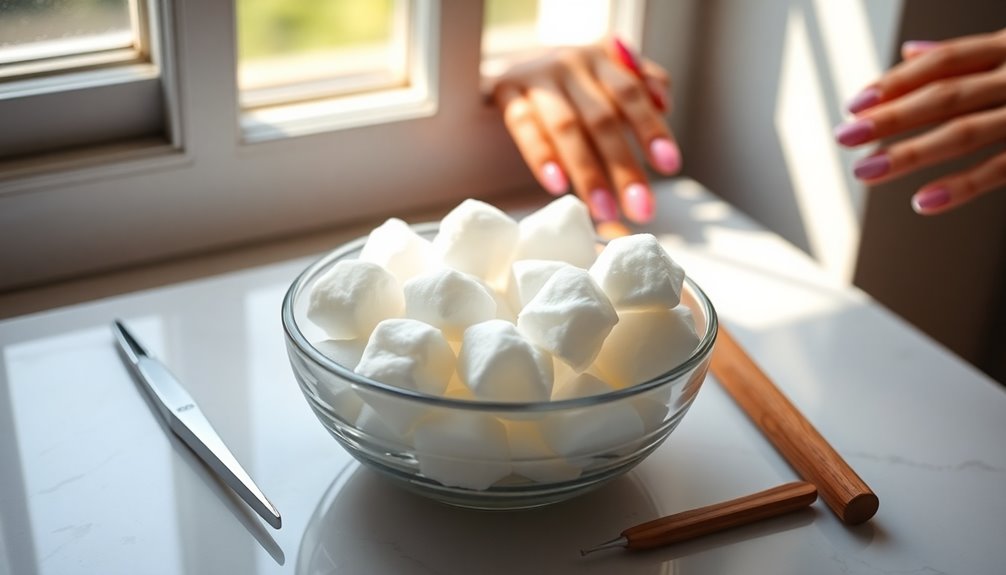
You'll also need cotton balls or strips cut to size, ensuring they cover each nail's entire surface for maximum acetone soak. Next, prepare aluminum foil to wrap around your fingers, securing the acetone-soaked cotton against each nail. This traps the acetone and boosts its effectiveness.
To protect your workspace, lay down a thick towel to catch any spills. Optionally, consider using petroleum jelly to shield your skin around the cuticles, and keep a washcloth handy for cleanup after you've removed the gel. Additionally, it's important to note that herbal alternatives can help rejuvenate your nails and skin post-removal.
Preparation Steps
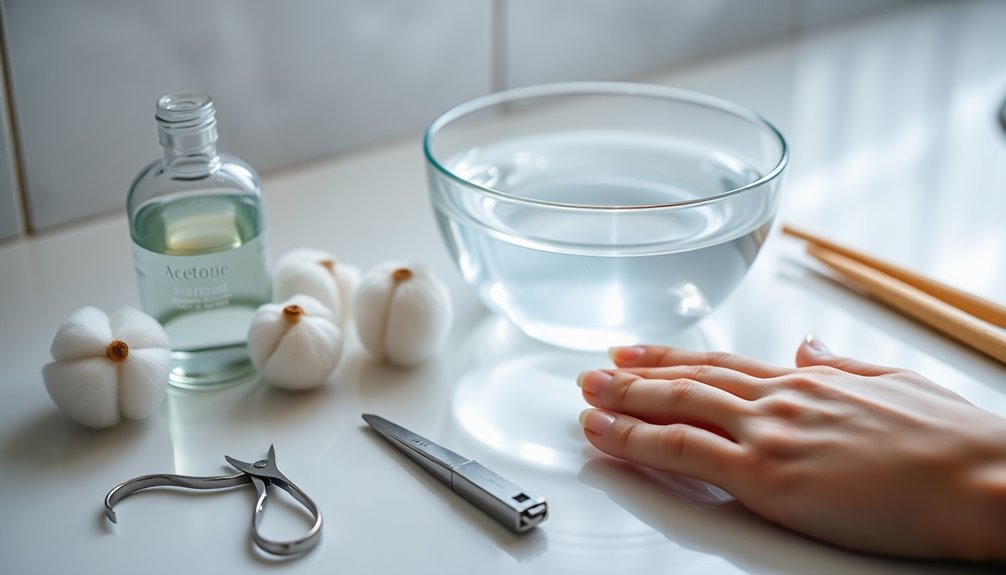
Before you start removing your gel nails, it's important to prepare your workspace properly. This guarantees you have the right environment for an effective and safe removal process.
Follow these steps for ideal protection:
- Line your work area with plastic wrap to protect surfaces from acetone spills.
- Place a thick towel on top for added protection and to catch any drips.
- Apply a thin layer of petroleum jelly around each nail to protect your cuticles and surrounding skin from acetone.
- Cut cotton balls or strips to the right size, making sure they fit each nail without excessive skin contact.
You can choose to work on one hand at a time, or enlist someone's help for an efficient gel nail polish removal experience. Additionally, ensure that your workspace is well-ventilated to minimize exposure to toxic substances that can be harmful during the removal process.
Removal Process
Once you've prepared your workspace, you can plunge into the removal process.
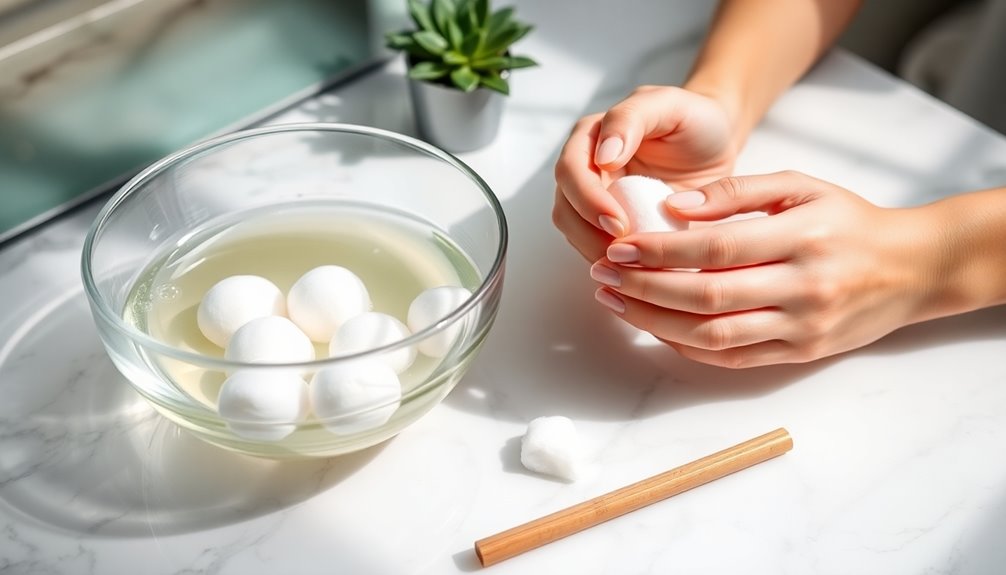
Start by soaking cotton in 100% acetone, then place it directly on each nail, ensuring it's saturated enough to effectively remove the gel manicure.
Wrap each nail tightly with plastic wrap or aluminum foil to hold the soaked cotton in place, allowing the acetone to break down the polish.
Leave the wraps on for about 10 to 30 minutes, depending on the gel's thickness.
After soaking, remove the wraps and cotton; the gel should slide off easily.
For any stubborn polish, gently push it off with your thumbnail or a soft tool.
Finally, rub away any remaining polish with a warm, wet washcloth and wash your hands thoroughly. Additionally, be mindful of using products that promote hair health to avoid potential damage during the removal process.
Post-Removal Care
After you've successfully removed your gel nails, it's crucial to care for your nails and skin to help them recover. Follow these tips to guarantee your nails grow strong and healthy:
- Wash your hands with gentle, fragrance-free soap to eliminate any residual acetone.
- Apply petroleum jelly to your cuticles and surrounding skin daily for moisture.
- Use an orange stick to gently push back your nourishing cuticle, avoiding any harsh treatment.
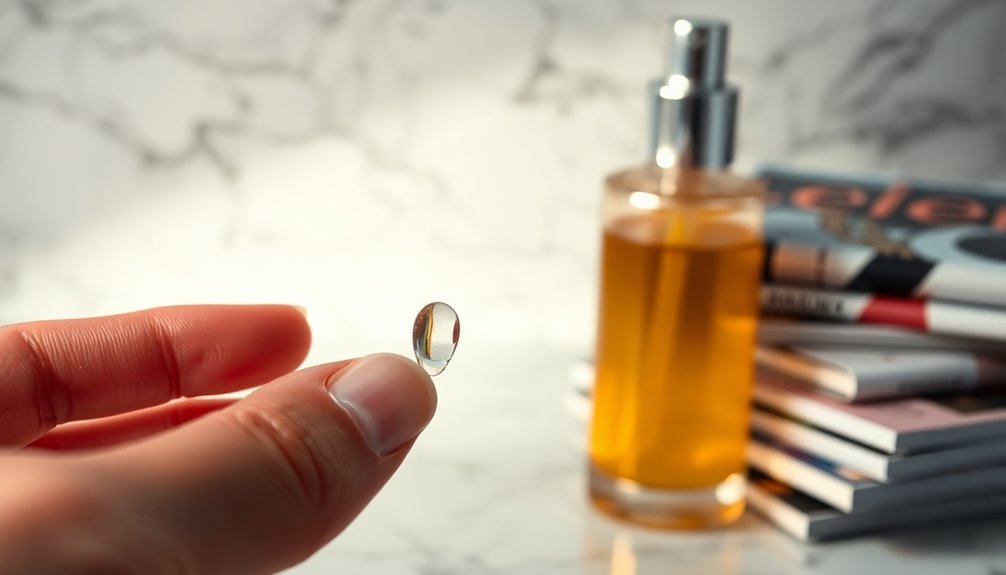
- Consider using nourishing oils or balms to promote recovery.
- Integrating turmeric's anti-inflammatory properties into your post-removal care routine can further enhance skin healing.
Take care not to pick at any remaining polish, as this can damage your nails.
Nail Care Considerations
Taking care of your nails post-gel removal is essential for maintaining their health and strength. Avoid peeling off gel polish, as this can lead to significant damage, causing your natural nails to thin and become brittle.
If your nails are already weak or damaged, seeking professional assistance is vital to prevent further harm. At home, consider using nourishing cuticle oils and balms to restore moisture and promote healthy nails. Incorporate pre-gel treatments like IBX to strengthen your nails before future applications. Remember, it can take 12-18 months for damaged nails to fully recover, so monitor their health regularly. Additionally, maintaining natural nail health is crucial to ensure they thrive after exposure to acetone and gel polish.
Your nails deserve the right care to thrive after exposure to acetone and gel polish.
Frequently Asked Questions
What Is the Fastest Way to Take off Gel Nails at Home?
If you're looking for the fastest way to take off gel nails at home, start by soaking cotton balls in 100% acetone.
Apply them to each nail and wrap them tightly with plastic wrap for about 10 minutes.
To speed things up, use petroleum jelly on the skin around your nails first.
After soaking, most gel polish should slide off easily, and any stubborn bits can be gently rubbed off with a warm, wet washcloth.
What Is the Healthiest Way to Remove Gel Nails?
The healthiest way to remove gel nails involves gentle techniques that protect your natural nails.
You shouldn't pick or file them off, as that can cause damage. Instead, use 100% pure acetone, applying it carefully with cotton balls wrapped in plastic.
Soak them for 10-30 minutes, then gently rub away any residue with a warm washcloth.
After removal, wash your hands, and treat your nails with cuticle oil to keep them healthy.
Is It Better to Soak or File off Gel Nails?
Think of your gel nails as a stubborn ice block; soaking is like letting the sun warm it away.
Soaking in acetone is definitely better than filing, as it gently dissolves the gel without harming your natural nails. Filing risks taking layers off your nails, leaving them damaged.
With soaking, you'll need about 10 to 30 minutes for effective results, and you can enhance absorption by buffing the top layer first.
Protect your skin too!
How Do You Remove Gel Nails at Home Without Acetone?
To remove gel nails at home without acetone, you can soak your nails in warm, soapy water for 20-30 minutes to help loosen the polish.
Alternatively, mix equal parts vinegar and lemon juice, apply it to your nails, and wrap them in cotton for 10-15 minutes.
You might also try olive oil to soften the gel or lightly buff the surface with a nail buffer for easier removal.
Just be patient!
Conclusion
Now that you've successfully removed your gel nails, you're practically a nail guru! Your fingers are free, like butterflies emerging from a cocoon, ready to flaunt their natural beauty. Say goodbye to those stubborn gels and hello to a fresh start! With a little post-removal care, your nails will shine brighter than the sun at noon. So go ahead, treat yourself to some nourishing oils and let your nails bask in their newfound glory!