
To take off press-on nails, start by filing the surface lightly to weaken the adhesive. Next, soak your fingers in warm, soapy water for about 15 minutes to loosen them. Gently rock the nails as you soak, then use an orangewood stick to lift the edges. If they resist, soak a bit longer. After removing, wash your hands, apply cuticle oil, and nourish your nails. There's more to learn for maintaining nail health after removal!
Key Takeaways
- Soak your fingers in warm, soapy water for 15 minutes to loosen the adhesive before removal.
- Use a fine-grit file to thin the press-on nails for better adhesive penetration.
- Gently lift the nails with an orangewood stick or metal pusher after soaking, avoiding force.
- Wash your hands and apply cuticle oil post-removal to hydrate and nourish nails.
- Avoid nail polish and press-ons for 1-2 weeks to promote natural nail recovery and strength.

2026 World Soccer Cup Fan T-Shirt USA National Pride Family Matching Graphic Tee for Men Women Kids
SHOW YOUR NATIONAL PRIDE: Gear up for the biggest 2026 international soccer tournament in North America! Show your...
As an affiliate, we earn on qualifying purchases.
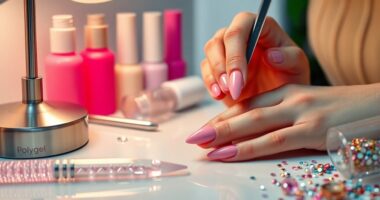
Tools You'll Need to Remove Press-On Nails
Removing press-on nails requires a few essential tools to make the process smooth and effective.
Start by gathering a small non-plastic bowl for soaking, nail clippers, cuticle nippers, and a nail file. You'll also need a nail buffer and either liquid soap or pure acetone for effective removal.
The nail file is particularly useful for thinning the press-ons or removing any 3D accents, enhancing the soaking process.
After soaking, use an orangewood stick or metal pusher to gently lift off the press-on nails, avoiding any force to protect your natural nails. Additionally, it's important to ensure proper airflow during the removal process to avoid damaging your natural nails, as air purifiers can help maintain a clean environment while you work.
Don't forget to have cuticle oil on hand for post-removal care, and keep nail glue available for reusing or fixing any loose press-ons.

Biggest Fan Soccer Fans Family Support T-Shirt
Simple family support art for the person who shows up loudest and cares the most. The bold centered...
As an affiliate, we earn on qualifying purchases.
Start With a File (Optional)
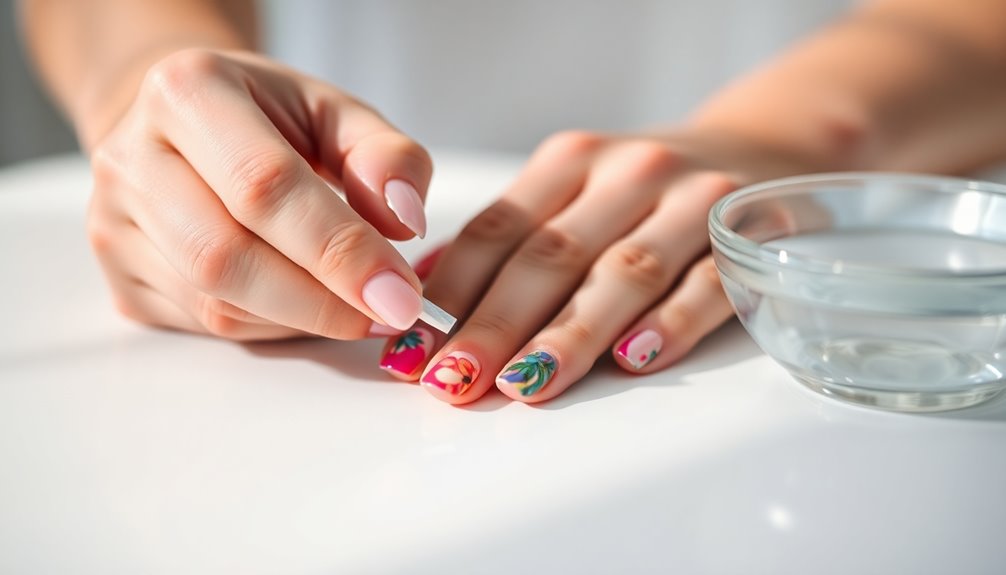
If you want to make removing your press-on nails easier, consider starting with a file.
Gently roughening the surface can help the soaking solution penetrate better, breaking down the adhesive more effectively.
Just remember to use a fine-grit file and be cautious not to over-file, as that could weaken the nails. Adding highlighter techniques can enhance your nail polish application for a more polished finish.
Purpose of Filing
Filing press-on nails before you remove them can greatly enhance the process, as it helps thin out the material. This allows acetone or soapy water to penetrate more effectively, speeding up removal.
Plus, a roughened surface enhances the soaking solution's ability to dissolve the adhesive, making it easier to lift them off. Here are some tips to take into account when filing:
- Use a nail file with a grit of 180 for smoother edges.
- Be cautious not to damage your natural nails underneath.
- For 3D accents like rhinestones, use cuticle nippers to chip away embellishments.
- Designate a specific file for press-on removal to maintain hygiene.
Additionally, using non-toxic materials can ensure a safe environment during the nail removal process. These steps will help you successfully remove fake nails without hassle!
Filing Technique Tips
While you might think filing is an extra step, it can greatly improve your press-on nail removal experience.
Using a fine-grit nail file, around 180 grit, helps to thin the press-on nails, allowing acetone or soapy water to penetrate more effectively. This filing technique speeds up the soaking process, making it easier to remove press-on nails.
If your nails have embellishments like rhinestones, it's especially beneficial to file them down, as this reduces thickness and makes the adhesive easier to dissolve.
Before soaking, consider using cuticle nippers to carefully chip away at any 3D accents. This preparation can further simplify your removal process and enhance your overall experience. Additionally, maintaining a clean environment can promote better health and hygiene during the nail removal process.
Benefits of Roughening
Roughening the surface of your press-on nails can greatly enhance your removal process, as it allows acetone or soapy water to seep into the adhesive more effectively.
By gently buffing the nails, you can enjoy several benefits:
- Faster Removal: A roughened surface helps dissolve the glue more quickly.
- Less Damage: Filing reduces the need for excessive force, minimizing potential harm to your natural nail bed.
- Better Soaking: Thinning the material, especially with 3D accents like rhinestones, allows the soaking solution to work efficiently.
- Stubborn Embellishments: Use cuticle nippers to chip away at any stubborn pieces that the adhesive still holds onto.
Additionally, ensuring proper nail care after removal can support the health and recovery of your natural nails.
These steps guarantee a smoother and safer press-on nail removal experience.

2026 Soccer Family Matching T-Shirts, Tees for Sports, Soccer Fan Couple Tops
Package List: 1x T-shirt, 1x Sticker, 1x Tournament Bracket
As an affiliate, we earn on qualifying purchases.
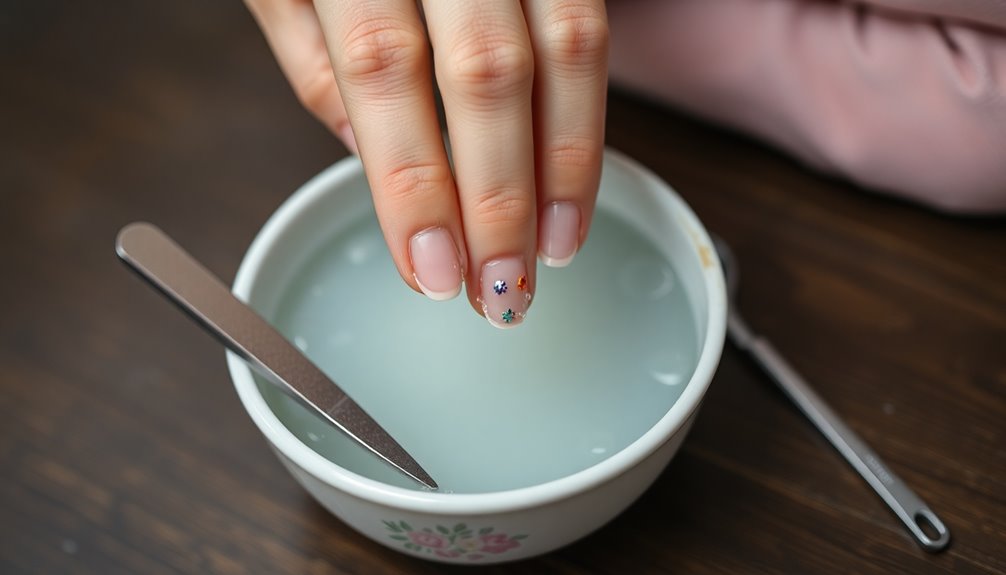
How to Soak-Off Press-On Nails

To soak off your press-on nails, start by setting up a soaking station with warm water and liquid dish soap.
Once your fingers are submerged for about 15 minutes, gently rock the tips of your nails to help loosen them.
After that, you'll be ready to lift them off with a cuticle pusher, ensuring you take your time to protect your natural nails. Engaging in this careful removal process can promote emotional intelligence and mindfulness, allowing for a more relaxed experience.
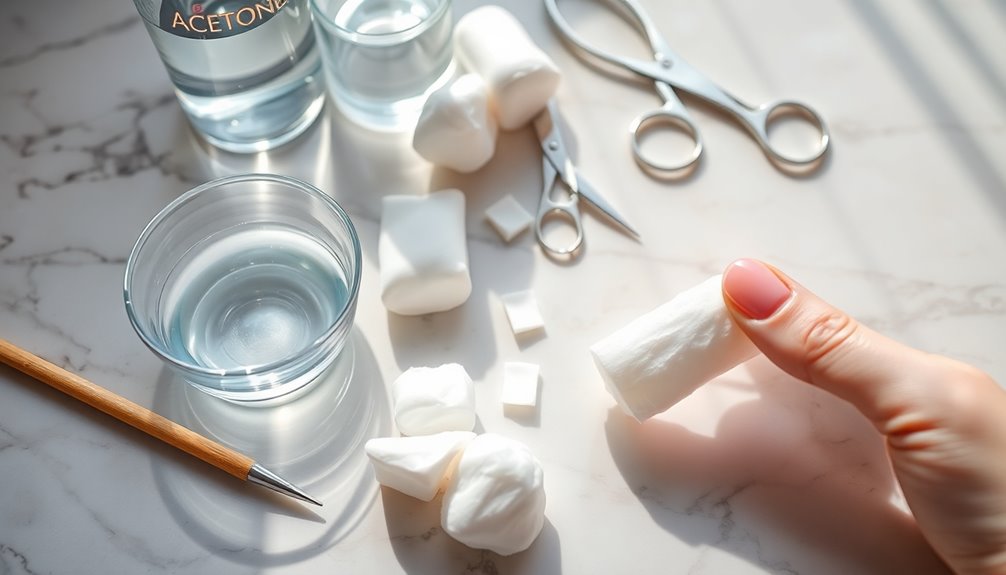
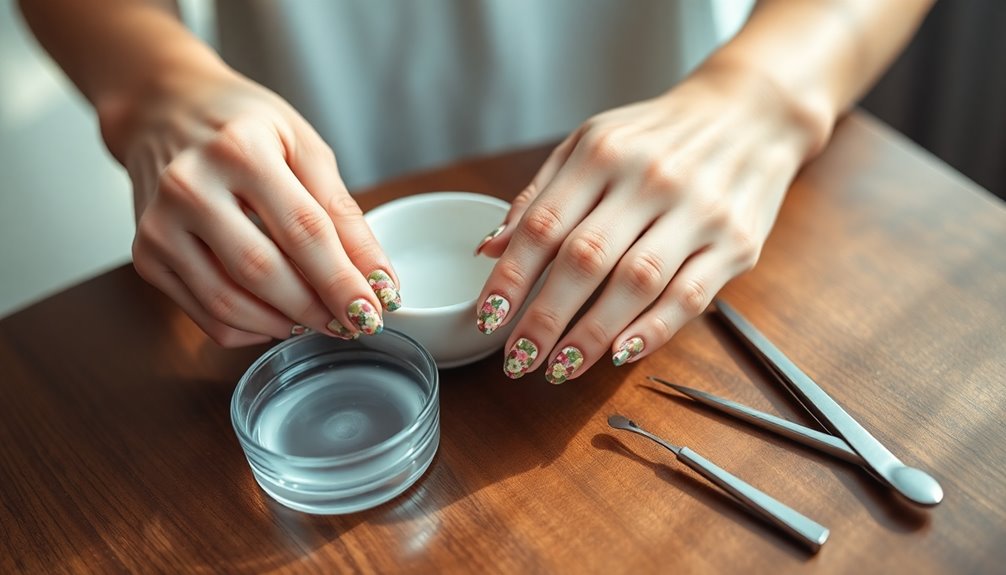
Soaking Station Setup
Creating a soaking station is essential for effectively removing press-on nails without damaging your natural ones. Here's how to set it up:
- Small bowl – Grab a bowl that'll fit your fingers comfortably.
- Warm water – Fill it with warm water to help loosen the adhesive.
- Liquid dish soap – Add a few drops of hand soap to enhance the soaking solution.
- Cotton balls (optional) – For a quicker method, consider using acetone-soaked cotton balls secured with aluminum foil.
Once everything's ready, soak your nails for about 15 minutes, gently pressing the tips up and down. The process can be enhanced by utilizing emotional resilience, which helps in coping with the discomfort of removal.
Be patient; if the nails resist removal, return to soaking instead of forcing them off to protect your natural nails.
Soaking Technique Steps
Removing press-on nails can be simple and effective when you follow the right soaking technique.
Start by setting up a soaking station with a small bowl of warm water mixed with liquid dish soap. Submerge your fingers for about 15 minutes to loosen the adhesive.
After soaking for 10 minutes, gently rock the nails back and forth to help them loosen further. Next, use an orangewood stick or a metal pusher to carefully lift off the press-on nails, applying minimal pressure to protect your natural nails.
If you feel resistance, don't force it—return to soaking instead to avoid injury. For even easier removal, consider applying cuticle oil under the press-on nails before soaking. Additionally, using essential oils such as lavender oil can help soothe any irritation on your nails or skin during the removal process.
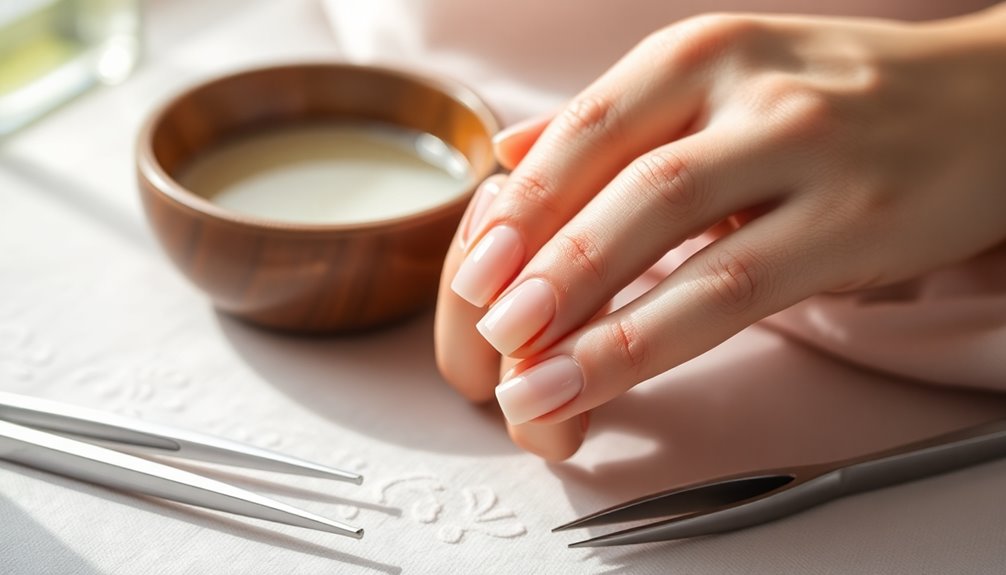
Post-Soak Nail Care
After successfully soaking off your press-on nails, it's important to give your natural nails some TLC. Proper nail care will help them recover and stay healthy. Additionally, you should be aware that certain toxic plants can pose risks to pets, so it's crucial to keep your environment safe while you focus on nail care.
Follow these steps for the best results:
- Wash your hands with mild soap to remove any residue.
- Apply hand cream to keep your skin moisturized and soft.
- Rehydrate your nails and cuticles with cuticle oil to prevent dryness and promote healthy growth.
- Avoid polish for a few days to allow your nails to breathe and recover fully.

Soccer Mom For Women Family Matching Team Player Soccer Ball T-Shirt
Soccer mom shirt for your mom auntie sister grandma who is a real fan of soccer game competitions....
As an affiliate, we earn on qualifying purchases.
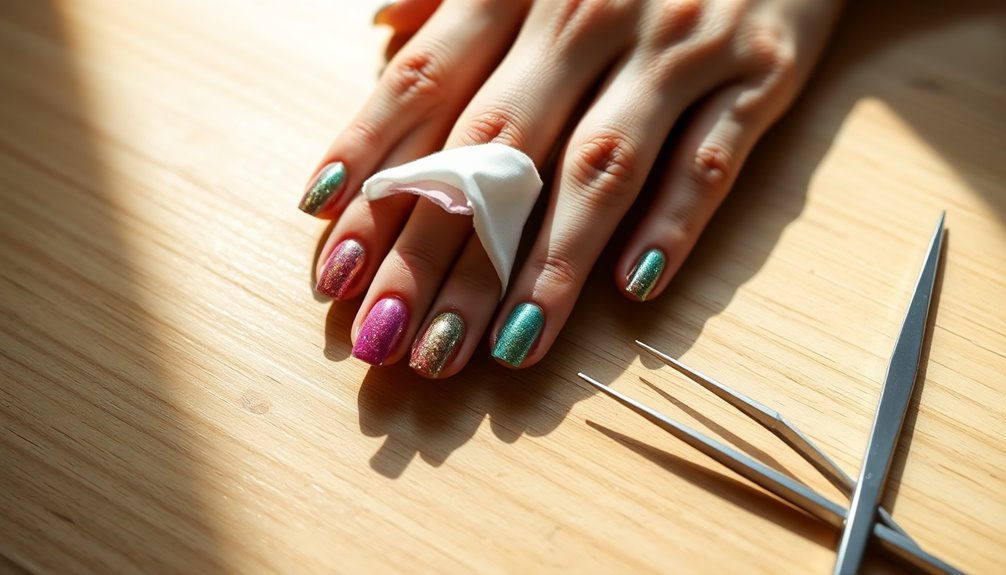
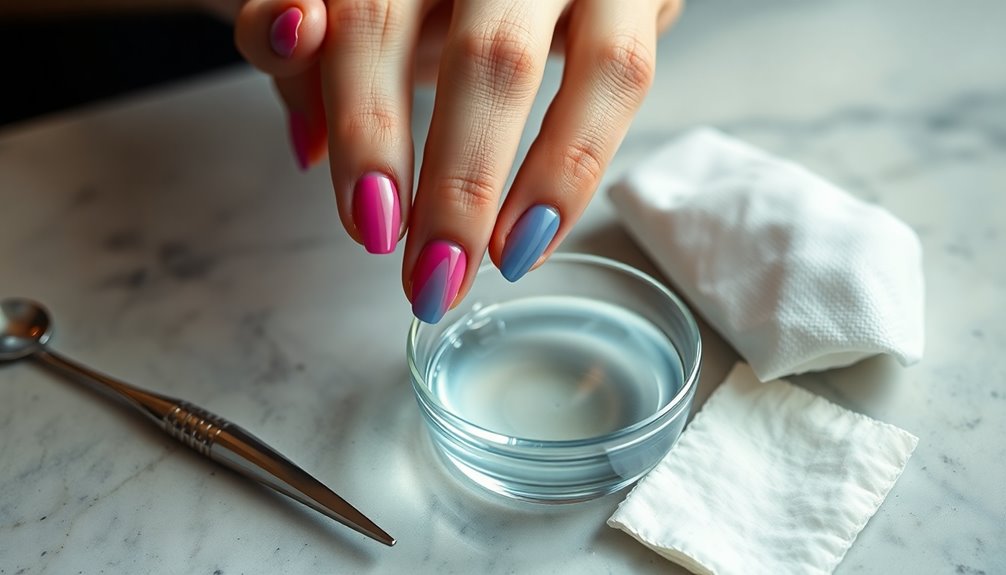
Remove the Press-On Nail
When you're ready to remove your press-on nails, gently lift them off using an orangewood stick after soaking them adequately.
Make sure your nails have soaked long enough to dissolve the adhesive properly. If you feel any resistance, don't force it; just return to soaking until they loosen further.
For quicker results, consider using acetone on a cotton ball, securing it with aluminum foil for 10-15 minutes. This method can speed up the process of removing press-on nails.
Once you've successfully lifted them off, remember to apply cuticle oil to rehydrate your nails and cuticles. Incorporating hydrating techniques promotes healing and keeps your nails healthy post-press-on application, ensuring they look great even after removal.
Buff Away the Evidence
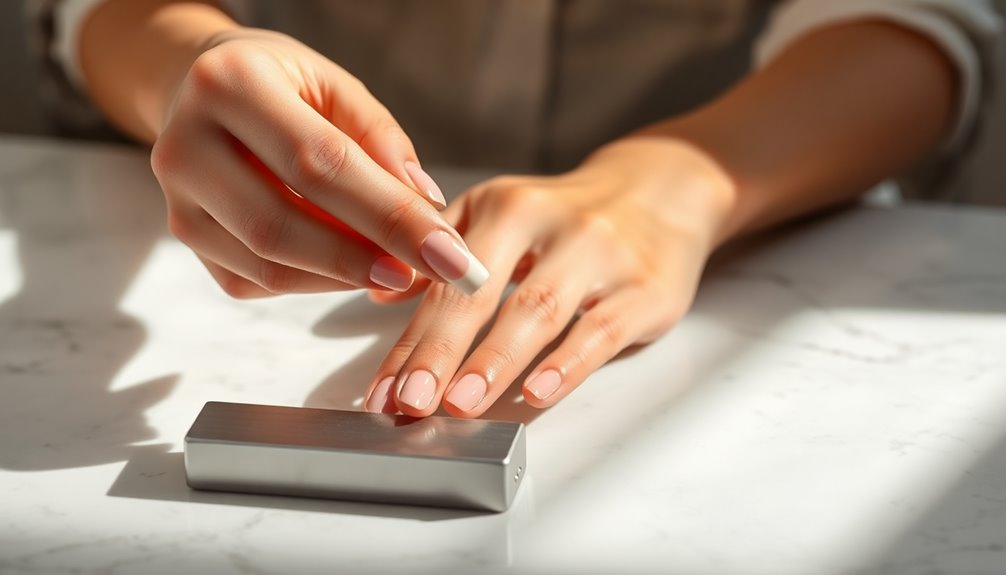
Buffing away the evidence of press-on nails is an essential step to restore your natural nails' appearance.
To effectively smooth out any rough spots, follow these steps:
- Choose the Right Buffer: Use the 180 grit side to prevent damage to your thin nail surface.
- Buff Gently: Lightly buff all nails, focusing on areas that showed more stress during wear.
- Concentrate on Nail Beds: Pay special attention to the nail beds to enhance circulation and remove any adhesive residue.
- Finish with Care: After buffing, always apply cuticle oil to nourish and hydrate your nails, promoting shine.
Re-Hydrate the Hands and Nails
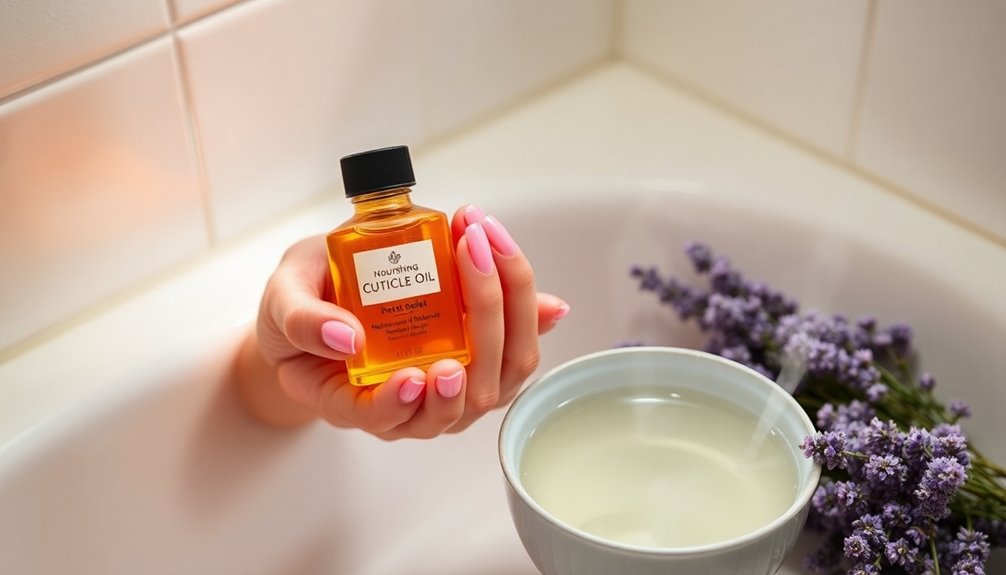
Once you've buffed away any rough spots, it's time to focus on rehydrating your hands and nails.
After removing your press-on nails, you'll want to combat any dryness or irritation that may have occurred. Start by applying a nourishing hand moisturizer immediately to restore hydration lost during the removal process.
Don't forget to use cuticle oil, like Weleda Skin Food or Essie Apricot Cuticle Oil, to keep your nails and surrounding skin moisturized. For convenience, consider using a cuticle oil pen for daily hydration.
This will help you maintain healthy cuticles and nails in the long run. Consistently rehydrate the hands and nails to guarantee they stay in great condition after your press-on nails are gone.
Repairing Damage Caused by Press-On Nails
Repairing the damage caused by press-on nails requires careful attention and a bit of patience. To help your nails recover, follow these steps:
- Avoid nail polish and press-ons for 1-2 weeks to let your natural nails strengthen.
- Trim your nails short to prevent further breakage and facilitate quicker recovery.
- Buff your nails gently to smooth out rough spots, but be cautious not to damage the nail beds.
- Apply cuticle oil regularly to enhance moisture and shine, promoting healthier growth.
If you're a nail biter, keeping your nails well-groomed can help reduce the urge to nibble.
Consistent care with cuticle oil and a moisturizing routine will restore your nails and maintain their health.
Expert Tips for Safe Removal
When you're ready to remove your press-on nails, it's crucial to do so safely to protect your natural nails. Start by loosening the nail glue; you can soak your nails in acetone or warm soapy water for effective loosening. Here's a quick guide:
| Method | Duration | Tips |
|---|---|---|
| Soak in acetone | 10-15 minutes | Use cotton balls and foil. |
| Soak in warm soapy water | 10-15 minutes | Rock nails gently. |
| Apply cuticle oil | After removal | Moisturizes and protects. |
Avoid forcing off stubborn nails; if you feel resistance, soak longer. Once removed, apply cuticle oil and moisturizer to combat dryness and maintain nail health.
Pick Your Next Set of Press-On Nails
Choosing your next set of press-on nails can be an exciting opportunity to express your personal style.
To pick your next set of press-on nails that complements your look while protecting your natural nails, consider these tips:
- Quality Matters: Opt for high-quality nails that resist nail polish remover and offer a strong hold.
- Clear Base Coat: Look for nails with a clear base coat to safeguard your natural nails during application and removal.
- Stylish Options: Select designs that reflect your style—classic solids, intricate patterns, or 3D accents like rhinestones.
- Perfect Fit: Always check the sizing guide to guarantee a proper fit for your natural nail shape.
With these tips, you'll find the perfect press-on nails for any occasion!
Frequently Asked Questions
How Do You Remove Press-On Nails at Home?
To remove press-on nails at home, you'll want to start by soaking them in warm, soapy water for about 10-15 minutes. This helps loosen the adhesive.
Then, gently rock the nails back and forth for easier removal.
If you prefer a stronger method, use acetone-soaked cotton balls wrapped in foil.
After soaking, gently lift them with a cuticle pusher, and remember to hydrate your nails afterward with cuticle oil.
How to Remove Fake Nails Glued on Without Acetone?
To remove fake nails glued on without acetone, you can soak, rock, and lift.
First, soak your nails in warm, soapy water for 10-15 minutes to loosen the adhesive.
Next, gently rock the nails back and forth while soaking to help them separate.
Finally, use a cuticle pusher or orangewood stick to carefully lift each nail off.
If they resist, return to the soapy water for more soaking instead of pulling.
Why Won't My Press-On Nails Come Off?
If your press-on nails won't come off, it could be due to the strong adhesive used or the length of time they've been on.
Insufficient soaking time mightn't dissolve the glue effectively, making removal tough. If you're feeling resistance when lifting them, don't force it—return to soaking instead.
You might also consider applying cuticle oil underneath to help loosen the adhesive, ensuring a smoother and safer removal process.
How to Remove Kiss Glue on Nails?
To remove Kiss glue on nails, start by gently filing the surface to break the adhesive seal.
Then, soak a cotton ball in pure acetone and place it on your nail, wrapping it with aluminum foil for 10-15 minutes.
Alternatively, you can soak your fingers in warm, soapy water, gently rocking the nails to loosen the glue.
Finally, use a cuticle pusher to pry off the nails carefully, avoiding damage to your natural nails.
Conclusion
Now that you know how to safely remove your press-on nails, you can keep your nail health in check while switching up your style. Remember, taking it slow and steady will save you from potential damage. With a little care, you can have your nails looking fabulous without breaking a sweat. So, go ahead and pick your next set—it's time to nail that perfect look! Your hands will thank you for it!