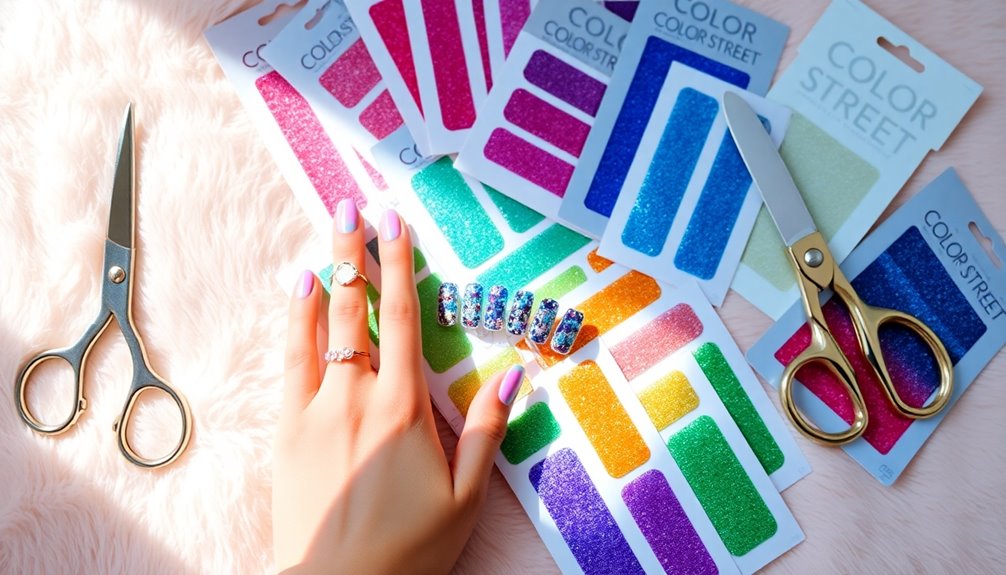

To apply Color Street nails, start with clean, dry nails. Peel the strip off the backing and align it near your cuticle, pressing firmly for a good fit. Tuck the sides under your nail and smooth out any bubbles. If you have excess material, trim or reposition as needed. For best results, avoid moisture for a few hours and keep your nails hydrated with cuticle oil. Stick around to discover more tips for maintaining your Color Street nails!
Key Takeaways
- Ensure nails are clean and dry, removing any existing top coat to enhance adhesion before applying Color Street strips.
- Carefully peel the strip from the backing, handling it by the center to avoid adhesive contact.
- Position the strip near the cuticle, press down firmly, and tuck the sides under the nail for a secure fit.
- Smooth out any bubbles or wrinkles during application for a flawless finish, gently stretching the strip if needed.
- Maintain your nails by applying a clear top coat regularly and using cuticle oil daily to keep them hydrated.

Teenitor Acrylic Nail Kit With Chrome Powder, Almond Tips, Art Brushes, Charms, 3D Gel, Tools, Stand - Beginner Set
- Complete Nail Art Kit: Includes 300 false tips, tools, charms, and more
- Durable Almond Nail Tips: Half matte, high toughness, impact resistant, fits most nails
- Chrome Nail Powder Set: 8 colors with metallic and iridescent effects
As an affiliate, we earn on qualifying purchases.
Preparing for Application

Before you plunge into applying Color Street nails, make certain your nails are clean and dry, as any oils or lotions can hinder adhesion.
Start by removing any existing clear top coat from your natural nails to ensure the strips bond effectively.
Gather all necessary tools, including a cuticle stick for precise handling.
When you're ready, peel the silver strip from the white backing carefully, making sure to avoid contact with the adhesive side to keep it sticky.
Handle the nail strips from the center for better control.
This will help you place the strip accurately near your cuticle without touching it.
Positioning at a good angle will make your application smoother and more precise, leading to a flawless finish. Additionally, ensure your nails are completely dry to prevent any issues with adhesion.
Peeling the Strip

Peel the strip away from the backing with care to confirm a smooth application.
Begin by removing the clear top coat from the Color Street strip for proper adhesion. Handle the strip from the center as you carefully peel the silver strip away from the white backing. This approach gives you better control and helps avoid damage.
Follow these steps for ideal results:
- Remove the clear top coat to guarantee it sticks well.
- Peel from the center to prevent accidental creasing.
- Position the strip near your cuticle, making sure it doesn't touch it for a clean finish.
- Utilize the other side of the strip for additional nails, maximizing your product use.
Stay steady for the best outcome! Remember, just like mastering in music production, precision in application can greatly enhance the final result.
Proper Placement Technique

After successfully peeling the strip, the next step is to focus on proper placement technique.
Position the Color Street strip close to your cuticle, but don't let it touch for that professional look. Handle the strip from the center to maintain better control while placing it.
If you notice it's crooked, gently peel it off and reposition it for a smoother application. Use your thumb to tuck the sides under your nail for a secure fit, which helps avoid any creasing.
Finally, smooth out any bubbles or creases by gently stretching the strip to guarantee a flawless finish. Incorporating texture and colors can enhance your overall nail art experience.
With these techniques, you'll achieve a beautiful and polished look for your nails!
No Tool Application Method

When you want a quick and easy way to apply Color Street nails, the No Tool Application Method is your best bet. Follow these simple steps for a flawless finish:
- Peel the silver strip away from the white backing, holding it from the center for control.
- Tuck the sides of the strip under your nail, avoiding creases for potential reuse.
- If the strip's crooked, gently pull it off and reposition it near the cuticle without touching it.
- After placement, use your thumb to trim any excess material and tuck small bits under the nail.
Finally, smooth out bubbles or creases by gently stretching the strip for a polished look. Effective communication can enhance your application process, ensuring you achieve beautiful nails with confidence. Enjoy your beautiful nails!
Corporate Application Method

To achieve a polished look with Color Street nails, the Corporate Application Method offers a structured approach that guarantees a perfect fit. Start by pinching the excess material of the strip to ensure it snugly fits around your nail corners. Next, use a nail file in a downward motion to create perforations along the strip's edges for precision. After filing, remove any leftover material by filing again for a clean finish. Utilize your thumb to gently push any excess material under the nail for a refined appearance. Practice with a strip that's too large to enhance your technique and achieve better fits. Additionally, maintaining proper care for your nails can enhance the overall appearance and longevity of your Color Street application.
| Step | Action |
|---|---|
| 1 | Pinch excess material |
| 2 | File edges downward |
| 3 | Remove remaining material |
| 4 | Push excess under the nail |
| 5 | Practice with larger strips |
Handling Excess Material

Dealing with excess material is essential for a flawless Color Street nails application.
Here's how to manage it effectively:
- Slice Carefully: Use your thumbnail to slice away any excess material, creating a clean edge around your nail.
- Tuck Bits: If you find small pieces left over, tuck them under the nail to maintain a polished look without visible overhang.
- Utilize a Cuticle Stick: For any remaining bits on your skin, use a cuticle stick for precise removal, ensuring a neater finish.
- Gently Scrape: Apply slight pressure to gently pull and scrape away excess material, finishing with careful scraping at the bottom to leave no excess behind.
Following these steps will help you achieve a seamless and professional-looking manicure. Additionally, using non-toxic materials in nail products can enhance safety, similar to how safety standards for toys ensure a safe play environment for children.
Tips for a Smooth Finish

Achieving a smooth finish with Color Street nails starts with ensuring your nails are clean and dry, as this promotes better adhesion.
During application, carefully smooth out any bubbles or creases by gently stretching the strip and pressing it flat against your nail. Tuck the sides of the strip under your nail using the proper technique to avoid wrinkles or uneven edges.
Once applied, file the edges in a downward motion to create perforations, enhancing the polished look.
Afterward, check for any excess material and either scrape it away or tuck it neatly under your nail for a cleaner appearance. Using techniques similar to those in effective use of pimple patches can also help you achieve a flawless finish.
Following these tips will help you achieve a flawless, professional finish that lasts.
Troubleshooting Common Issues
Even if you've followed all the application steps, you might still encounter some common issues with Color Street nails.
Don't worry; here's how to troubleshoot:
- Wide Strips: If the strips are too wide, use the other side for a different nail or pinch the excess for a better fit.
- Creasing: Handle the strips carefully. If they're crooked, reapply to avoid creasing.
- Bubbles or Creases: Notice any bubbles? Gently stretch the strip to smooth it out before finalizing placement.
- Excess Material: For any material on your skin, slice it away with your thumbnail or use a cuticle stick for precision.
Additionally, make sure to use base coats to protect your natural nails before applying the strips.
With these tips, you'll get a perfect application!
Maintaining Your Color Street Nails

To keep your Color Street nails looking fresh, regular maintenance is key.
You'll want to avoid prolonged exposure to water and use a clear top coat to protect against chips.
Additionally, trimming and filing your nails can help prevent snagging and extend the life of your strips. Regular maintenance, including filter replacement, is essential for extended use and effectiveness.
Regular Maintenance Tips
While your Color Street nails can look stunning right after application, maintaining their beauty requires some attention and care.
Follow these regular maintenance tips to keep your nails looking fresh:
- Avoid Excessive Moisture: For the first few hours post-application, steer clear of water and moisture to guarantee the strips adhere properly.
- Apply a Clear Top Coat: Regularly layer on a clear top coat to protect against chipping and extend the wear time.
- Moisturize Daily: Use cuticle oil daily to keep your nails hydrated and prevent dryness or breakage.
- Use Tools: Avoid using your nails as tools; opt for appropriate tools to prevent lifting or damaging the strips.
- Monitor Environmental Factors: Be aware that air quality can affect nail health, so maintaining a clean environment might enhance the longevity of your nail strips.
With these tips, you'll enjoy vibrant Color Street nails longer!
Removing and Reapplying Strips
When you're ready to switch up your Color Street nails, removing and reapplying the strips can be quick and easy if you follow a few simple steps.
Start by gently peeling off the strips from the corner, ensuring you don't damage your underlying nail. If you plan to reapply them, be careful not to crease the strips during removal; this helps maintain their shape and usability.
Store any removed strips in a cool, dry place to keep their adhesive properties intact. Before reapplying, make sure your nails are clean and free of oils for better adhesion.
If a strip is too wide or damaged, consider trimming or repositioning it creatively on another nail.
Happy nail art!
Frequently Asked Questions
How to Apply Color Street Nails for Beginners?
To apply Color Street nails as a beginner, start by prepping your nails. Remove any polish or residue for better adhesion.
Next, peel the strip from its backing, holding it by the center. Position it close to your cuticle, ensuring it doesn't touch.
Tuck the sides under your nail and trim any excess with your thumb.
Finally, smooth out bubbles by gently stretching the strip and file any excess down for a tidy finish.
How Do You Get Color Street Nails to Stay On?
They say, "A stitch in time saves nine."
To make your Color Street nails stay on longer, start by cleaning your nails thoroughly to remove oils. Avoid using any top coat before application, as it can hinder adhesion.
Store your strips in a cool, dry place to keep them effective.
When applying, be careful near the cuticle and stretch any bubbles gently.
Following these steps guarantees a long-lasting, beautiful finish.
How Do You Get Color Street Nails to Stick?
To get Color Street nails to stick, start by ensuring your nails are clean and free of oils.
Wash them with soap and water for better adhesion.
When applying the strips, hold them by the center to avoid touching the adhesive.
Tuck the sides under your nails gently and apply even pressure to smooth out any bubbles or creases.
This'll help them adhere better and last longer.
Should You Put a Top Coat on Color Street Nails?
Imagine applying a fresh coat of paint to a vintage car—exciting, right?
But when it comes to Color Street nails, you shouldn't put a top coat on them. Their unique formula already includes a protective layer, which means adding a top coat could mess with their adherence.
If you want extra shine, wait at least 30 minutes post-application before using a quick-dry top coat.
Just stick to the guidelines for best results!
Conclusion
So there you have it—your guide to achieving salon-worthy nails without ever leaving your couch. Just remember, if you can't get it right, it's not a disaster; it's simply a bold fashion statement! Who needs perfectly applied nail strips when you can rock the "abstract art" look? Embrace the chaos, and soon, your fingers will be the talk of the town—or at least the living room. Happy nail styling, Picasso!