
To apply press-on nails, start by soaking your nails in warm water to soften the cuticles. Gently push back and trim the cuticles, then clean your nails with alcohol or nail polish remover. Match and glue the press-on nails to your natural ones, positioning them just above the cuticle line. Hold each in place for about 10-20 seconds. Finally, apply cuticle oil for hydration. Stick around to discover more helpful tips and tricks!
Key Takeaways
- Prepare your nails by soaking them in warm water and pushing back cuticles to create a clean surface for application.
- Clean nail beds with alcohol or nail polish remover to remove oils and dirt, ensuring better adhesion of press-on nails.
- Apply glue to both your natural nails and the press-on nails for a stronger bond, then position the press-on nail at a downward angle.
- Hold each press-on nail in place for 10-20 seconds to ensure secure attachment, avoiding hand washing for at least 2 hours afterward.
- After the nails have fully set, apply cuticle oil for hydration and maintain nail health.
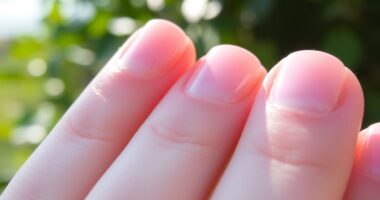
Nail Preparation
Nail preparation is essential for making your press-on nails last longer and look great.
Start by soaking your nails in warm water to soften your cuticles. Use a cuticle stick to gently push them back and clip any excess skin.
Next, clean your nail beds thoroughly with nail polish remover or rubbing alcohol to remove oils and dirt that can hinder adhesion.
After that, file your nails to create a slightly rough surface, enhancing the bond between your natural nails and the press-on nails.
For extra care, consider using an instant cuticle remover and apply cuticle oil afterward to nourish your cuticles. This prep routine guarantees a smooth application and a stunning finish for your press-on nails. Additionally, using high-quality, durable materials in your press-on nail selection can greatly improve their longevity and appearance.
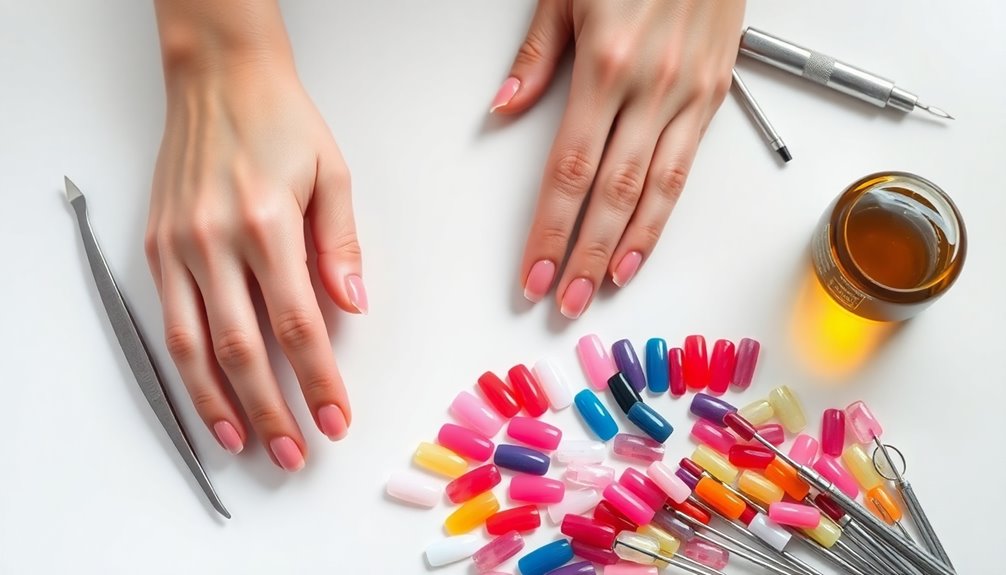
Tools and Products
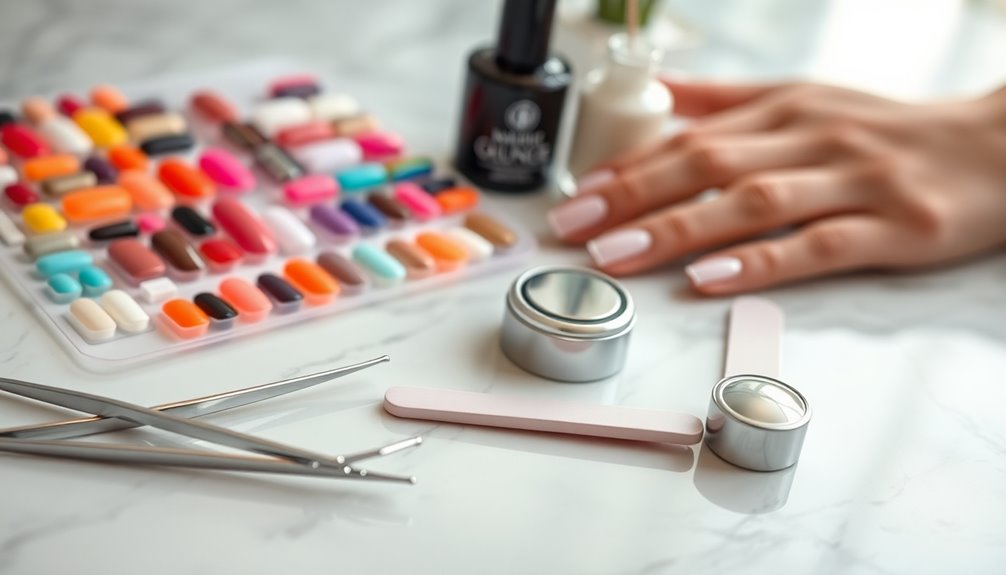
To get the best results when applying press-on nails, you'll need some essential tools and products.
A good nail file, cuticle clippers, and strong glue are key to ensuring a smooth application.
Brands like Kiss Classy Nails and Beauty Secrets offer quality options that make the process easier and more effective. Additionally, using airless paint sprayers can enhance your DIY projects by providing an efficient application method for nail art designs.
Essential Nail Tools
When preparing to apply press-on nails, having the right tools at your fingertips is essential for achieving a flawless look.
Start with a nail kit that includes a nail file to shape and smooth your natural nails. Use cuticle clippers to trim any excess cuticles and a cuticle pusher to push back the cuticle line for better adhesion.
A strong nail glue, like Beauty Secrets, guarantees your press-ons stay in place. Don't forget alcohol wipes or a dehydrator to cleanse your nails of oils and dirt.
A metal pusher is effective for cuticle care, while a wooden pusher can be a gentler option. Keeping a nail brush handy will help maintain cleanliness during your prep process. Additionally, ensuring a clean environment while applying your press-ons can prevent any signs of distress related to nail infections or irritation.
Recommended Nail Products
While choosing the right products can make all the difference in your press-on nail application, several items stand out for their effectiveness and quality.
Start with a Beauty Secrets nail file to create a rough surface on your natural nails, promoting better adhesion. For cuticle care, a metal cuticle pusher is efficient, though wooden ones work too.
When it comes to brands, Kiss Classy Nails offers a fantastic variety and quality that's hard to beat. To secure your press-on nails, opt for Beauty Secrets nail glue, renowned for its strong hold.
Finally, don't forget to use alcohol wipes or a dehydrator to clean your nails before application, ensuring the best results with the glue that comes with your press-ons. Additionally, incorporating quality nail products will enhance the longevity of your press-on manicure.
Glue Options Explained
Choosing the right glue for your press-on nails can make all the difference in how long they last and how secure they feel. One of the top glue options is Beauty Secrets nail glue, which offers a strong hold for extended wear.
If you prefer a temporary solution, many press-on nail kits come with sticky tape, but adding glue can boost longevity from 5 to 10 days. To enhance adhesion, prep your nails with alcohol wipes or dehydrators to eliminate oils and dirt.
Don't forget proper nail prep, like filing to create a rough surface, which maximizes glue effectiveness. Brands like Kiss Classy Nails are popular for their quality, ensuring you achieve a flawless look with your press-on nails. Additionally, maintaining optimal performance of your nails through proper care and regular checks can help ensure they remain in great condition.
Nail Application Process
Start by measuring each press-on nail against your natural nails to confirm a perfect fit and prevent any overlap on your skin. Next, apply glue to both your natural nail and the press-on nail for a stronger bond. Position the press-on nail at a downward angle above the cuticle line for best placement. Hold each nail in place for 10-20 seconds to guarantee proper adhesion. Avoid washing your hands for at least 2 hours post-application; this helps the glue set and enhances durability. Additionally, make sure to check the soil moisture of your natural nails to prevent damage during the application process.
| Step | Action | Time |
|---|---|---|
| Measure | Fit press-on nails to natural nails | – |
| Apply Glue | Glue both nails for stronger bond | – |
| Position | Angle press-on nail above cuticle line | – |
| Wait | Hold in place for adhesion | 10-20 seconds |
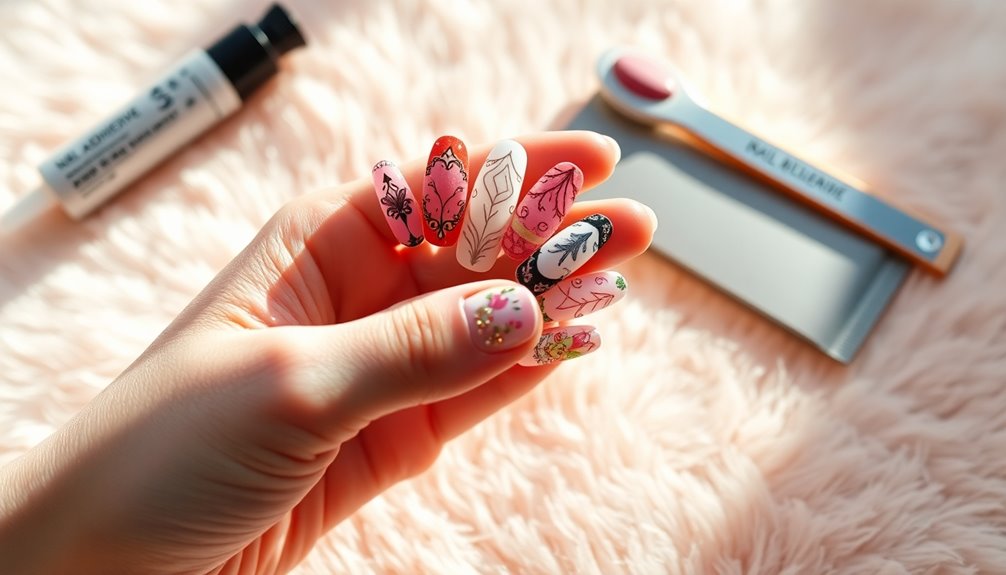
Final Touches
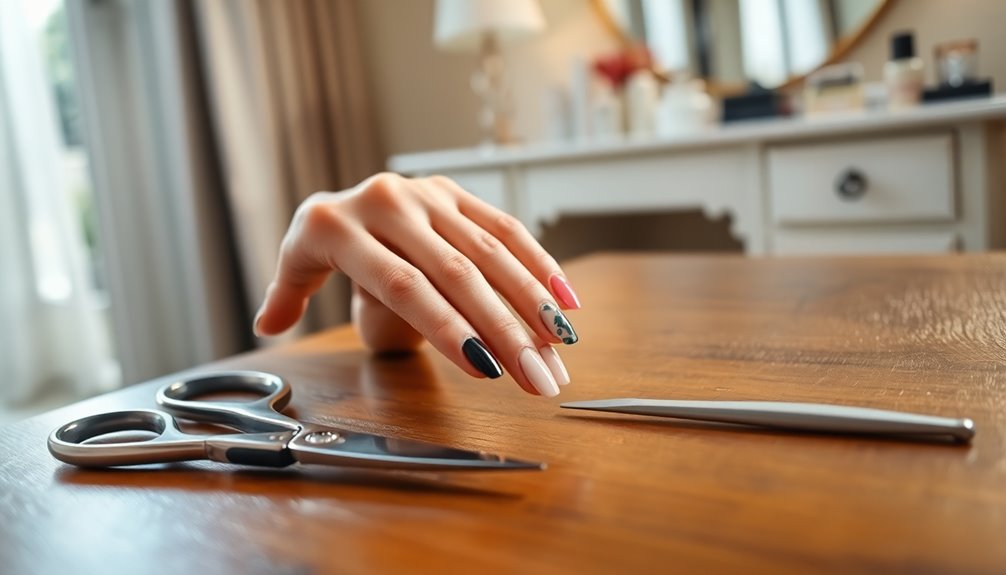
Once you've applied your press-on nails, it's time for some final touches.
Consider adding cuticle oil to hydrate your skin and enhance your nails' appearance. Applying pimple patches can also help maintain the health of your skin around the nails, preventing breakouts.
A little extra care goes a long way in achieving that polished look!
Cuticle Oil Application
Finish off your press-on nails with a touch of cuticle oil to keep the surrounding skin hydrated and healthy.
After your nails have fully set, take a small amount of cuticle oil, like Happy Cuticle Oil, and gently massage it into the cuticle area. This not only nourishes your cuticles but also promotes overall nail health, ensuring your natural nails stay in great condition.
The moisturizing properties of cuticle oil help prevent dryness and cracking, making it an essential part of your nail care routine, especially when using press-on nails regularly.
Plus, the pleasant scent adds a lovely finishing touch. Incorporating cuticle oil will enhance the appearance of your nails while keeping your cuticles soft and supple.
Nail Care Tips
Incorporating cuticle oil into your nail care routine is just one step toward maintaining beautiful press-on nails. After applying your press-ons, use a nourishing oil like Happy Cuticle to keep your cuticles hydrated.
Additionally, gently handle your nails during daily activities to prevent lifting or popping off, especially in the first few hours. To enhance the longevity and appearance of your nails, avoid washing your hands for at least 2 hours post-application to guarantee the glue sets properly.
A quick filing of the tips can remove any existing sharp edges, making your nails look polished. Finally, regularly moisturize your hands and cuticles to maintain healthy nails and skin for a well-groomed look. Remember that using base coats to protect natural nails can also improve the durability of your press-ons.
Additional Tips and Recommendations

While applying press-on nails can be straightforward, a few additional tips can help you achieve the best results.
Start with good prep work—thoroughly clean and shape your natural nails for the best adhesion. Explore various brands like Kiss Nails and Static Nails to find styles that suit your personality and budget, as each offers unique designs.
For ideal bonding, consider applying your press-ons before bed, allowing them to set undisturbed. Use a high-quality nail glue, such as Beauty Secrets, to enhance longevity, extending wear beyond the usual 5 to 10 days. Additionally, choosing products with energy efficiency ratings can lead to better sustainability practices in your overall beauty routine.
Finally, don't forget to apply cuticle oil, like Happy Cuticle oil, post-application for hydration, maintaining your nail health and improving their overall appearance.
How To Remove Press On Nails
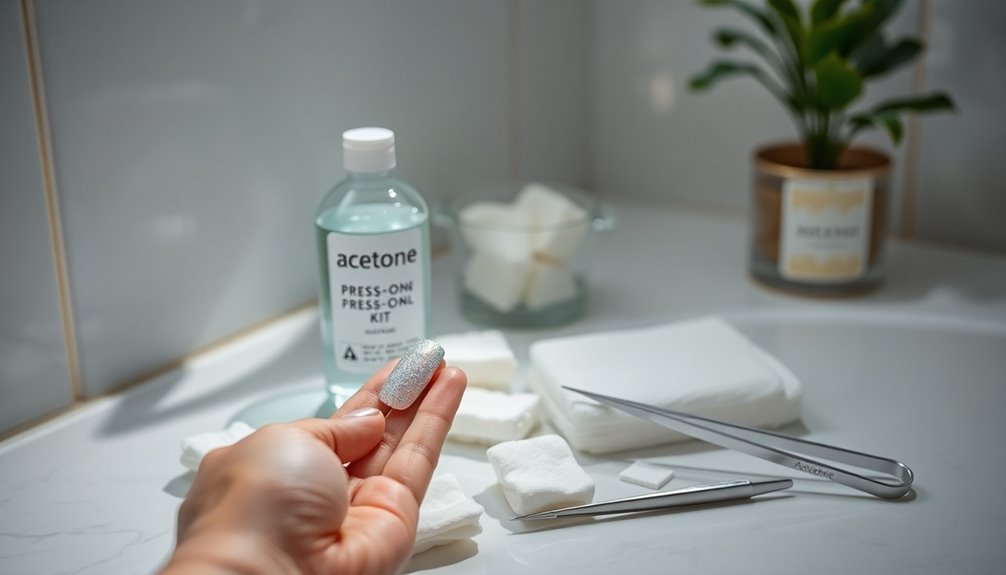
After enjoying your beautiful press-on nails, it's important to remove them properly to protect your natural nails.
To remove press on nails, start by soaking them in warm, soapy water for about 10 minutes to loosen the adhesive. If you used glue-on nails, take an acetone-based remover, soak a cotton ball, and place it on the nail for 10 minutes to dissolve the glue. Alternatively, you can use a specialized glue remover like Glue Off by KISS Products.
After soaking, gently wiggle the press-on nail from side to side to ease it off without damage. It's essential to handle your nails gently to avoid trauma, similar to how you would maintain nail health after using products like butter that can affect your skin and nails.
Finally, always moisturize your nails and cuticles with cuticle oil after removal to maintain nail health and hydration.
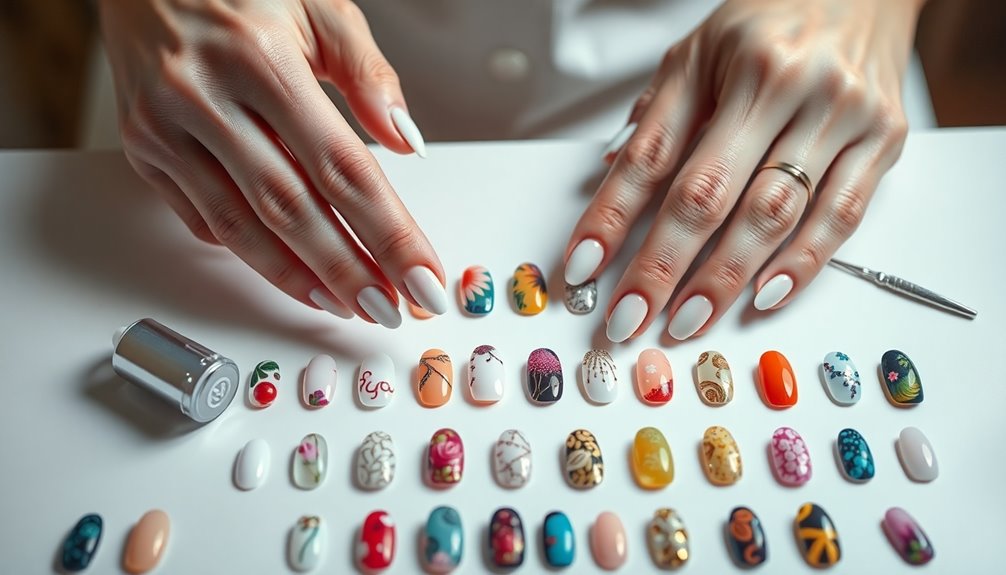
Which Press On Nails Are the Best?
Wondering which press-on nails are the best for your style and needs? Here are some top picks to contemplate:
- Kiss Nails – Widely available and known for better adhesion, making them reliable for everyday wear.
- Static Nails – Although pricier, they're re-wearable and last longer, perfect for frequent users looking for a natural look.
- Impress Nails by Kiss – These aren't favored due to adhesive issues that can snag hair, so contemplate alternatives.
- Shape and Size – Opt for square-shaped, shorter nails for a more natural look. Proper sizing is essential; choose nails slightly smaller for a secure fit.
With these options, you'll find the perfect press-on nails that suit your style and needs!
Frequently Asked Questions
How to Do Press on Nails Step by Step?
To do press-on nails step by step, first, prep your nails by soaking them in warm water and pushing back cuticles.
Choose the right sizes from your kit, ensuring they're slightly smaller than your natural nails.
Apply glue to both the press-on and your natural nail, then press at the cuticle line and hold for 10-20 seconds.
Finally, file to match your natural shape and clean up any excess glue for a polished look.
How Do You Apply Press on Nails to Stay?
You've probably wondered how to make your nails last longer, right?
To apply press-on nails that stay, start by prepping your natural nails—clean and file them for better adhesion.
Pick the right sizes, ideally slightly smaller, and use a strong nail glue.
Position each nail at a downward angle above the cuticle line and press firmly for 10-20 seconds.
Do You Put Nail Glue on Your Nail or the Fake Nail?
You should put nail glue on both your natural nail and the back of the fake nail.
By applying glue to both surfaces, you create a stronger bond that helps the press-on nails last longer.
It's essential to align the fake nail correctly above your cuticle line to avoid any sticking issues.
Once you've applied the glue, press the center firmly and pinch the sides for a secure fit.
How Long Should You Let Your Nails Breathe Between Press-On Nails?
Your nails deserve a little vacation now and then!
It's best to let them breathe for at least 1-2 days between press-on applications. This short break helps your natural nails recover and stay healthy.
If you notice any signs of wear, like brittleness or discoloration, it's a clear signal to give them a rest.
Using a strengthening treatment during these breaks can also work wonders for your nails' health!
Conclusion
In just a few simple steps, you can transform your nails from plain to fabulous with press-on nails. Remember, it's like slipping into a favorite pair of jeans—comfortable and stylish! Whether you're prepping for a night out or just want to feel polished at home, these nails are a game-changer. So go ahead, give your fingertips the love they deserve, and strut confidently like it's the roaring twenties! You'll be amazed at the compliments you'll receive!