
To do acrylic nails, start by prepping your natural nails—remove dead skin, buff the surface, and clean with alcohol. Next, apply snug-fitting nail tips, trimming them to your desired length. For acrylic application, use the two-bead method and guarantee each layer dries completely. After filing for shape, apply gel polish with a base coat, curing each layer. Finish up with nourishing cuticle oil to keep your nails healthy. There's so much more to explore to perfect your technique!
Key Takeaways
- Prepare nails by removing dead tissue, buffing, and cleaning to ensure a smooth application surface.
- Apply nail tips snugly, trim to desired length, and blend for a seamless look.
- Use a dehydrator, followed by a thin layer of clear acrylic as a base before applying the acrylic.
- Allow acrylic to dry completely before filing, ensuring a smooth finish with minimal pressure.
- Apply gel polish and a non-wipe top coat, curing each layer under a UV or LED lamp for durability.
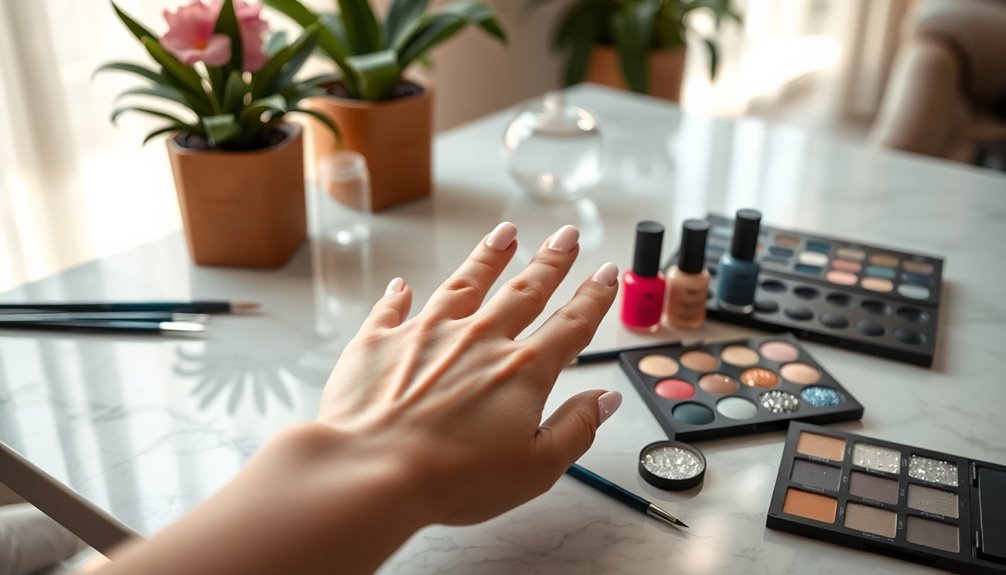
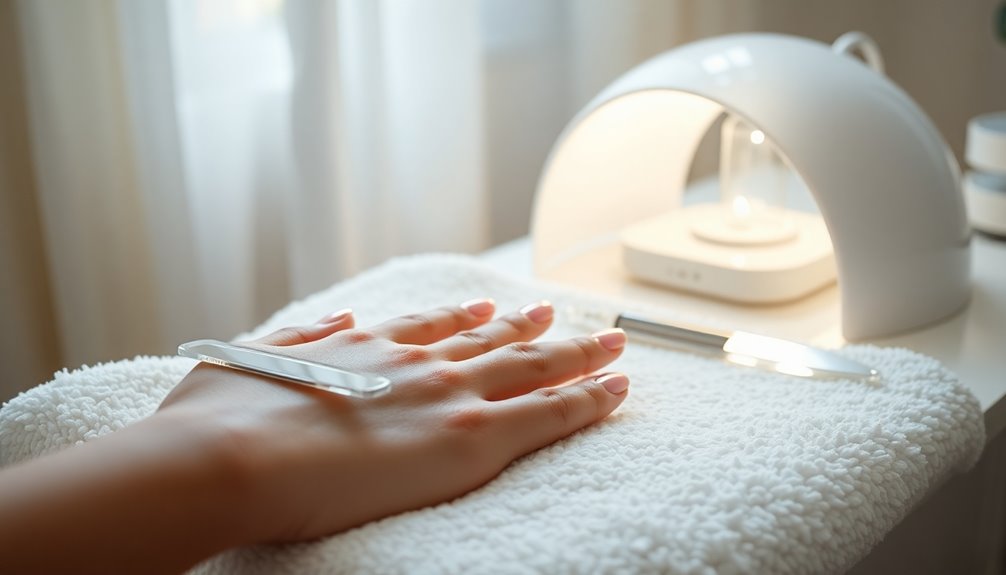
Nail Preparation
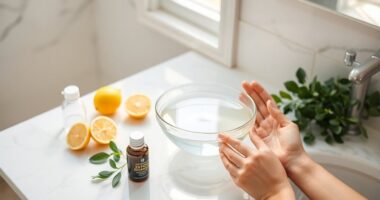
Before you start applying acrylic nails, nail preparation is essential for achieving a flawless finish.
Begin by gently removing dead tissue around the cuticle area, making sure to create a clean and healthy surface for the application.
Use a medium to fine grit sanding band to delicately buff your natural nail, guaranteeing you remove the shine without damaging the nail bed.
If you need precision, consider using a tapered cuticle cleaning bit to eliminate any excess dead skin.
Always be gentle when pushing back cuticles to prevent any potential damage to the nail bed.
If necessary, repeat the process to guarantee everything is perfect before moving on to the next steps in your acrylic nail journey. Additionally, ensuring color accuracy in your nail application can greatly enhance the overall appearance and longevity of your acrylic nails.
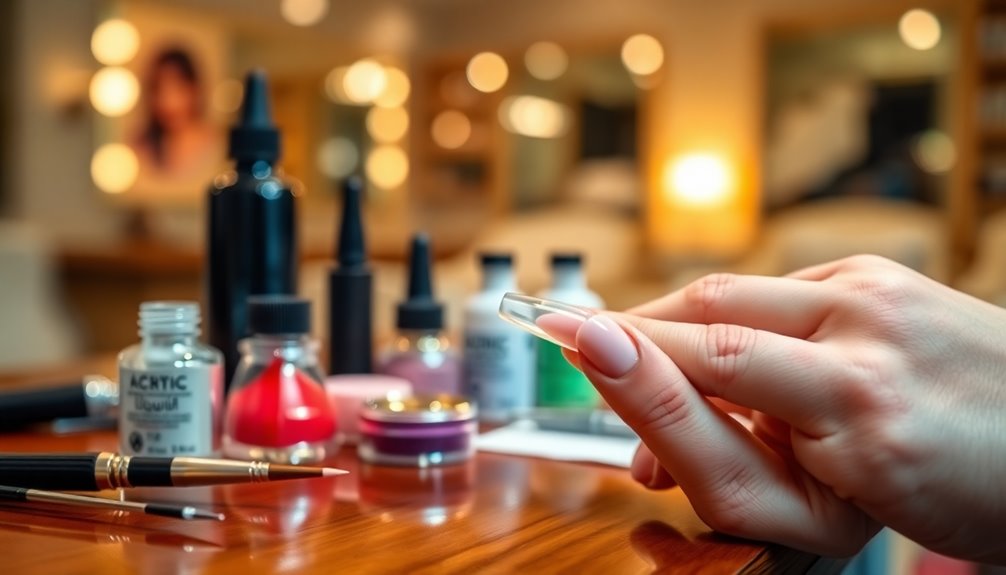
Nail Tip Application
When applying nail tips, you want to make sure they fit snugly from sidewall to sidewall and sit perfectly at the free edge.
Trim them to your desired length and shape for a polished look, then blend the tips into your natural nails for better adhesion.
This process not only enhances the overall appearance but also helps prevent lifting over time. Additionally, using a base coat can further improve the durability of your acrylic nails.
Fitting Nail Tips Properly
To achieve a flawless acrylic nail application, fitting the nail tips properly is essential. First, make certain the nail tips fit from sidewall to sidewall to prevent lifting and guarantee a secure bond.
When applying the tip, position it at the edge where the free edge starts, leaving enough natural nail exposed for proper adhesion. You're going to show off your skills by trimming and shaping the tips to maintain consistency in the finished look.
After securing the tips, blend them into the natural nail with a fine grit file to enhance retention and create a seamless shift. This process can be improved by ensuring proper motor skills development to increase precision in your application.
Finally, dull the sides of the file to avoid cutting your client during the shaping process.
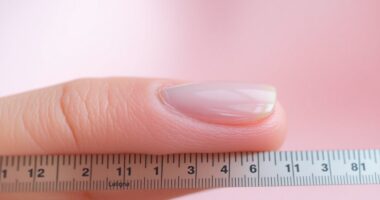
Trimming for Desired Length
Trimming nail tips to the desired length is essential for achieving a polished look in your acrylic application.
To guarantee a flawless finish, keep these tips in mind:
- Fit nail tips from sidewall to sidewall to prevent lifting.
- Use a gentle sawing motion with clippers or scissors for clean edges.
- Compare each trimmed tip with the natural nails for uniformity.
- Shape the tips according to your desired style, whether square, oval, or stiletto. Additionally, ensure that your acrylic nails are properly cared for to maintain their appearance and longevity.
Blending for Better Retention
Blending the nail tips seamlessly with your natural nails is essential for guaranteeing better retention and a polished appearance. Start by fitting the nail tips from sidewall to sidewall, which helps prevent lifting. Use a medium to fine grit sanding band to gently blend the tip into the natural nail, removing shine for enhanced adhesion. Focus on feathering the edges where the tip meets your natural nail, creating a smooth gradient. Proper blending techniques can also prevent skin irritation during the application process.
| Step | Action | Purpose |
|---|---|---|
| Tip Fitting | Guarantee a snug fit | Prevents lifting |
| Grit Selection | Use medium to fine sanding band | Enhances adhesion |
| Edge Feathering | Blend edges smoothly | Creates seamless shift |
| Final Check | Guarantee flush with natural nail | Avoids gaps and breakage |
Acrylic Application Preparation and Technique
Proper preparation is essential for a successful acrylic nail application. Start by applying a dehydrator to your natural nail bed and let it dry completely before moving on to the primer for ideal adhesion.
Here are some key steps to follow:
- Apply a thin layer of clear acrylic as a base.
- Use the two bead method for acrylic application.
- Monitor the acrylic as it sets by tapping the nails.
- Shape the nails with a hand file, minimizing filing.
This process sets the foundation for your acrylic nails, allowing for future color changes and preventing pigment loss. Additionally, ensuring proper appliance maintenance can prevent any interruptions in your nail care routine due to unexpected repairs.
Ensuring these steps are followed will lead to a smoother application and a beautiful end result.
Bead Consistency and Application Process

Getting the bead consistency right is essential for a flawless acrylic application. Start by lightly dragging your brush against the side of the monomer bottle, ensuring you have a balanced amount of liquid. Form the bead by dragging along the top of the acrylic to maintain control. Use the three-bead technique to divide the nail into three zones: free edge, middle, and cuticle area.
| Bead Number | Size | Purpose |
|---|---|---|
| 1 | Medium/Large | Build the apex and taper down |
| 2 | Medium | Add thickness in stress area |
| 3 | Small | Feather into the cuticle area |
This method allows for strategic placement, preventing lifting and ensuring a clean application. Additionally, ensuring your nails are clean and dry before starting the application can significantly enhance the adherence of the acrylic.
Drying and Filing
Once your acrylic nails are applied, you'll need to wait for them to dry completely. Tapping the nails can help you check for dryness, while filing techniques will shape and refine your nails afterward. Before you begin filing, make certain to clean the surface to guarantee a smooth finish. Additionally, maintaining proper air quality considerations can enhance the overall health of your nails and skin during the application process.
Acrylic Setting Time
While applying acrylic nails, it's important to be aware of their setting time, as this can vary based on factors like temperature and the acrylic brand used. Typically, the setting time ranges from 5 to 15 minutes.
Keep these points in mind:
- Warm environments speed up the setting process.
- Tapping the nails produces a clicking sound when fully dry.
- Premature filing can damage the nail structure.
- Use a hand file with minimal pressure for shaping.
Make sure you wait until the acrylic is fully set before filing. This guarantees you achieve a smooth surface and maintain the integrity of your nails. Additionally, the use of HEPA filtration in air purifiers can help reduce allergens in the environment, making for a cleaner workspace while doing acrylic nails.
Patience during this step pays off for a flawless finish!
Filing Techniques Explained
After ensuring your acrylic nails are fully set, it's time to focus on filing techniques to achieve a polished look.
Tap your nails gently; if you hear a clicking sound, they're ready for filing. Use a hand file to shape the sidewalls and free edge, aiming for minimal filing since the nail tips are pre-shaped and the acrylic is thin.
Before you start, clean your nails with a lint-free wipe and alcohol to remove dust and debris.
When filing, opt for a medium to fine grit file to protect both the acrylic and your natural nails underneath. Regular skin treatments can also enhance the overall health of your nails.
Regularly check the thickness and shape during this process to maintain balance and avoid over-filing, which can weaken the structure.
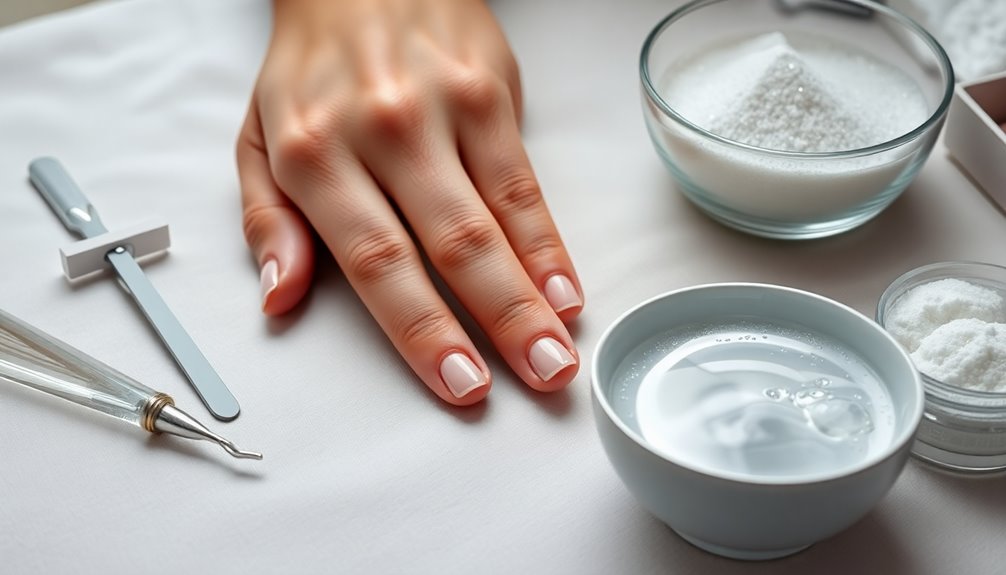
Nail Surface Preparation
Nail surface preparation sets the foundation for a successful acrylic application. Start by ensuring your nail bed is clean and smooth, which enhances adhesion.
Here's what to do:
- Remove any dead tissue around the cuticle gently to avoid damage.
- Use a medium to fine grit sanding band to buff the natural nail, eliminating shine.
- Employ a tapered cuticle cleaning bit for precise dead tissue removal.
- Fit nail tips snugly from sidewall to sidewall and blend them with the natural nail.
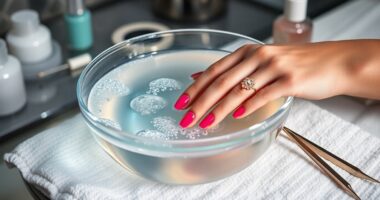
Once you've prepared the surface, thoroughly clean the area with a lint-free wipe and alcohol.
This step removes dust and debris, priming your nails for the dehydrator and primer, leading to a flawless acrylic application.
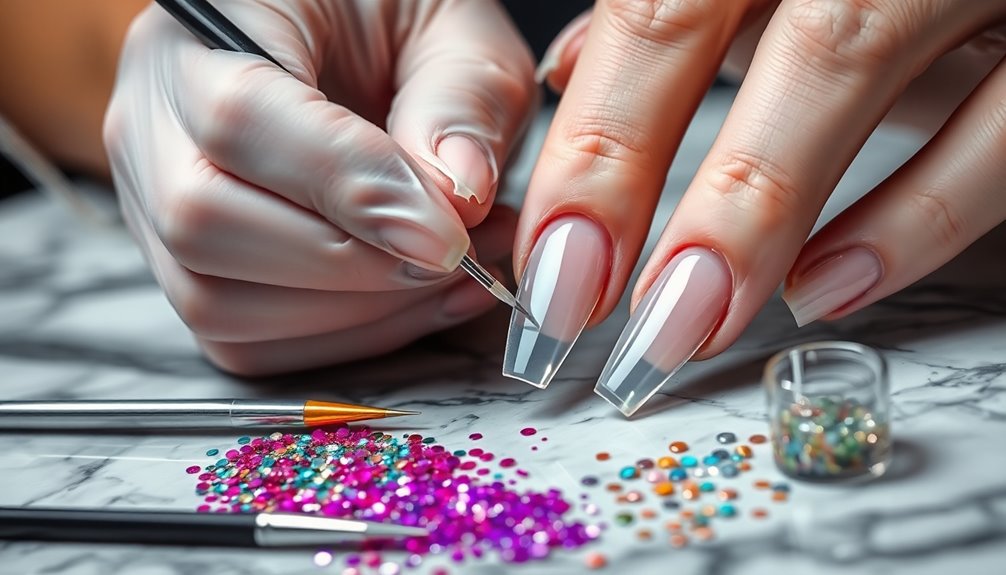
Gel Polish and Finishing Touches
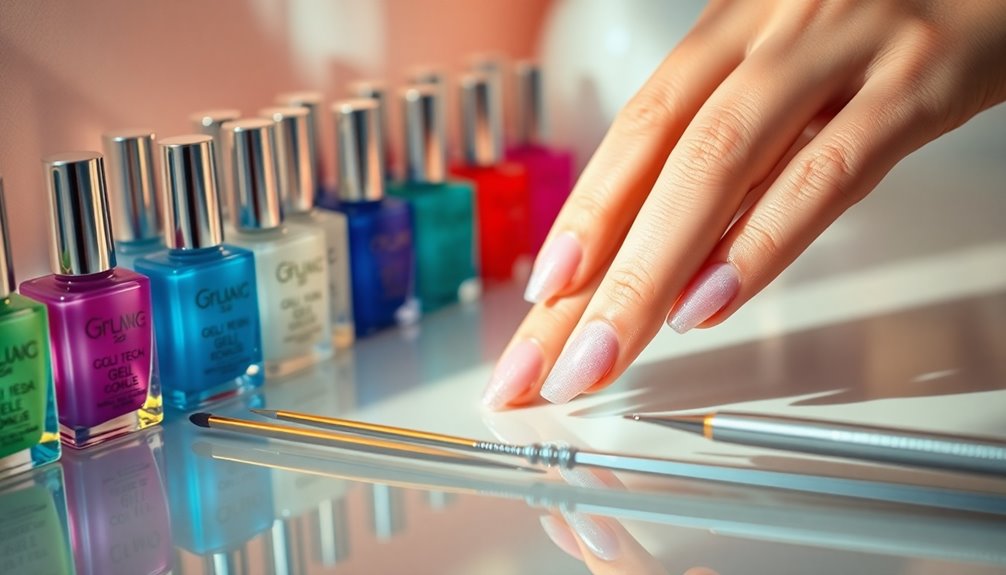
Achieving a flawless finish with gel polish on your acrylic nails requires a few essential steps.
First, make certain the acrylic surface is clean and dust-free to promote better adhesion.
Next, apply a base coat of gel polish and cure it under a UV or LED lamp according to the manufacturer's instructions. This creates a solid foundation for your color.
After applying your desired color, cure each layer for 30-60 seconds to prevent smudging and guarantee durability.
Finish with a non-wipe top coat that cures quickly, allowing you to handle your nails immediately.
Finally, apply nourishing cuticle oil to hydrate your nails and surrounding skin, enhancing both the look and health of your beautiful acrylics.
Frequently Asked Questions
How to Do Acrylic Nails at Home Step by Step?
To tackle acrylic nails at home, start by prepping your natural nails. Remove any dead cuticle tissue, then lightly buff the nail surface to eliminate shine.
Next, fit your nail tips, trimming them to your preferred length. Apply a dehydrator and primer, then lay a thin layer of clear acrylic.
Master the bead application for a smooth finish, and once dry, file, cleanse, and add polish or art for a stunning look!
What Will I Need to Start Doing Acrylic Nails?
Starting your acrylic nail journey is like preparing a painter's palette; you need the right tools to create a masterpiece.
You'll need an acrylic nail kit with powder and liquid monomer, nail tips, and a brush.
Don't forget a nail file, buffing block, and cuticle pusher for precision.
A UV or LED lamp is essential if you're using gel polish, and nourishing oil will keep your cuticles healthy after your work of art is complete.
How to Do an Acrylic Nail Fill Step by Step?
To do an acrylic nail fill step-by-step, start by gently removing the top layer of your existing acrylic.
Smooth out the surface with a medium grit sanding band and apply a dehydrator followed by a primer.
Then, using the two bead method, apply clear acrylic, starting at the apex and dragging toward the free edge.
Shape the nails as needed, clean off the dust, and finish with a gel polish or top coat.
Can I Teach Myself to Do Acrylic Nails?
Yes, you can definitely teach yourself to do acrylic nails!
Start by researching techniques and gathering quality products. You'll want to practice nail preparation, application, and filing.
Using online tutorials or taking courses can help you build your skills. Don't hesitate to practice on friends or family to gain confidence.
With patience and dedication, you'll improve over time and achieve great results. Just remember, practice makes perfect!
Conclusion
Now that you know how to do acrylic nails, it's time to embrace your creativity. Picture yourself shaping, sculpting, and shining your nails to perfection. Imagine the vibrant colors reflecting your personality, the smooth finish showcasing your skills, and the confident feeling you get with every glance at your hands. With practice, patience, and passion, you'll transform ordinary nails into stunning works of art, leaving a lasting impression wherever you go. Happy nail crafting!