
To create stunning cat eye nails, start by prepping your nails—clean and shape them, then push back cuticles. Apply a thin layer of base coat and cure it under a UV lamp. Next, coat each nail with cat eye polish while wet. Hold a magnet close to the wet polish to coax the metallic particles into a cat-eye effect. Cure under the lamp again for lasting results. There's more to explore for perfecting your cat eye technique!
Key Takeaways
- Start by preparing your nails: clean, shape, and buff them for a smooth application surface.
- Apply a base coat to protect nails and enhance adhesion, then cure under a UV/LED lamp.
- Apply cat eye gel polish on one nail at a time while wet for best results.
- Use a small magnet close to the wet polish to create the desired cat eye effect.
- Cure each nail under the UV/LED lamp after achieving the desired look, then finish with a top coat.
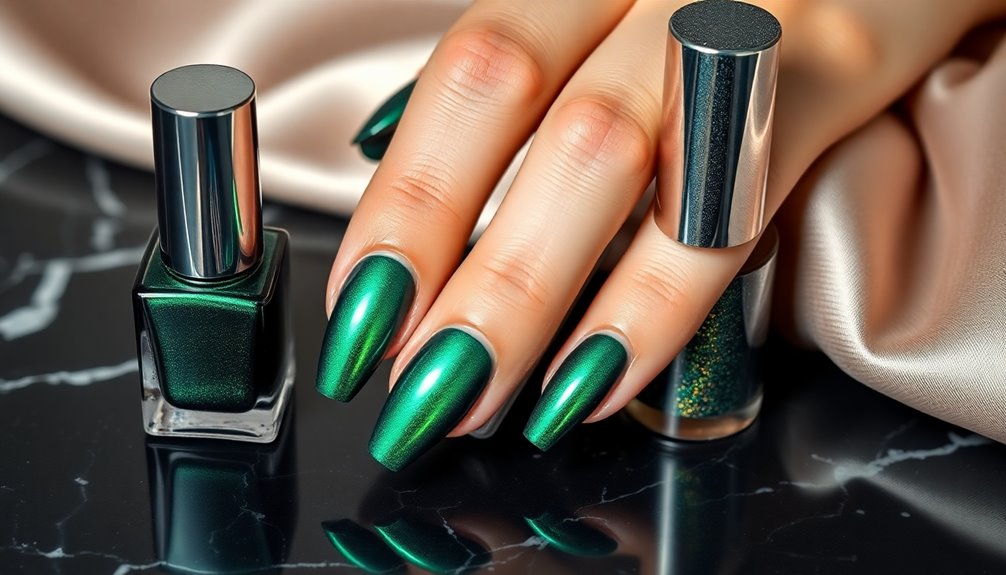
What Are Cat Eye Nails?
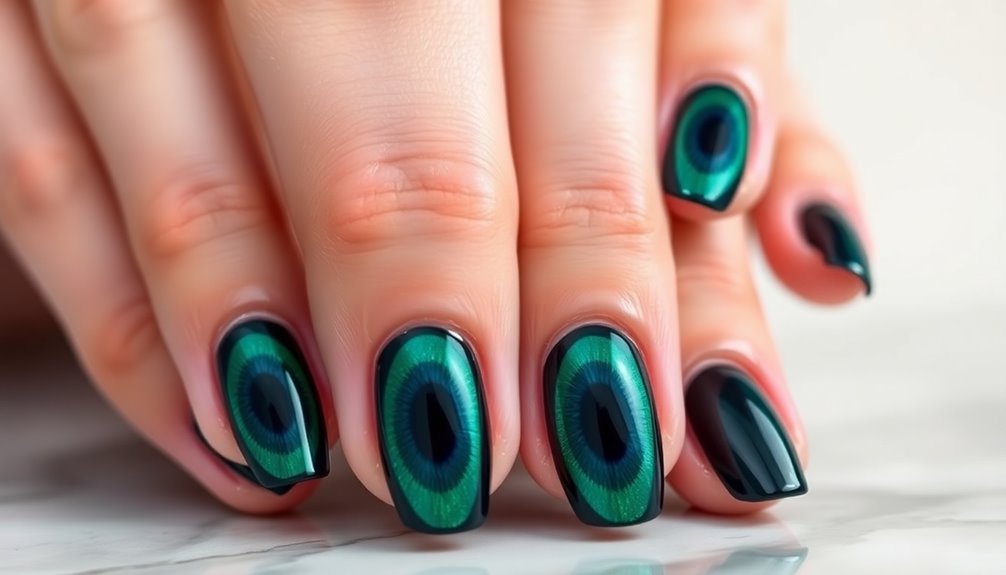
Cat eye nails are a stunning trend that mimic the mesmerizing reflective look of a cat's eye. This effect is achieved using special magnetic nail polish that contains iron particles.
When you hold a magnet close to the wet polish, the magnetic particles shift, creating a distinct and enchanting cat eye effect. You can choose from a variety of colors and intensities, allowing for nail art that ranges from subtle to bold.
For the best results, use gel polish, as it enhances the stunning cat eye appearance. Don't forget to apply a top coat to seal the design and add shine.
With the right tools, like a small magnet, you'll master this trendy look in no time! Additionally, incorporating protective nail styles can help maintain the health of your nails while enjoying this beautiful design.
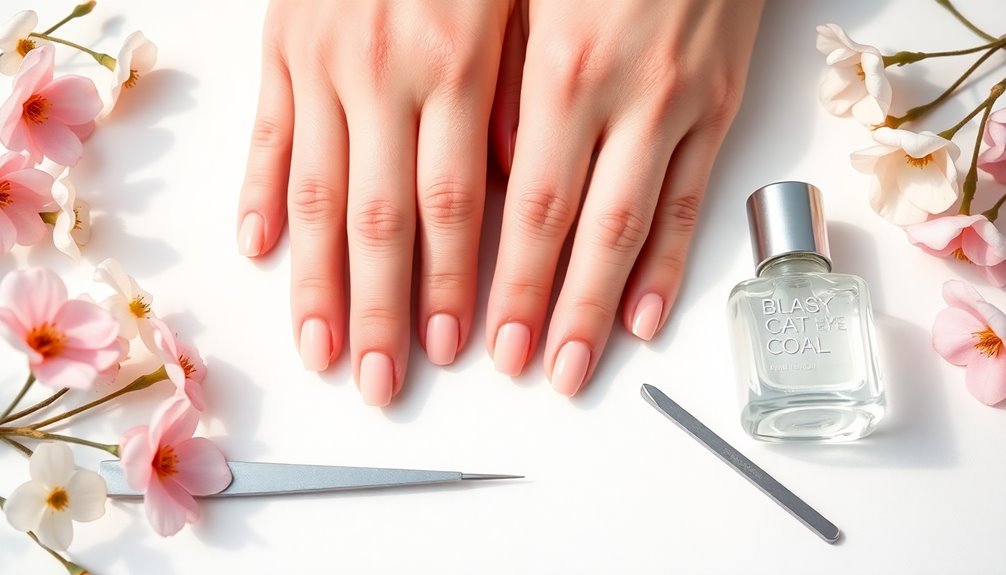
What You'll Need

To achieve stunning cat eye nails, you'll need a few essential tools and products.
First, grab a cat eye gel polish, as it offers easier application and enhances the effect. A small magnetic tool is vital for manipulating the metallic particles within the polish to create that iconic cat eye look.
Don't forget to have a base coat on hand; it protects your natural nails and helps the polish adhere better. A top coat is equally important to seal the design and add a beautiful shine.
You'll also require a UV lamp to cure the gel polish, ensuring your cat eye nails last longer. Finally, keep alcohol wipes ready to clean your nail surface before you apply everything. Additionally, using essential oils like lavender oil can help reduce stress during your nail application process.
Step 1: Prep Your Nails
Preparing your nails is essential for achieving that flawless cat eye effect. Start with clean, dry nails to guarantee proper adhesion of the products.
Follow these steps for the best results:
- Shape your nails using a nail file to your desired length and form.
- Gently push back your cuticles for a neat appearance.
- Buff the surface of your nails lightly to create a smooth base.
- Wipe your nails with alcohol wipes to remove any natural oils.
These steps will enhance the overall aesthetic and professionalism of your nail art. Additionally, ensuring your nails are free from natural oils can help improve the adherence of polish and topcoat, leading to a stunning cat eye finish!
Once you've completed this prep, you'll have a perfect canvas for applying your base coat and polish, leading to a stunning cat eye finish!
Step 2: Apply Base Coat
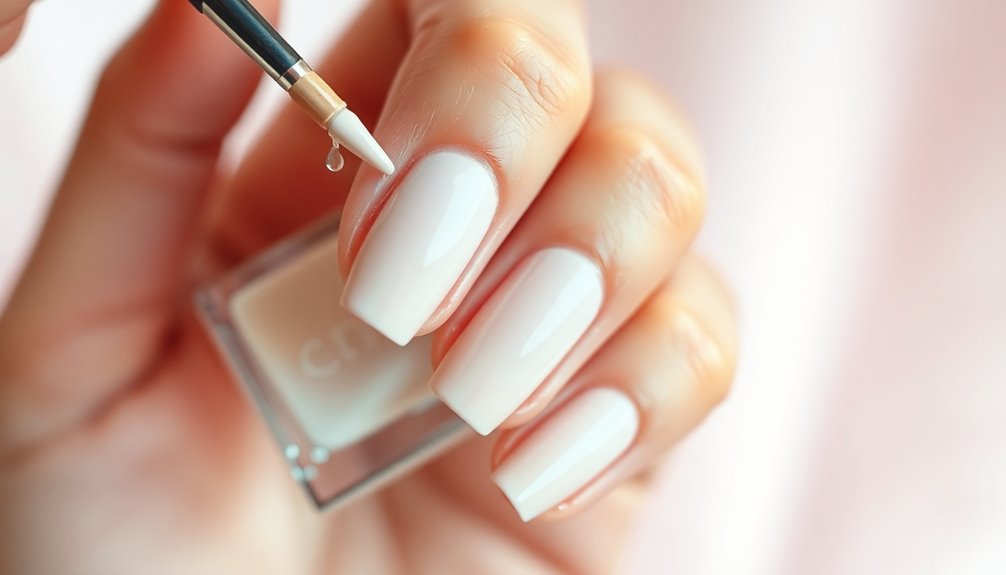
Applying a base coat is a crucial step in your cat eye nail journey. It helps protect your natural nail and enhances the polish's adhesion, guaranteeing your manicure lasts longer. Start by lightly buffing your nail surface to create a smooth foundation. Then, apply a thin layer of base coat, making certain to cover the entire nail, including the free edge, to prevent chipping. It's important to note that just like how good oral hygiene habits can prevent dental issues, a proper base coat lays the groundwork for a flawless manicure.
| Step | Action | Purpose |
|---|---|---|
| 1 | Apply base coat | Protects the natural nail |
| 2 | Cure under UV/LED lamp | Ensures full set |
| 3 | Choose high-quality base coat | Prevents peeling/lifting |
Cure the base coat for 30-60 seconds before moving on to the magnetic polish.
Step 3: Apply the Cat Eye Polish
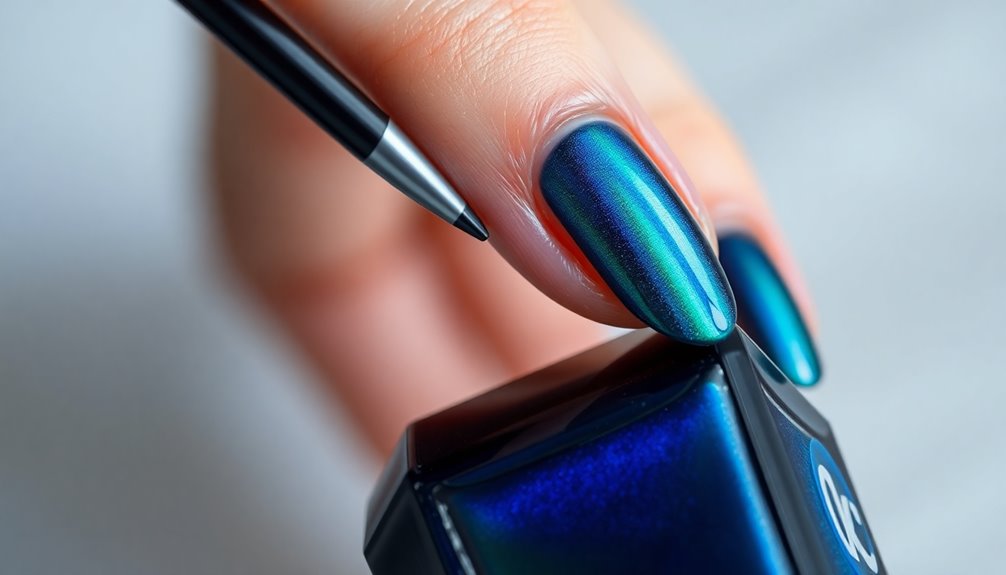
Step 3 involves applying the cat eye polish, which is where the magic truly happens.
To achieve that stunning magnetic effect, follow these steps:
- Apply one coat of your chosen cat eye polish evenly on one nail at a time, ensuring the polish is still wet.
- Hold the magnet close to the nail, about 1-2 mm away, to manipulate the particles in the polish.
- Experiment with different movements, such as circular or diagonal motion, to create unique patterns.
- Once you're satisfied with the look, cure the nail under a UV or LED lamp for the specified time.
Additionally, consider experimenting with different nail shapes to complement your cat eye design for a more personalized look.
Frequently Asked Questions
How to Do Cat Eye Effect on Nails?
To create the cat eye effect on your nails, start by applying a layer of magnetic gel polish and keep it wet.
Then, hold a small magnet just above your nail, moving it around to shift the metallic particles into your desired design.
Remember to work on one nail at a time for better control.
Once you're happy with the look, cure it under a UV or LED lamp to set the effect.
Do You Need a Special Magnet for Cat Eye Nails?
Did you know that over 60% of nail art enthusiasts prefer using magnetic polishes for their unique effects?
Yes, you do need a special magnet for cat eye nails. This magnet is designed to manipulate the metallic particles in the gel polish, creating that stunning cat eye effect.
Most magnetic gel polishes come with a magnet included, so you'll be ready to experiment with different shapes and styles right away.
What Base for Cat Eye Nails?
When choosing a base for cat eye nails, you want to guarantee a smooth, durable foundation.
A gel base coat works best, as it cures under UV or LED light, enhancing adhesion and longevity. You can go for a neutral or dark color to create contrast, making the cat eye effect pop.
Apply a thin layer and cure it for 30-60 seconds to prevent lifting and achieve a flawless finish.
How to Do Glass Cat Eye Nails Step by Step?
You might think creating stunning glass cat eye nails is too complicated, but it's easier than you think!
Start with a thin base coat and cure it under a UV or LED lamp.
Apply the glass cat eye gel polish, keeping it wet. Hold a magnet close to form your desired effect, then cure it again.
Finish with a top coat for that glossy shine. Trust me, you'll love the results!
Conclusion
Now that you know how to create stunning cat eye nails, it's time to show them off! Like a mesmerizing galaxy, your nails will catch the light and draw attention wherever you go. Remember, practice makes perfect, so don't hesitate to experiment with different colors and designs. With just a few simple steps, you can achieve a look that's as enchanting as it is chic. Enjoy your fabulous new manicure and let your creativity shine!