
To do your nails at home, start with essential tools like a nail file, buffer, base coat, and high-quality polish. Prep your nails by soaking them in warm, soapy water, pushing back cuticles, and moisturizing. For polish, use a center stroke, followed by side strokes, applying two coats. Finish with a top coat for shine. Clean any excess with a brush and admire your work. There's more to creating the perfect manicure that you might want to explore.
Key Takeaways
- Start by soaking your nails in warm, soapy water for 3-5 minutes to soften cuticles.
- Use a nail file for shaping and a buffer to smooth nail beds before polishing.
- Apply a base coat or use Essie's Gel Couture to enhance polish adhesion and longevity.
- Apply at least two coats of polish, allowing each to dry slightly before adding a top coat.
- Finish by cleaning any excess polish around your nails and moisturizing your hands for a polished look.
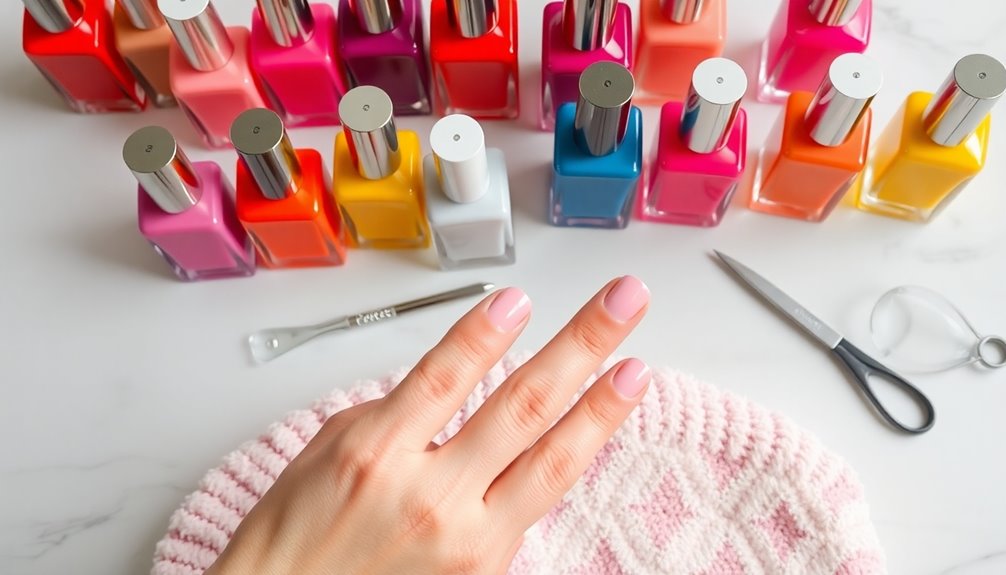
Essential Tools for an At-Home Manicure
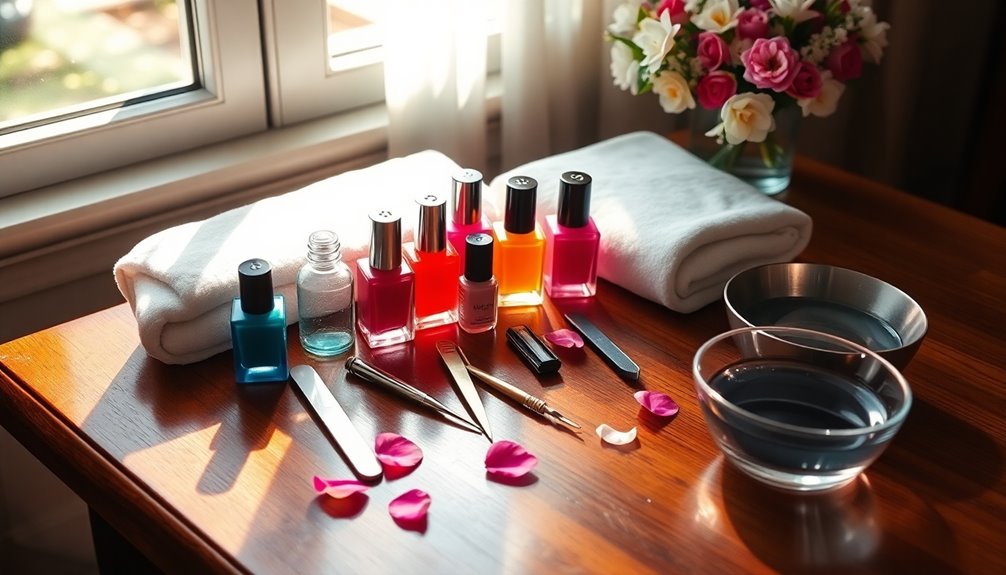
To achieve a salon-worthy manicure at home, having the right tools is essential. Start with a good nail file for precise shaping and cleaning up after clipping, ensuring your nails look tidy.
Use a nail buffer to smooth and refine your nail beds, prepping them for polish. Don't forget a high-quality base coat to protect your nails and enhance color adhesion.
When it comes to polish, brands like Olive & June, OPI, and essie are top choices for a flawless finish. After applying your color, seal the deal with essie's Gel Couture Top Coat for added durability and shine.
For self-care, remember to push back your cuticles gently and keep a nail polish remover handy for touch-ups or nail art. Additionally, consider using products that contain hydrating ingredients to keep your nails and cuticles moisturized and healthy.
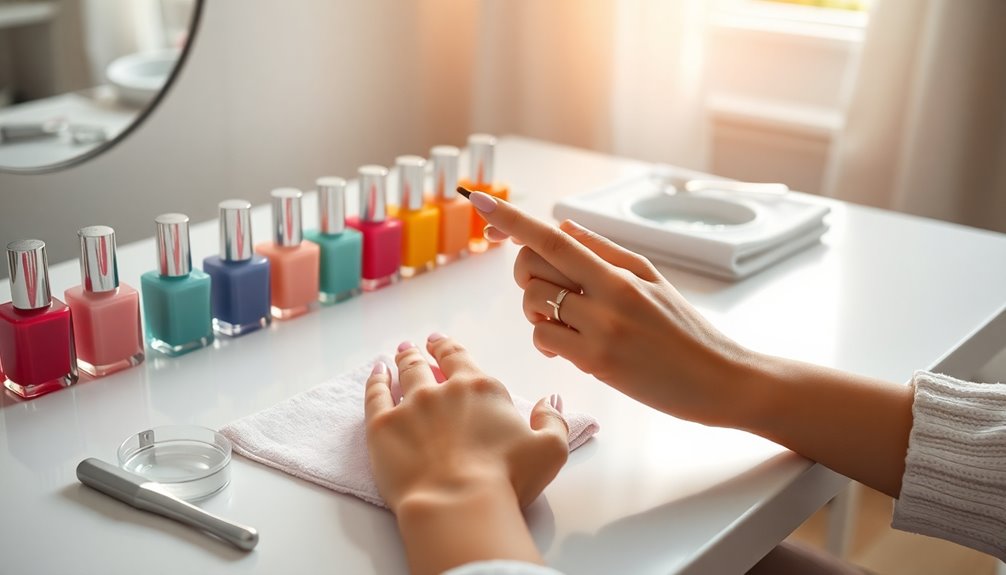
Nail Preparation Steps
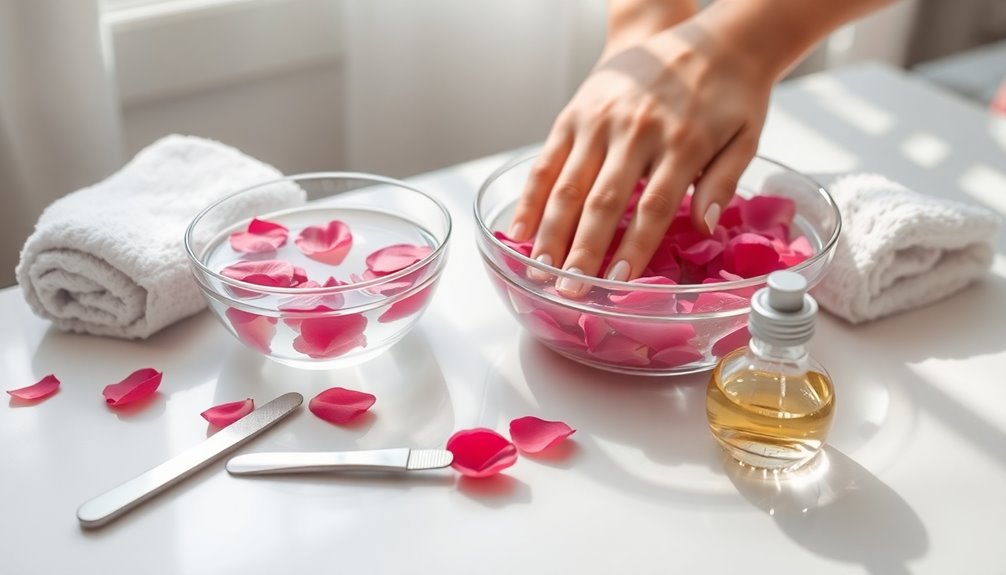
After gathering your manicure tools, it's time to prep your nails for a perfect polish application.
Start by soaking your nails in warm, soapy water for 3-5 minutes. This softens your cuticles, making them easier to manage.
Once soaked, use a cuticle stick to gently push back and trim your cuticles, creating a clean nail bed.
Next, clean your nails thoroughly with a cotton ball and nail polish remover to eliminate any oils or residue.
Don't forget to moisturize your hands with a heavy hand cream afterward to keep your skin hydrated and healthy.
For added nourishment, apply cuticle oil to soften your cuticles and prepare your natural nails for the nail polishes you plan to use. Additionally, maintaining your tools is essential for optimal performance and achieving desired results.
Polishing Techniques
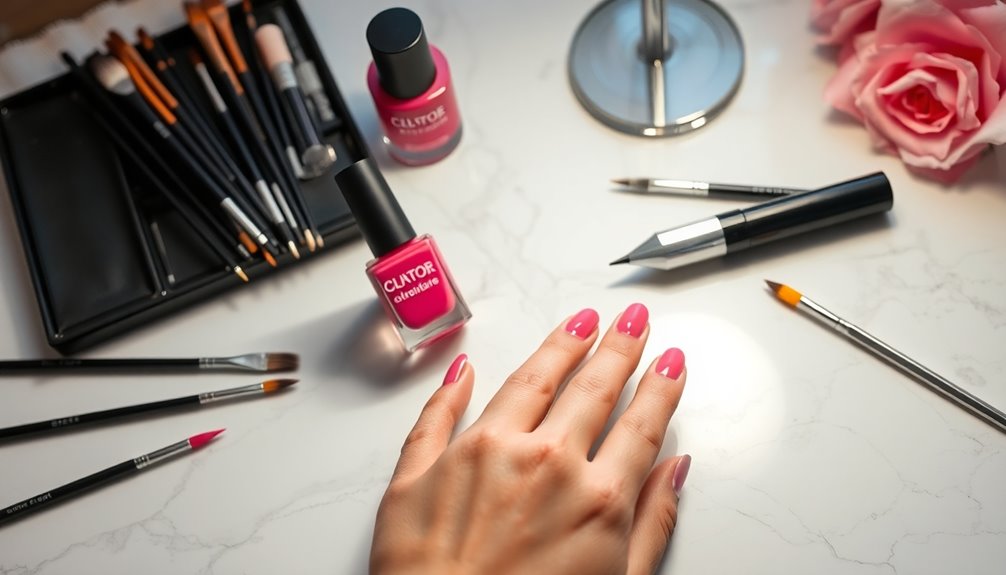
While applying polish might seem straightforward, mastering the right techniques can elevate your manicure to a salon-quality finish.
Start by using Essie's Gel Couture line, which simplifies the process since you won't need a base coat.
When painting your nails, first make a center stroke, then follow with side strokes for even coverage. Apply at least two coats of polish, letting each coat dry slightly to enhance the finish and prevent smudging.
For the last step, apply your top coat using the same center and side stroke method, ensuring you seal the tips and edges. This adds durability to your at-home manicure.
Remember to clean the edges of your nails with a nail brush dipped in remover for that professional touch. Additionally, consider using energy-efficient lighting to create the perfect ambiance for your nail care routine.
Final Touches and Clean-Up
Once you've finished painting your nails, it's time to perfect your look with some final touches and clean-up.
To achieve that polished appearance, make sure to clean up any excess polish around your nails. Use a nail brush dipped in remover for precision.
After that, enjoy the fresh look of your newly done manicure! Take a moment to admire your work and feel accomplished.
Don't forget to file your nails for a smooth finish. Additionally, consider rewarding yourself with a sweet treat like Dirt Cups to celebrate your beautiful nails!
If you want to inspire others, document your journey on social media. Share your feedback about what techniques worked well and what you might change next time.
Encourage friends and family to try at-home manicures by inviting them to join you in the process!
Exploring Press-Ons for DIY Manicures
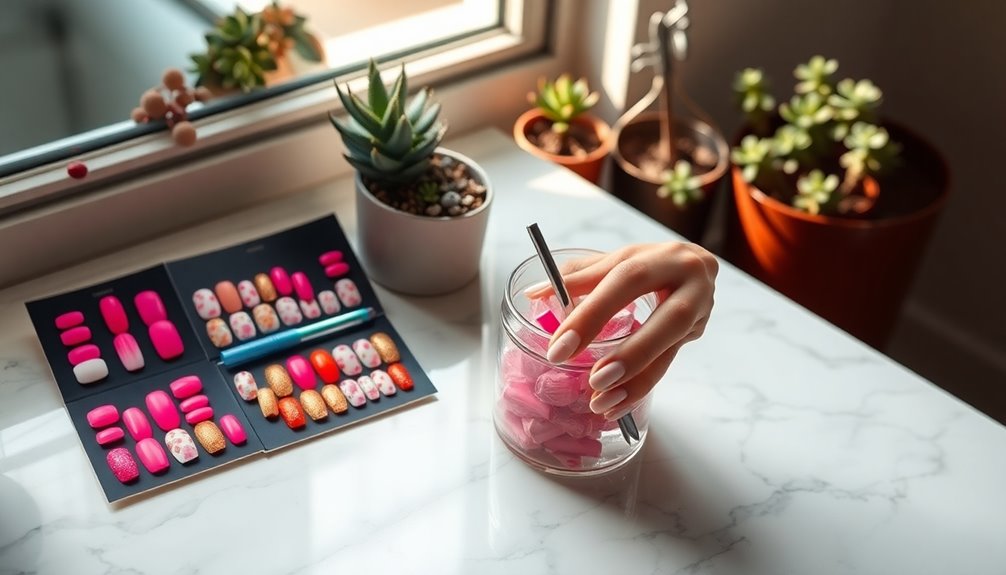
Have you ever considered how easy it's to achieve stunning nails at home with press-ons?
These budget-friendly alternatives to salon manicures let you express yourself with various designs that can last up to two weeks.
Start with proper nail preparation: remove existing polish, push back cuticles, and clean your nails with alcohol or acetone for ideal adhesion.
During application, use minimal glue—one drop on the press-on and one on your natural nail—for a secure fit, ensuring you align the press-on correctly to avoid air bubbles.
For maintenance, handle your press-ons gently to extend their wear. Professional results can be achieved even at home with careful application and maintenance.
When it's time for removal, soak your fingers in warm water and dish soap to protect your natural nails.
Enjoy your fabulous home manicure!
Frequently Asked Questions
How to Do Your Nails at Home for Beginners?
To start doing your nails at home, you'll want to gather your supplies first.
Trim and file your nails to your desired shape, then soak them in warm, soapy water for a few minutes to soften the cuticles.
Once they're prepped, apply a base coat to protect your nails, followed by two thin layers of your favorite polish.
Finish with a top coat for shine and durability, and you'll have a polished look in no time!
What Is the Easiest Way to Do Fake Nails at Home?
Applying fake nails at home can be as satisfying as finding the perfect outfit.
Start with quality press-on nails that suit your style. Clean and trim your natural nails, pushing back cuticles, and wipe with alcohol to remove oils.
Apply glue to both the press-on and your nail, pressing firmly for 15-20 seconds. File and shape them to your liking afterward.
Just remember to handle them gently to keep them secure!
How to Do Acrylic Nails at Home Step by Step?
To do acrylic nails at home step by step, start by preparing your natural nails. Clip them short, file the edges, and push back your cuticles.
Apply a primer for better adhesion, then attach full-coverage tips with nail glue.
Mix acrylic powder and liquid monomer, applying it to the tips with a brush. Cure under a UV lamp, then file and buff for smoothness.
Finally, add a top coat for shine and durability.
What Do You Soak Your Fingers in for a Manicure?
Did you know that 80% of people underestimate the importance of proper nail care?
For a manicure, you soak your fingers in warm, soapy water for 3-5 minutes. This softens your cuticles and preps your nails. You can add a few drops of essential oils for extra hydration.
Soaking one hand at a time makes it easier to multitask. After soaking, rinse and pat your hands dry before moving on to cuticle care.
Conclusion
With just a few tools and your creativity, you can transform your nails into works of art right in your living room! Imagine the thrill of flaunting jaw-dropping nail designs that even the professionals would envy. You're not just doing your nails; you're releasing your inner artist and giving yourself a mini spa day! So, why wait for an appointment? Immerse yourself in the world of at-home manicures and let your fingertips steal the spotlight!