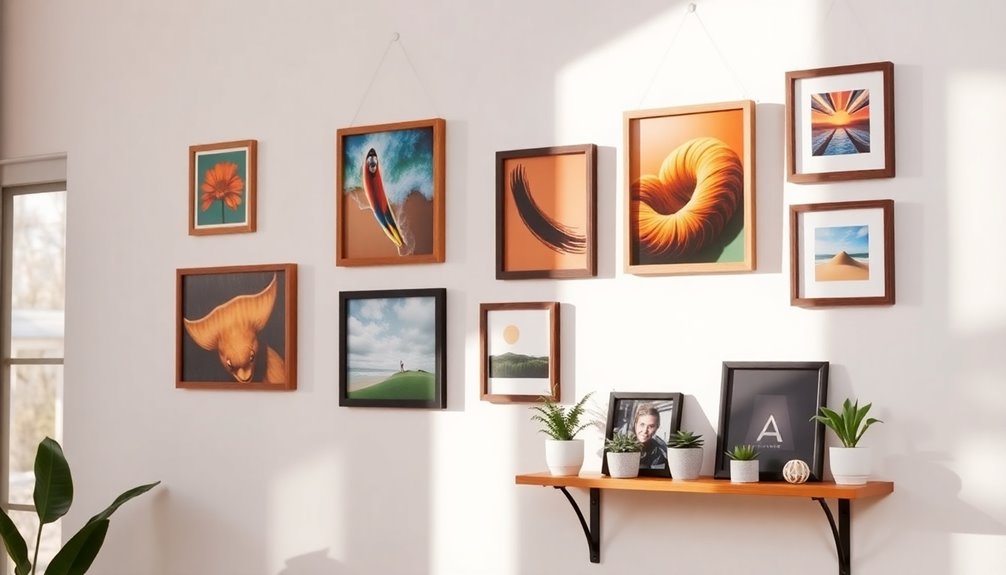

You can easily hang pictures without nails by using adhesive strips, putty, or hooks designed for various weights. For lighter pieces, try picture hanging strips or adhesive putty, while heavier frames might need command strips or hooks. You can also create unique displays by leaning art on shelves or utilizing ceiling options. These methods protect your walls and allow for easy adjustments. If you're curious about more creative ways to hang your art, there's plenty more to explore!
Key Takeaways
- Use picture hanging strips for lightweight frames, ensuring surfaces are clean for strong adhesion.
- Apply adhesive putty for small, lightweight pictures that require easy repositioning without damage.
- Command strips and hooks can support heavier items, with multiple strips or hooks enhancing weight capacity.
- Consider hanging pictures from the ceiling using picture rails for a stylish and adjustable display.
- Lean framed art on shelves or furniture for a relaxed and flexible display without any wall damage.
Assessing Your Wall and Picture Weight

Before you start hanging your pictures, it's important to evaluate the weight of each piece, since this will help you choose the right hanging method.
Lighter artwork can be effectively secured using adhesive strips or lightweight hooks, while heavier pieces may need sturdier solutions.
Also, verify the wall material—like drywall, plaster, or concrete—because each surface has different capabilities for holding adhesive products.
Make certain the wall is clean and smooth, as dust or texture can reduce the effectiveness of adhesive strips.
Don't forget to take into account the dimensions of your frames; larger ones often require multiple strips or hooks to distribute weight evenly.
Always check the manufacturer's guidelines for weight limits to guarantee a secure hang. Additionally, ensuring your home environment is clean can support a healthier lifestyle by promoting cleanliness and hygiene, which is particularly important when hanging decor that can collect dust.
Using Picture Hanging Strips
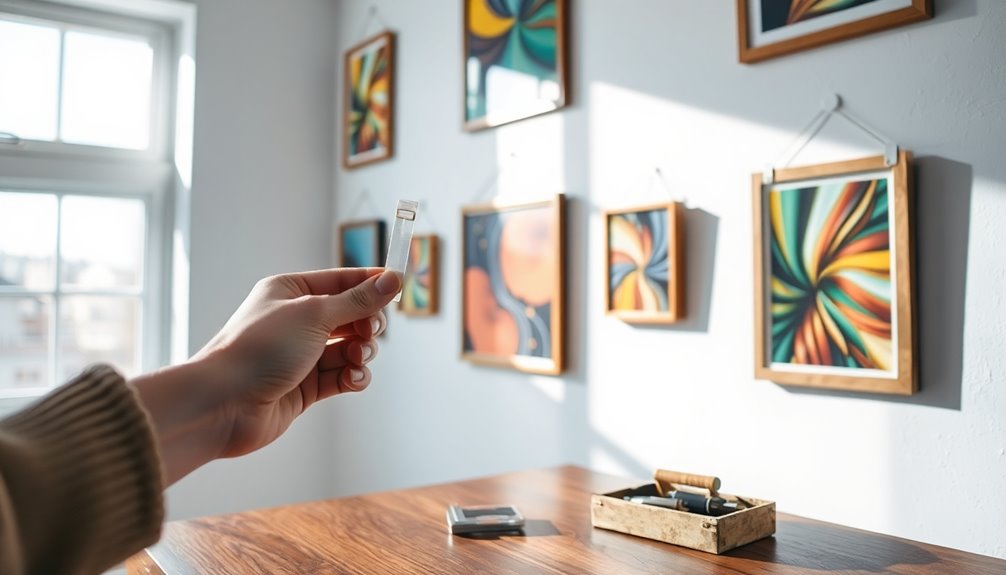
Picture hanging strips are a fantastic solution for displaying your artwork without the hassle of nails.
These convenient strips, like VELCRO® Brand HANGables®, make it easy to hang pictures without nails while ensuring your walls stay damage-free.
Here's what you need to know:
- They hold frames weighing up to five pounds.
- Each strip consists of two parts for secure mounting.
- Clean surfaces are essential for a strong bond.
- Allow the strips to bond for at least one hour.
- Use multiple strips for larger frames to distribute weight.
With picture hanging strips, you can effortlessly create a beautiful gallery wall. Using heat-resistant gloves during the application process can also help ensure safety and prevent any potential mishaps.
They leave no residue or marks on removal, making them perfect for renters!
Exploring Adhesive Putty Options
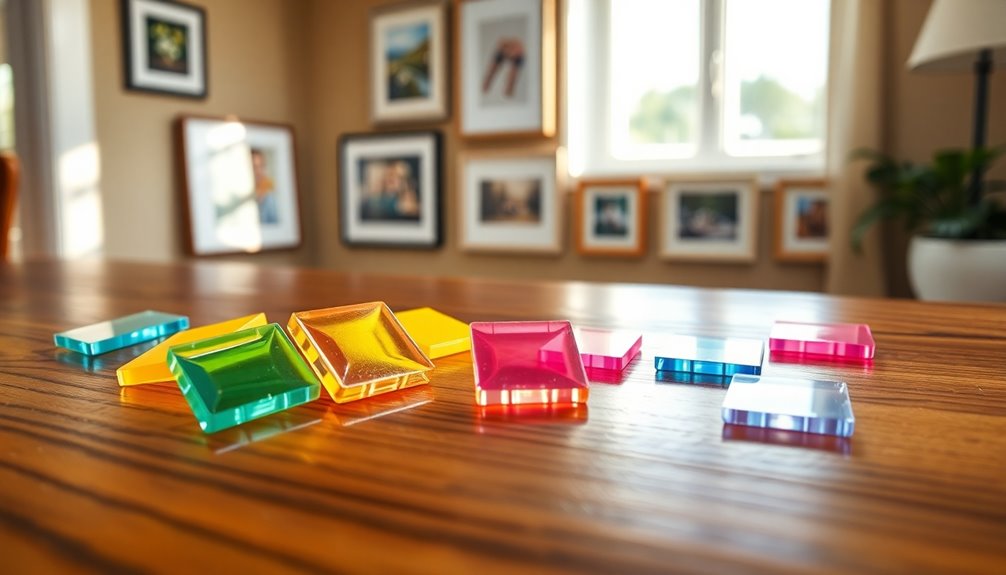
When considering adhesive putty for hanging your pictures, you'll find various types designed for different surfaces and needs.
It's essential to apply the putty correctly to guarantee your artwork stays put, especially since each option has weight limitations. Community responses to controversial topics can provide insights into the effectiveness of various hanging methods as users share their experiences.
Let's explore the best application techniques and how much weight your chosen putty can support.
Types of Adhesive Putty
There are several types of adhesive putty available, each catering to different needs and preferences.
When choosing adhesive putty, consider the following options:
- Standard Adhesive Putty: Great for lightweight pictures, holding up to 1-2 pounds.
- Repositionable Putty: Allows for easy adjustments without leaving residue behind.
- Non-toxic Formulations: Safe for homes with children and pets.
- Specialty Putty: Designed for specific wall surfaces, like painted drywall or plaster.
- Weather-resistant Putty: Suitable for outdoor use or humid environments.
Before applying, clean the wall surfaces for better adhesion. Additionally, selecting non-toxic materials ensures safe use in homes with young children.
The right adhesive putty guarantees you can hang your pictures and easily remove them without damaging your walls.
Application Techniques
Adhesive putty offers several effective techniques for hanging your lightweight artwork securely. Start by verifying the wall surface is clean and dry. Then, apply multiple lumps of putty to the back of your picture for better weight distribution. This method is ideal for hanging pictures without nails on smooth surfaces. Additionally, ensuring that the wall is properly cleaned can help maintain optimal health of your living space by preventing mold and dust accumulation.
Here's a quick reference table to help you apply adhesive putty effectively:
| Step | Action | Notes |
|---|---|---|
| 1 | Clean wall surface | Use a damp cloth |
| 2 | Apply putty to the back of picture | Use several lumps |
| 3 | Press picture against the wall | Verify firm contact |
| 4 | Test adhesion by gently tugging | Confirm it holds securely |
Weight Limitations
Understanding weight limitations is essential for successfully hanging pictures with adhesive putty. This method works best for lightweight pictures, typically supporting up to 2 pounds per piece when applied correctly.
To maximize effectiveness, consider these tips:
- Use multiple lumps of putty to evenly distribute weight.
- Confirm the wall is clean using an alcohol-based cleaner.
- Opt for smoother wall surfaces for better adhesion.
- Evaluate the weight and size of your artwork before using putty.
- Avoid heavy or large frames, as they may not hold.
Additionally, be aware that using necessary cookies on your browsing experience can help you access related resources for better home improvement techniques.
Command Strips and Hooks for Heavy Items

When it comes to hanging heavier items, Command Strips and Hooks offer reliable solutions that won't damage your walls.
You'll want to pay attention to the weight limits and follow the installation instructions closely to guarantee everything stays secure.
With the right techniques, you can create a stunning display without any nails. Additionally, using advanced filtration systems can help maintain a clean and healthy environment in your home while you focus on your decor.
Ideal Weight Limits
Choosing the right Command strips or hooks is essential for safely hanging your favorite artwork or photos.
Understanding the ideal weight limits will guarantee everything stays securely in place. Here's what you need to know:
- Command strips can hold up to 5 pounds for lightweight items.
- The largest strips are suitable for 24×36 inch frames.
- Command hooks can support up to 7.5 pounds, which is ideal for heavier pieces.
- Using multiple hooks together can increase your weight capacity.
- Always opt for a stronger adhesive option if you're unsure about the item's weight. Additionally, proper priming ensures that surfaces are clean and ready for any hanging methods used.
Proper Installation Techniques
To hang heavier items securely, start by selecting the right Command Strips or Hooks based on their weight capacities. For hanging picture frames up to 24×36 inches and five pounds, Command Strips work perfectly, ensuring a secure hold without damaging your walls.
If you're dealing with vintage mirrors or heavier decor, opt for Command Hooks that support up to 7.5 pounds. Before applying, clean the wall surface with rubbing alcohol to enhance adhesion.
Press the adhesive strips firmly against both the wall and your item for at least 30 seconds. Be sure to wait one hour for the adhesive to bond properly. Regular maintenance of adhesive surfaces can also help ensure a strong hold over time.
When it's time to remove them, pull the tab straight down to avoid any marks or damage.
Versatile Hanging Solutions
While you might think that hanging heavier items requires nails or screws, Command Strips and Hooks provide a clever alternative that keeps your walls intact.
These picture hangers are perfect for anyone living in a rental, as they're easy to use and leave no marks behind.
Here are some benefits of using Command products:
- Ideal for frames and decor, accommodating weights up to 5 pounds.
- Command hooks hold up to 7.5 pounds for larger items.
- Create a gallery-like effect without damaging walls.
- Use multiple hooks for additional support on bigger pieces.
- Suitable for various surfaces like wood, ceramic tiles, and metal.
Additionally, using these products can help you avoid additional costs for equipment upgrades that come with traditional hanging methods, allowing for a budget-friendly decorating solution.
With Command Strips and Hooks, you can style your space effortlessly and without worry!
Hanging Pictures From the Ceiling
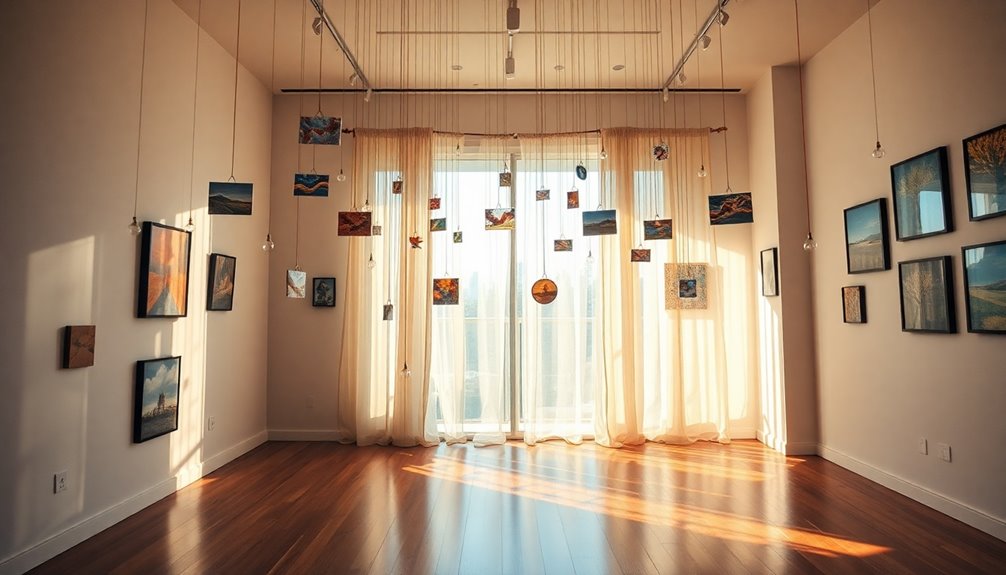
If you're looking to add a unique touch to your space, hanging pictures from the ceiling can create a striking gallery effect.
You can utilize existing picture rail molding, often found in older homes, to display your wall art stylishly without using nails. Simply gather picture wire and hooks that fit the molding's width to secure your artwork effectively.
If you prefer a modern approach, install picture rails with built-in hooks for a clean, functional look that allows you to hang art at varying heights.
This method not only enhances your room's aesthetic but also lets you change your artwork easily, making it perfect for renters who want to minimize visible wall damage.
Leaning Your Framed Art
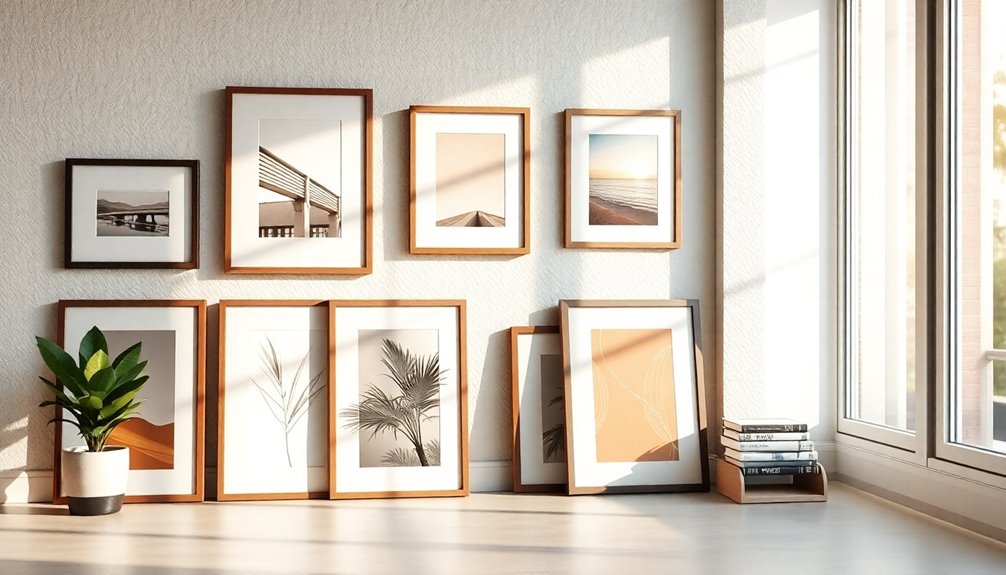
Leaning your framed art against walls creates a relaxed vibe that's easy to change whenever you want.
You can place your pieces on shelves, bookcases, or even the floor, giving you plenty of options.
To really make your display pop, cluster different frame sizes and styles together for a visually appealing arrangement.
Casual Display Style
For a relaxed and inviting display, you can easily lean framed art against the wall, creating a casual vibe that suits any space.
This casual display style is a versatile way to showcase your art, allowing you to rearrange without damaging the wall. Here are some tips to enhance your leaned art arrangement:
- Cluster differently-sized frames for visual appeal.
- Lean larger frames directly against the floor for added height.
- Utilize shelves, bookcases, or mantels for unique displays.
- Experiment with spacing to create an eclectic look.
- Update your arrangement easily as your decor preferences evolve.
This method not only offers flexibility but also adds a curated aesthetic to your home.
Enjoy the creative freedom that comes with leaning your framed art!
Surface Options Available
A variety of surfaces can serve as the perfect backdrop for leaning your framed art, helping you achieve that effortlessly stylish look. You can easily hang art without nails by utilizing flat surfaces like mantels, bookshelves, and dressers.
These spots create an eclectic display, allowing you to mix different frame sizes and styles. Larger pieces leaned directly against the floor can make a bold statement while still providing versatility in your arrangement.
This method is particularly beneficial for renters or anyone wanting to avoid wall damage. By experimenting with these best options, you can effortlessly change your artwork and refresh your space whenever you like, all without the hassle of nails or hooks.
Cluster for Visual Appeal
While you might think that hanging art requires nails, clustering framed pieces creates a stunning visual appeal without damaging your walls. By leaning art against the wall, you achieve a relaxed look and can easily rearrange your decor.
Here are some tips for creating an eye-catching cluster with different-sized frames:
- Choose surfaces like shelves, bookcases, or mantels for display.
- Mix frame styles and colors for an eclectic vibe.
- Lean larger frames against the floor for a bold statement.
- Arrange frames in a loose grouping for flexibility.
- Experiment with height and spacing to enhance visual interest.
This method not only adds personality to your space but also allows you to showcase your favorite art without worrying about nails or hooks.
Creative Display on Shelves
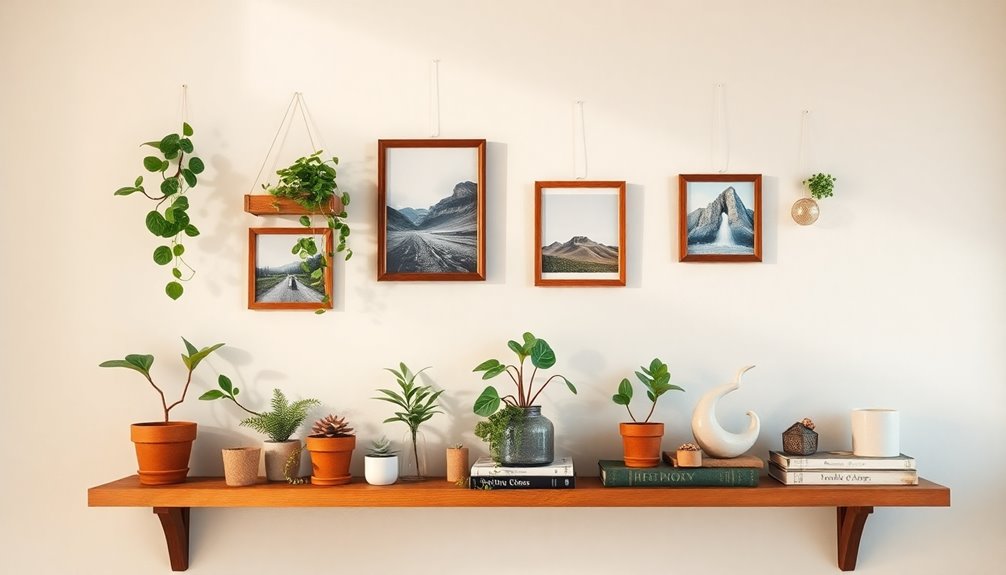
Creating a creative display on shelves not only showcases your favorite pictures but also enhances the overall aesthetic of your space.
Use clean and organized shelves to intersperse framed pictures among books, achieving a curated look without clutter. Lean larger framed art pieces against the back for depth, while smaller frames can cluster in front, creating a layered effect.
Mixing different frame styles, colors, and sizes adds visual interest, resulting in an eclectic yet cohesive display. Incorporate decorative objects like plants or sculptures to break up the space and add character.
Regularly rotating your displayed art and decor keeps the arrangement fresh and engaging, encouraging a dynamic decorating approach that reflects your personal style.
Utilizing Picture Rails and Molding
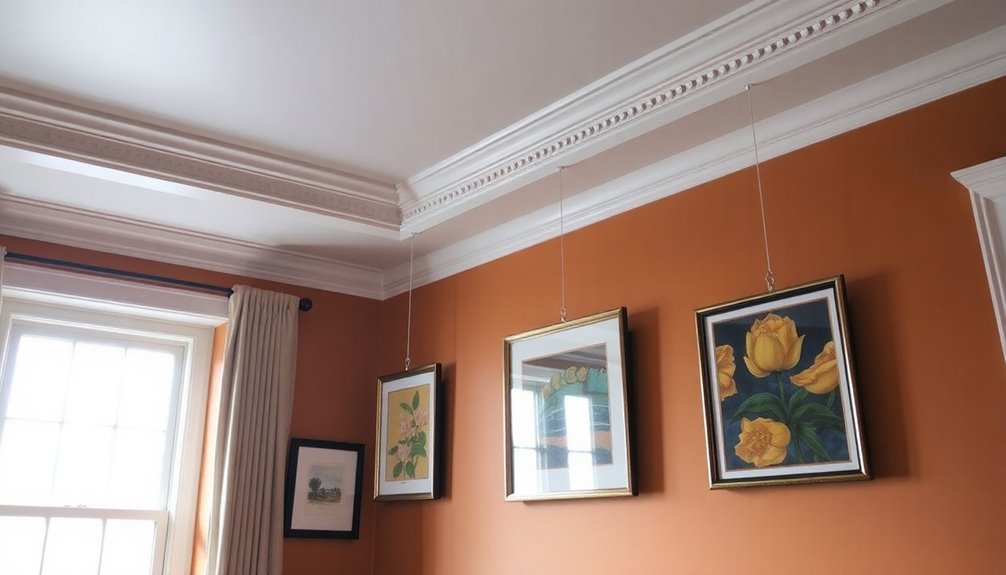
Picture rails and molding offer a stylish and practical solution for hanging art without the hassle of nails. You can easily install hooks that fit your picture rail's width, allowing you to display your artwork without damaging the walls.
This method is perfect for those who love to change their displays frequently.
Here's how to make the most of picture rails and molding:
- Choose hooks designed for picture rails.
- Use aesthetic rope or string to support your artwork.
- Hang artwork at a high placement for visual impact.
- Create a cohesive look with various frame styles.
- Enjoy easy rearrangement without leaving permanent marks.
With picture rails, you preserve your walls' integrity while showcasing your favorite pieces beautifully.
Alternative Solutions: Clips and Easels

If you're looking for a more flexible way to showcase your artwork, consider using clips and easels as alternative solutions.
Clips, like binder clips or clothespins, let you easily change your art displays without damaging the wall. Simply attach your artwork to the clips, ensuring the weight is within their capacity to prevent falls. This method encourages creativity, allowing you to switch things up whenever you like.
On the other hand, easels provide a stylish way to display larger pieces, making them focal points in your space.
Both clips and easels offer a casual, dynamic approach to art display, letting you mix various styles and arrangements without the commitment of permanent fixtures.
Tips for Removing Adhesives Without Damage
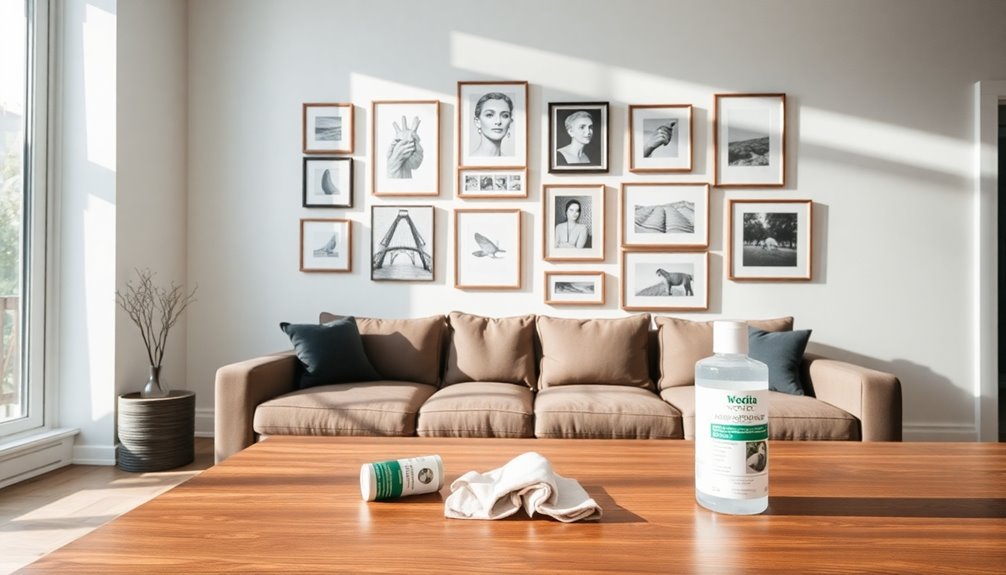
When it's time to remove adhesive hooks or strips, knowing the right techniques can save your walls from damage.
Follow these tips for effective removal:
- Use a hair dryer on low heat to gently warm the adhesive.
- Pull the adhesive away from the wall slowly and at a 45-degree angle.
- Make certain the wall surface is clean and dry before removal.
- Test a small, inconspicuous area first to check for any adverse reactions.
- For stubborn residues, apply rubbing alcohol or adhesive removers to loosen the bond.
Frequently Asked Questions
How Can I Hang Pictures Without Nails?
You can hang pictures without nails in several creative ways.
Try using adhesive picture hanging strips for lightweight frames—they're easy to apply and won't leave residue. If you need something sturdier, adhesive wall hooks can hold heavier items without damaging the surface.
Leaning framed art against walls or using clips for quick changes are also great options. For a modern twist, consider magnetic systems for effortless swapping.
You'll keep your walls intact while displaying your art.
What Is the Least Damaging Way to Hang Pictures?
When you're looking for the least damaging way to hang pictures, consider using adhesive picture hanging strips. They hold your artwork securely without leaving residue upon removal.
If you've got heavier items, Command hooks are perfect since they can manage up to 7.5 pounds without marking your walls.
For a more permanent solution, press-in hooks create tiny holes and support heavier pieces, making them a versatile option without much damage.
Do Command Strips Work for Hanging Pictures?
Imagine your walls whispering in gratitude as you hang pictures without a single nail!
Yes, Command Strips work wonders for hanging pictures. They can support frames weighing between one and five pounds, depending on the size you choose.
Just remember to prep your wall by cleaning it first. Follow the instructions, and give them time to bond before putting up your artwork.
You'll enjoy a damage-free display that's easy to change whenever inspiration strikes!
How to Stick Photos on a Wall Without Damaging Them?
If you want to stick photos on a wall without damaging them, try using adhesive strips like VELCRO® Brand HANGables® for a secure hold that won't leave residue.
Double-sided tape works great too; just press it firmly against the back of your photo and the wall.
For lighter images, clear adhesive putty is perfect, and magnetic systems let you swap pictures easily without any wall damage.
Suction cups are another good option for smooth surfaces.
Conclusion
You might think hanging pictures without nails isn't secure, but with the right tools, it can be just as effective. Picture hanging strips and adhesive putty can hold up your cherished artwork, and they're easy to remove without damaging your walls. Plus, using creative displays like shelves or picture rails adds a unique touch to your decor. So go ahead and get creative—your walls will thank you for it, and you'll preserve their beauty at the same time!