
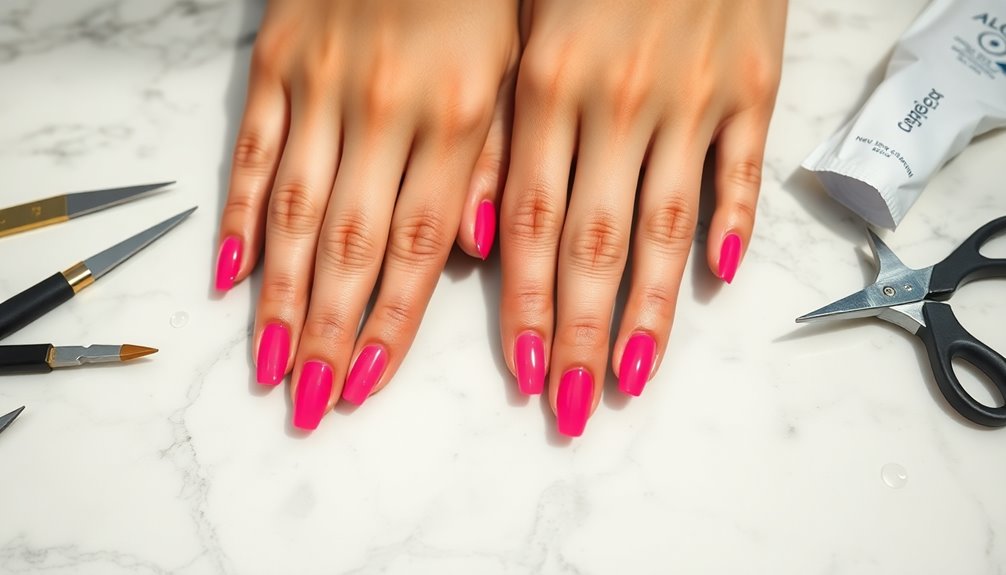
To make your press-on nails last, focus on proper preparation and application. Clean your natural nails well, choosing the right size and shape for a snug fit. Apply a thin layer of high-quality nail glue on both surfaces, aligning nails at a 45° angle. Use a good topcoat and cure it under a UV lamp for added durability. Don't forget aftercare, like moisturizing your cuticles, to maintain flexibility. You'll discover even more tips ahead!
Key Takeaways
- Properly size and shape press-on nails to match your natural nails for better fit and longevity.
- Clean and buff your natural nails to enhance adhesion before applying press-ons.
- Use a high-quality nail glue and apply a thin layer on both press-ons and natural nails for maximum bonding.
- Cure nails under a UV lamp after applying a topcoat to improve durability and shine.
- Moisturize hands and cuticles daily, and avoid soaking in water for at least 24 hours post-application.
Understanding Press-On Nails
When you're looking for a quick and stylish way to enhance your manicure, press-on nails are a fantastic option.
These artificial nails, typically made from acrylic, can be easily applied to your natural nails with nail adhesive. The application process is straightforward and involves cleaning your nails for better adhesion.
Proper sizing is essential; press-on nails should fit snugly on your nail bed to prevent lifting and guarantee they last longer. Many brands offer various sizes for a customized fit.
With good care for your nails, such as avoiding prolonged water exposure and wearing protective gloves during chores, your press-on nails can stay beautiful for one to two weeks. Additionally, consider consulting with a financial advisor to manage any costs associated with maintaining your nail care routine.
Enjoy the versatility and ease they bring to your manicure routine!
Importance of Nail Preparation
To make your press-on nails last and look their best, preparing your natural nails is key. Start with proper nail preparation by cleaning your nails thoroughly, using alcohol or acetone to remove oils. This enhances adhesion and helps the press-ons stick better.
Next, lightly buffing the surface creates texture for stronger glue bonding, minimizing air pockets that cause lifting. Push back your cuticles gently without trimming to achieve a flush fit, preventing gaps that can lead to lifting.
Don't forget to moisturize your cuticles and hands before application; this promotes overall nail health and strengthens the bond between the press-on nails and your natural nail bed. Adequate prep time guarantees peak adhesion and extends the lifespan of your nails. Additionally, maintaining a healthy nail regimen is essential for preventing damage and ensuring longevity.
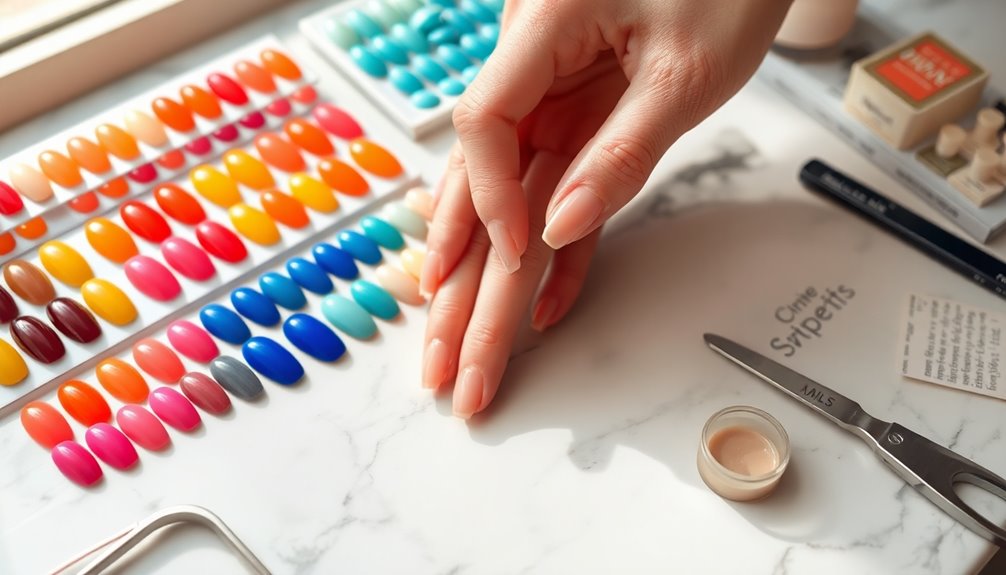
Choosing the Right Size and Shape
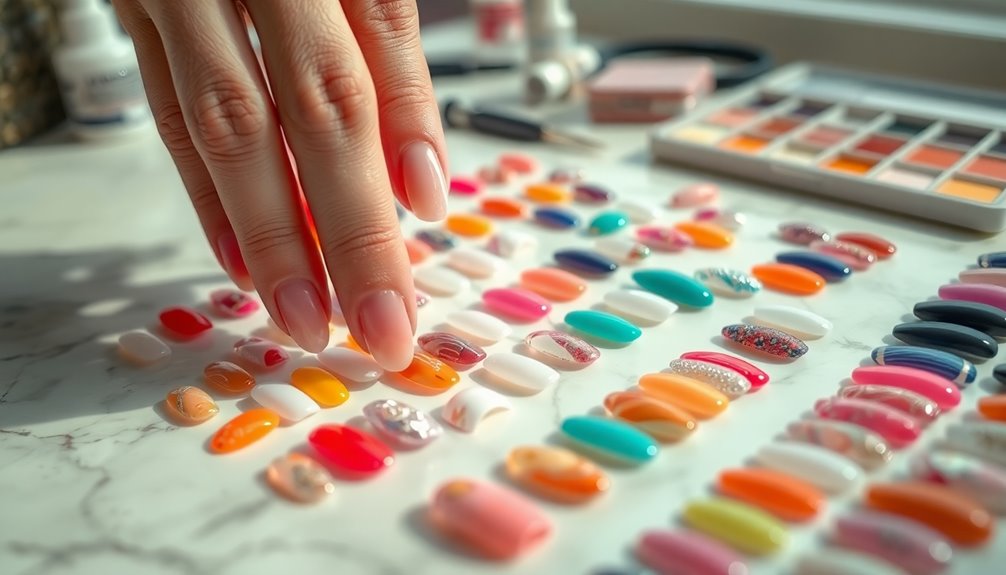
Choosing the right size and shape of press-on nails is essential for ensuring they stay put and look great. When you're choosing the right size, measure your natural nails carefully, as a snug fit prevents lifting and enhances longevity. Many sets include sizing charts to help you find the best match for each finger.
Additionally, consider the nail shape that aligns with your lifestyle; shorter, rounded, or almond shapes are less prone to catching and can extend wear time. Pay attention to the C-curve of the press-ons; it should match your natural nails for a better fit and to help them adhere better. It's also important to use high-quality adhesive bond to maximize the durability of your press-on nails.
If needed, file the side walls to achieve a comfortable fit without compromising the adhesive bond.
Application Techniques for Longevity
To make your press-on nails last, start with proper nail preparation to create a smooth base. Next, focus on ideal glue application to guarantee a strong bond between your natural nails and the press-ons. Finally, consider curing techniques, like using gel polish, to enhance adhesion and durability. Additionally, ensure you choose products with quality ingredients to contribute to healthier nails.
Proper Nail Preparation
Proper nail preparation is essential for ensuring your press-on nails last as long as possible. Start with these nail care steps:
- Clean your nails: Use acetone to remove oils and create a smooth surface for better adhesion.
- Buffer your nails: Lightly buff the surface to enhance grip and prevent air pockets that lead to lifting.
- Push back cuticles: Gently push back your cuticles so the press-on nails sit flush against your natural nail.
- Apply pressure: When attaching the press-on nails, use a thin layer of nail glue on both the press-on and your nail. Press down firmly for at least 30 seconds. Additionally, maintaining proper piercing care and hygiene is crucial for preventing infections that could arise from improper nail application techniques.
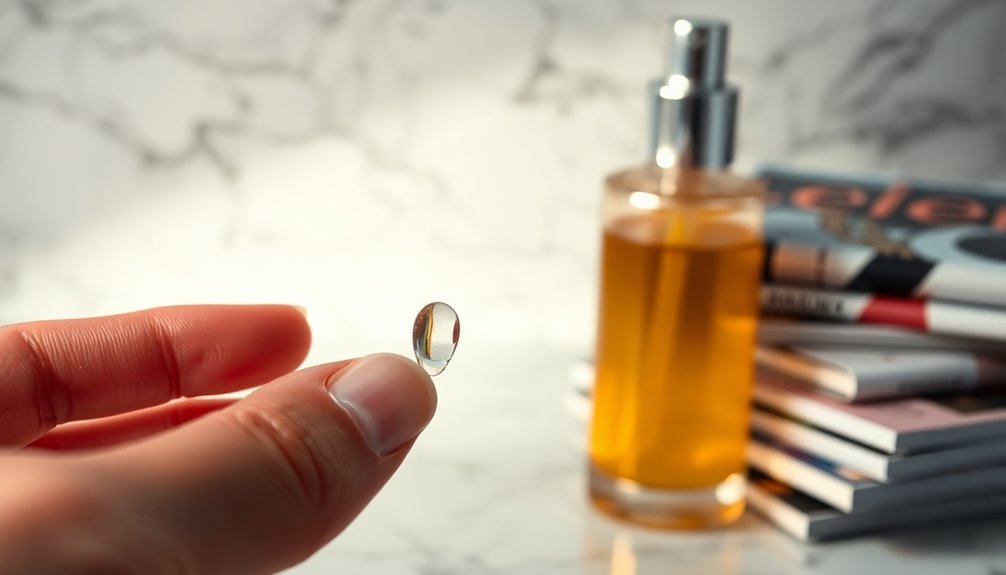
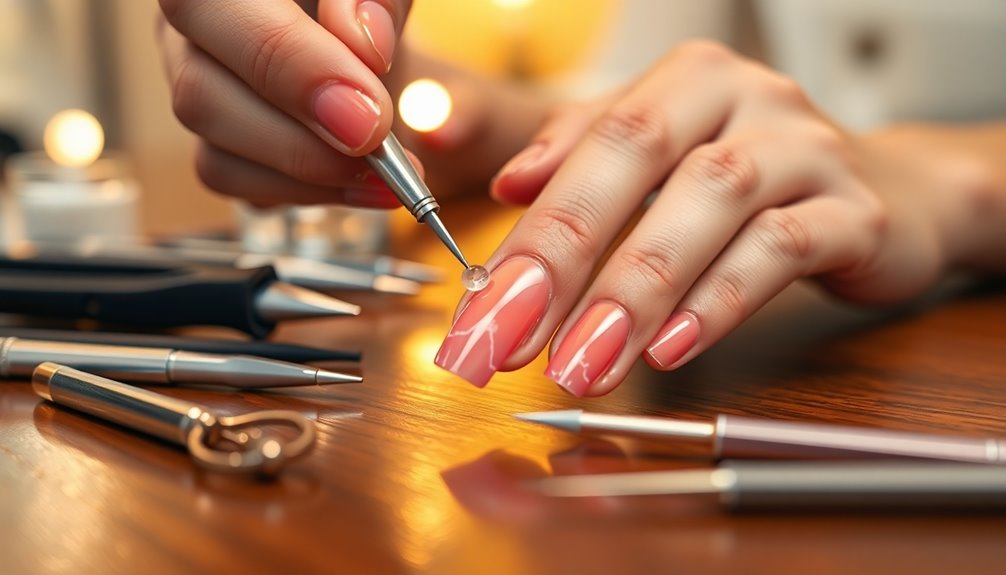
Optimal Glue Application
While applying press-on nails, ideal glue application is essential for ensuring they stay secure and last longer.
Start by applying a thin layer of glue to both your natural nail and the press-on nail. This creates a stronger bond and helps prevent air bubbles that can lead to lifting.
Next, align the press-on nail at a 45° angle to maximize adhesion. Press down firmly, starting from the cuticle and moving toward the tip, holding for at least 20-30 seconds.
Make sure to use nail glue specifically designed for press-ons, as it offers better longevity and quick drying for a strong hold.
Avoid excessive glue, as a small dot in the center is often sufficient for peak adhesion. Additionally, using performance cookies can help track the effectiveness of your press-on nail application for future improvements.
Curing Techniques for Adhesion
After securing your press-on nails with ideal glue application, enhancing their adhesion through curing techniques can greatly boost their longevity.
Consider the following steps:
- Apply nail glue to both your natural nail and the press-on for a stronger bond, ensuring even coverage to avoid air bubbles.
- Press down firmly on the press-on nail from the cuticle to the tip for at least 20-30 seconds.
- Use a UV lamp to cure gel polish applied over the press-on nails; this enhances durability and gives a professional finish.
- Finish with a high-quality top coat to add shine and provide an extra layer of protection against chipping and lifting.
These techniques will help you achieve lasting adhesion for your press-on nails. Additionally, using products with glycolic acid can enhance the overall health of your nails and cuticles, promoting better adhesion.
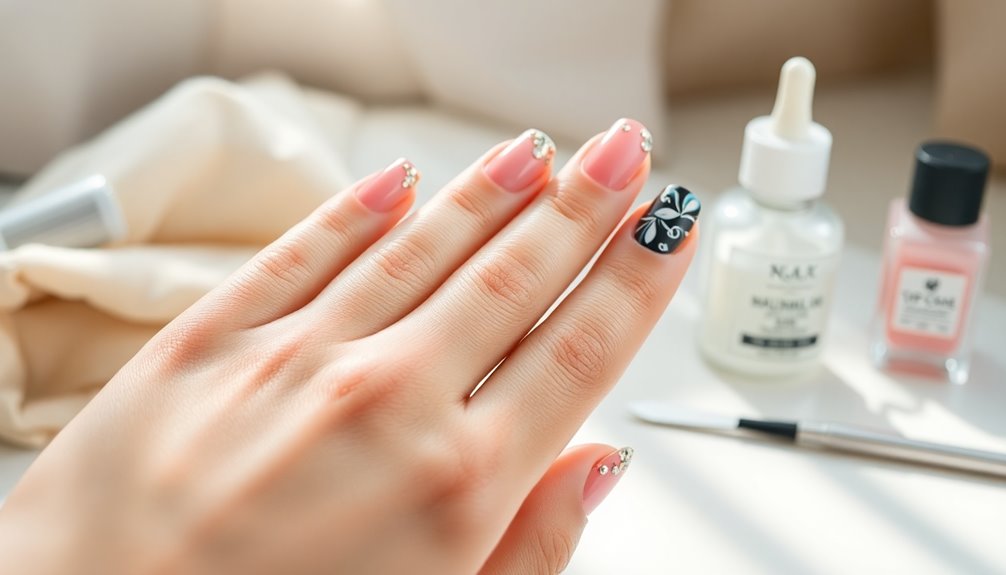
Using Quality Adhesives
Using high-quality adhesives is essential for keeping your press-on nails secure and long-lasting. Opt for high-quality nail glue specifically designed for press-on nails, as it guarantees maximum adhesion and can last up to two weeks when applied correctly.
Start by applying a thin layer of glue to both your natural nail and the press-on nail, minimizing the risk of air bubbles that can lead to lifting. Buffing the inside of your press-on nails enhances the glue's spread, creating an even better bond and extending the wear time of your manicure. Additionally, ensure that the surface of your natural nails is clean and dry, as color accuracy can affect the overall appearance of your press-on nails.
Finally, always clean any excess glue with acetone before it dries to avoid unsightly residue. This careful attention to detail will keep your nails looking flawless.
Curing and Finishing Touches

To make your press-on nails last, curing them with a UV lamp is key. This process not only enhances the bond between the gel polish and your natural nails but also sets the stage for a high-quality top coat application. Make sure you give each nail at least 30 seconds under the lamp for best results. Additionally, ensuring your workspace is free from allergens can help maintain nail health during application.
Gel Polish Benefits
- Curing with UV light: This creates a hard, protective layer that minimizes chipping.
- Extended wear time: Gel polish helps your manicure resist everyday wear and tear.
- Gel top coat: It adds extra shine and strengthens the bond between the press-on nails and your natural nails, reducing lifting.
- Professional appearance: The finish mimics salon-quality results, giving you a polished look.
Additionally, using research-backed articles can provide insights into the best practices for nail care and maintenance.
Topcoat Application Technique
When it comes to achieving a flawless finish with press-on nails, applying a topcoat is essential. A high-quality topcoat, like Essie Gel Couture, enhances durability and creates a seamless finish, protecting against chipping.
For the best results, use gel polish and make certain you apply the topcoat evenly across the entire nail, including the edges, to enhance adherence. Curing each nail under a UV lamp strengthens the bond and gives you a long-lasting shine.
Don't forget to let the topcoat dry completely before using your hands, as this guarantees peak adhesion. By following these steps, you'll prolong the life of your press-on manicure and enjoy a polished look for longer.
UV Lamp Usage
Utilizing a UV lamp is essential for achieving the best results with your press-on nails, as it greatly enhances adhesion and durability.
To guarantee your nails last longer, follow these steps:
- Apply UV gel: Start with a base layer of gel polish on your press-on nails.
- Cure each nail: Place each nail under the UV lamp for 30-60 seconds to properly cure the gel and promote longevity.
- Add a top coat: Apply a gel top coat for extra shine and resilience, then cure again.
- Check your lamp: Regularly inspect the UV lamp's bulb to verify it's functioning well, as weak bulbs can lead to inadequate curing.
These steps will help your press-on nails look professionally finished and stay put!
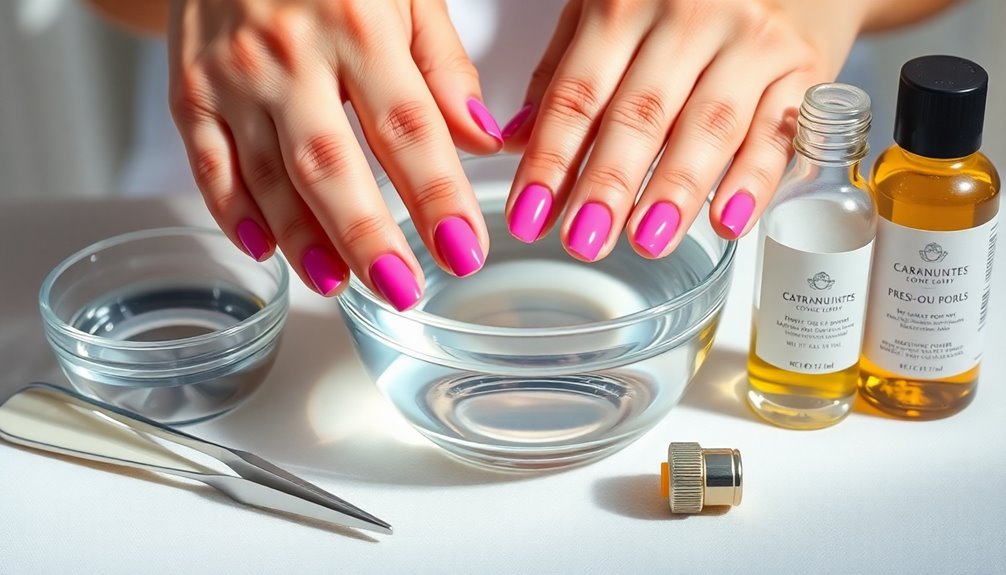
Aftercare and Maintenance Tips

To guarantee your press-on nails last as long as possible, regular aftercare is essential.
Start by moisturizing your hands and cuticles daily to maintain nail flexibility and prevent brittleness. This simple step will help prolong their wear time.
After application, avoid exposing your nails to prolonged water immersion for at least 24 hours, as this can weaken the adhesive bond.
When cleaning or handling chemicals, use gloves to protect the integrity of your press-on nails and minimize the risk of lifting.
Additionally, monitor your nails for any signs of lifting or damage; addressing issues promptly is vital.
Finally, consider applying a high-quality topcoat every few days to add shine and extra protection, enhancing your nails' longevity through effective aftercare and maintenance.
Common Mistakes to Avoid

Even the best press-on nails can fall short if you make common mistakes during application. To guarantee your nails adhere properly and last longer, steer clear of these pitfalls:
- Neglecting to buff your nails: Failing to prepare your nail surface can lead to poor adhesion.
- Using the wrong size: Choosing press-on nails that don't fit can create gaps or too much pressure.
- Overusing glue: Applying too much can cause spillage and air bubbles, weakening the bond.
- Ignoring drying time: Not allowing sufficient drying time after nail application can compromise adhesion.
Also, remember to avoid water exposure for at least 24 hours post-application to make your press-on nails last longer!
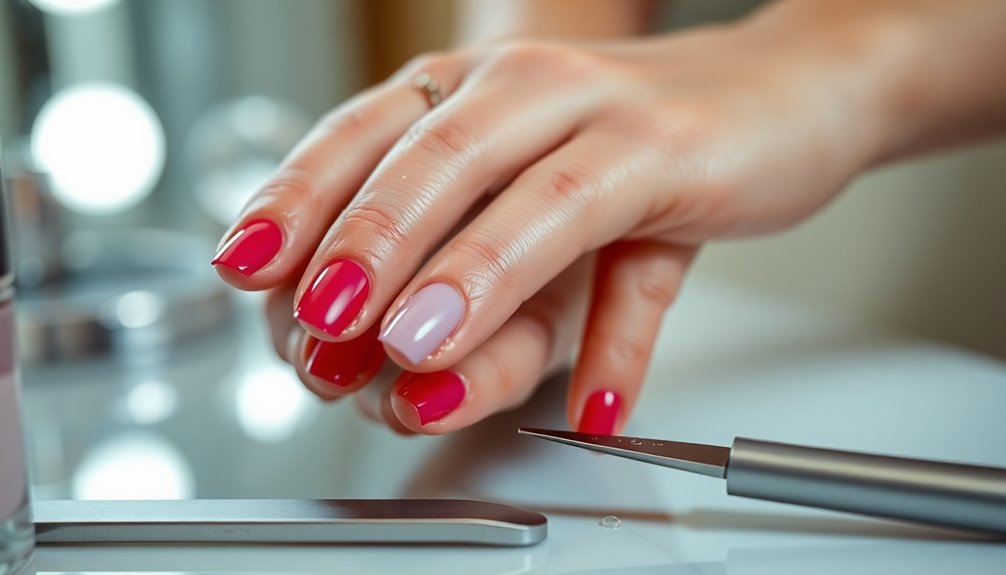
Proper Removal Methods
Removing press-on nails properly is just as important as applying them correctly.
Start by soaking your hands in warm, soapy water for 10-15 minutes to help loosen the adhesive. After soaking, gently wiggle the press-on nails to see if they lift off easily; avoid pulling to protect your natural nails.
If they don't come off, use acetone or a non-acetone remover to soak them for a few more minutes to dissolve the adhesive.
Next, use an orange stick or cuticle pusher to carefully slide between the press-on and your natural nail, being gentle to prevent injury.
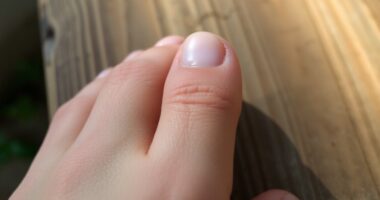
Once removed, treat your natural nails with a nourishing nail oil or moisturizer to keep them healthy and hydrated.
Enhancing Your Nail Care Routine
While press-on nails can instantly elevate your look, enhancing your nail care routine is essential for ensuring they last longer and keep your natural nails healthy.
Here are four key steps to help you maintain a solid routine:
- Moisturize your hands and cuticles regularly with quality creams or oils to promote better adhesion for press-ons.
- Incorporate a nail hydrator into your routine to strengthen natural nails and prevent brittleness.
- Maintain a consistent manicure schedule by buffing and trimming nails for a smooth surface that enhances bonding.
- Always apply a high-quality base coat before your press-ons to protect your nails and extend the life of your manicure.
Frequently Asked Questions
How Do You Make Press on Nails Last Longer?
To make press-on nails last longer, you need to start with proper preparation.
Clean, buff, and dehydrate your nails to create an adhesive-friendly surface. Choose the right-sized press-ons and file them for a snug fit.
Apply a thin layer of high-quality nail glue to both your natural nail and the press-on, pressing firmly for at least 30 seconds.
Finally, avoid water exposure for the first 24 hours to maintain the bond.
Why Do My Press on Nails Keep Popping Off?
If your press-on nails keep popping off, it's likely due to a few common mistakes.
First, make certain you're properly prepping your natural nails—clean and dehydrate them to enhance adhesion.
Check that you're using the right size; a snug fit is essential.
Also, press down firmly for at least 15-30 seconds during application.
Finally, avoid water exposure for 24 hours and use high-quality adhesive designed for press-ons to guarantee better longevity.
Why Won't My Glued Nails Stay On?
If your glued nails won't stay on, it could be due to a few reasons.
First, make certain your natural nails are clean and dry, as oils can prevent proper adhesion.
You might also be using low-quality glue or incorrect sizes that leave gaps.
Remember to apply firm pressure for about 20-30 seconds after sticking them on.
Finally, avoid excessive water or harsh chemicals right after application to keep the bond strong.
How to Make Nail Stickers Stick Longer?
To make nail stickers stick longer, start by ensuring your natural nails are clean and dry.
Use a nail dehydrator or alcohol wipe to remove any oils, enhancing adhesion.
When applying the stickers, press firmly from the cuticle to the tip, smoothing out air bubbles.
After application, consider adding a clear topcoat for extra protection.
Finally, avoid water exposure for the first few hours to maintain a strong adhesive bond.
Conclusion
By following these tips, you can make your press-on nails last longer than a star's reign on the charts! Nail preparation, choosing the right size, and using quality adhesives are key to achieving that salon-fresh look at home. Don't forget about aftercare and avoiding common mistakes to keep your nails looking fabulous. With a little effort, your press-ons will not only withstand the test of time but also turn heads wherever you go!