
To remove dip nails at home, start by filing down the top layer of the dip powder. Next, soak cotton balls in pure acetone and place them on your nails, wrapping each one tightly with aluminum foil. Allow the nails to soak for 10-15 minutes, then repeat if needed. Gently scrape away any remaining residue with a cuticle pusher. Finally, don't forget to hydrate your nails afterward. There's more to learn about this process!
Key Takeaways
- File the top layer of dip powder to help acetone penetrate more effectively during removal.
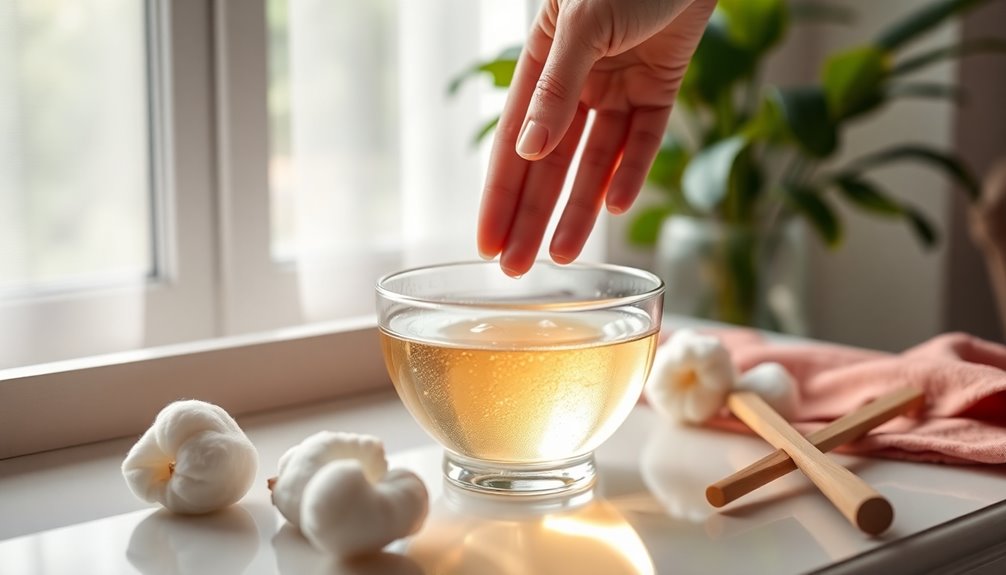
- Soak cotton balls in pure acetone, place them on nails, and wrap with aluminum foil for 10-15 minutes.
- Check for remaining residue after soaking; if needed, repeat the acetone soak for an additional five minutes.
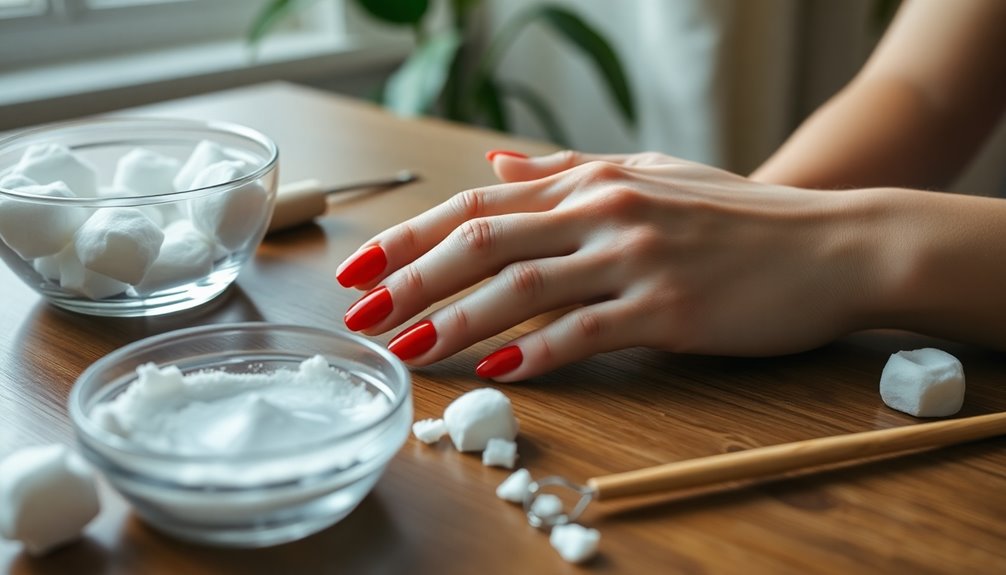
- Use a stainless steel cuticle pusher to gently scrape away any leftover dip powder after soaking.
- Finish with nourishing products and allow a week-long break between applications to promote nail recovery.
What Are Dip Powder Nails?
Dip powder nails, often called SNS nails, are a popular choice for those seeking a durable and vibrant manicure.
These nails stand out for their long-lasting color and strength compared to traditional nail polish. The application process involves applying a base coat, dipping your nails into colored powder, and sealing everything with a top coat.
This technique results in a stunning finish that can last up to two to three weeks. You'll love the variety of colors and finishes available, allowing you to express your style through creative nail art.
Plus, dip powder nails dry quickly and have less odor than gel options, making them a convenient choice for busy individuals who still want fabulous nails. Additionally, the use of eco-friendly practices in nail products can enhance safety and reduce environmental impact.
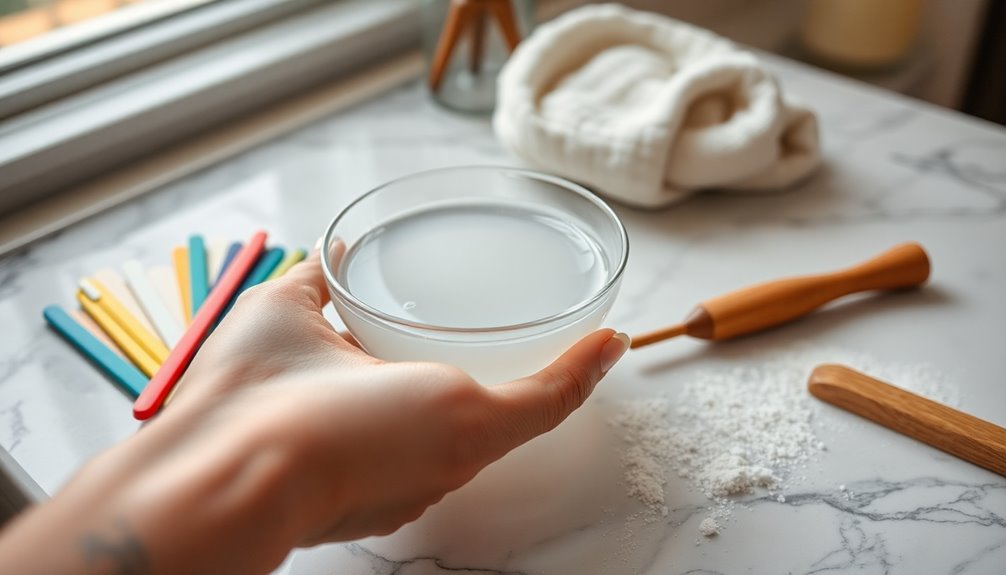
Tools Needed for Removal
To successfully remove dip nails at home, you'll need a few essential tools.
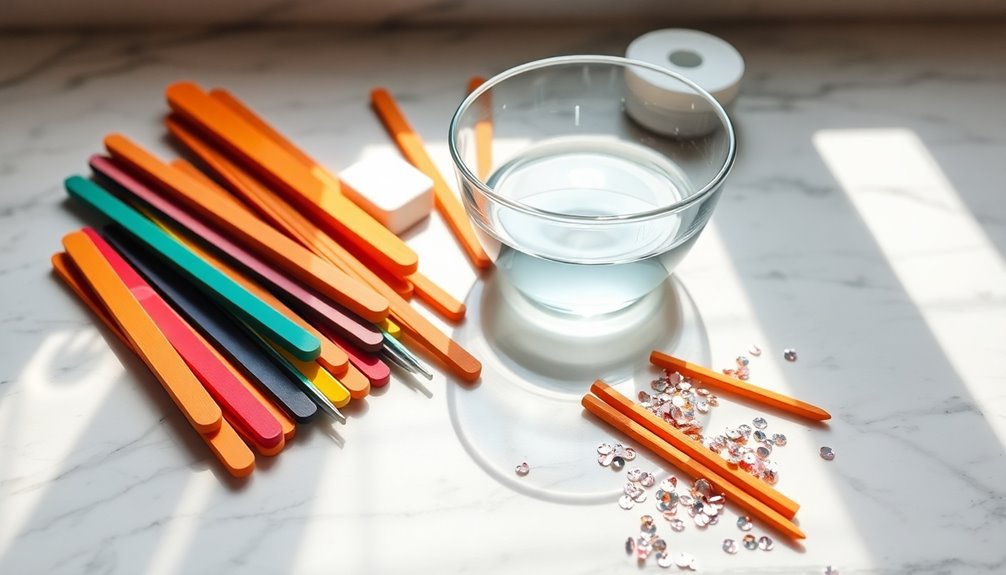
Start with a nail file, pure acetone, cotton balls, and aluminum foil.
These items will make the process smoother and help you achieve the best results. Additionally, having a high contrast ratio in your workspace can enhance visibility and precision during the removal process.
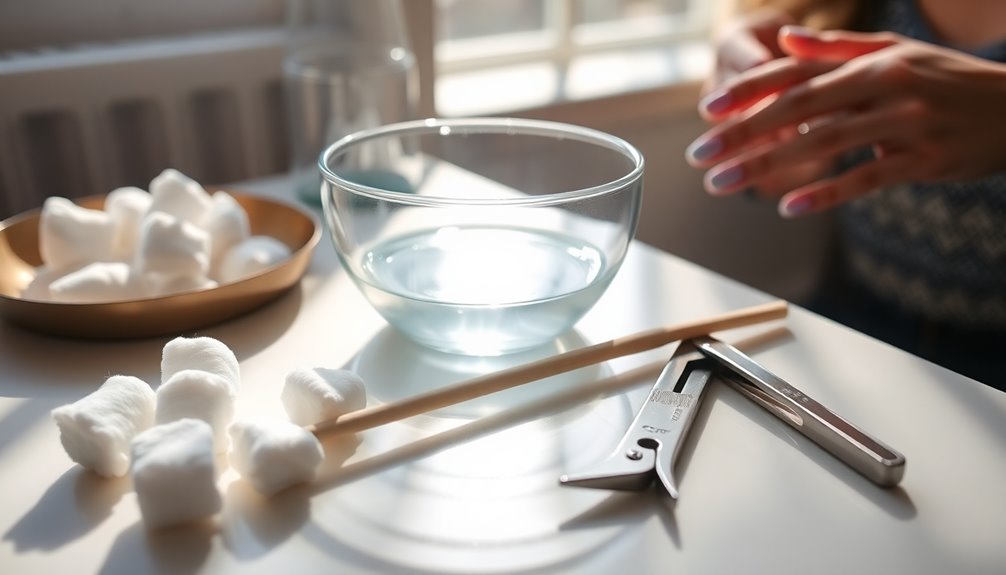
Essential Nail Care Tools
Removing dip nails at home requires a few essential tools to guarantee a smooth and effective process. Having the right nail products can make all the difference. Here's a quick overview of what you'll need:
| Tool | Purpose | Notes |
|---|---|---|
| Nail file/emery board | Buffs the top layer of the dip powder | Helps acetone penetrate better |
| Pure acetone | Dissolves dip powder more effectively | Stronger than regular remover |
| Cotton balls/pads | Soaks in acetone for ideal results | Direct application to nails |
| Aluminum foil | Secures acetone-soaked cotton in place | Maintains moisture during soak |
| Gel removal tool | Gently removes any remaining product residue | Stainless steel is best |
With these tools, you'll be ready to tackle your dip nails at home! Additionally, using high-quality content during your nail care process can enhance your overall experience and provide better results.
Acetone and Alternatives
While many people opt for pure acetone due to its effectiveness, there are alternatives worth considering for dip nail removal.
To get started, gather essential tools: a nail file, acetone, cotton balls or pads, and a gel removal tool or stainless steel cuticle pusher. Pure acetone is critical, as regular polish remover won't dissolve dip powder effectively.
Soak cotton balls in acetone and secure them on each nail with aluminum foil to help the acetone penetrate better. If you want to speed up the removal process, consider using a metal bit to debulk the product before soaking.
While alternatives exist, they generally take longer and may not work as well as acetone for dip nails. Additionally, using natural anti-inflammatory remedies can help soothe any irritation that may arise from the removal process.
Foil Wrapping Supplies
Five essential tools are crucial for successfully wrapping your nails during the dip removal process.
First, grab a coarse nail file to buff the top layer of your dip powder, allowing acetone to penetrate effectively.
Next, you'll need pure acetone—regular nail polish remover won't cut it.
For the foil wrapping supplies, prepare aluminum foil squares about 3-4 inches in size. Soak cotton balls or pads in acetone and place them on each nail.
Finally, have a gel removal tool or stainless steel cuticle pusher handy for any stubborn residue.
Confirm the foil wraps around each nail securely and remains undisturbed to maximize acetone's effectiveness. Additionally, maintaining skin hydration during the removal process can help prevent irritation and dryness.
This approach guarantees a smoother removal experience at home.
Step 1: File Down the Top Layer of Dip Powder
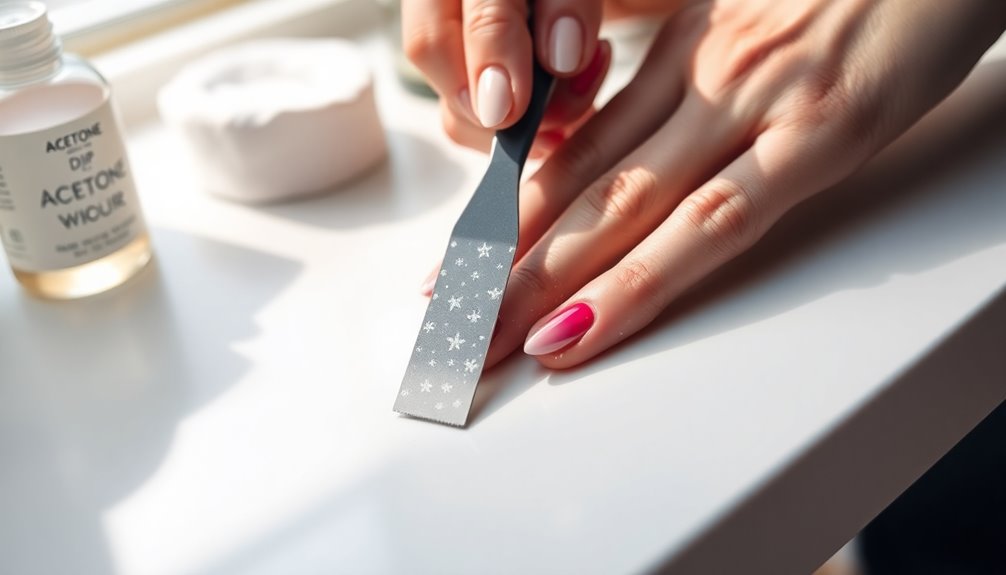
Start by using a coarse nail file or emery board to buff the top layer of your dip powder nails. This step is vital, as you want to file down the top layer to create fine white dust, allowing for effective acetone penetration later.
Focus on filing in a back-and-forth motion, then switch to a side-to-side motion to evenly remove the top layer without harming your natural nails. Be careful not to over-buff; leaving a thin layer of dip powder is essential to avoid damage.
If you've applied a gel top coat, make sure you file it down thoroughly for better acetone absorption. Additionally, it's important to ensure that you maintain the health of your nails, as excessive filing can lead to poor burning characteristics over time.
- Use a coarse file for faster results.
- Don't rush; take your time for even filing.
- Keep an eye on your nail health!
Step 2: Wrap Nails in Acetone-Soaked Foils
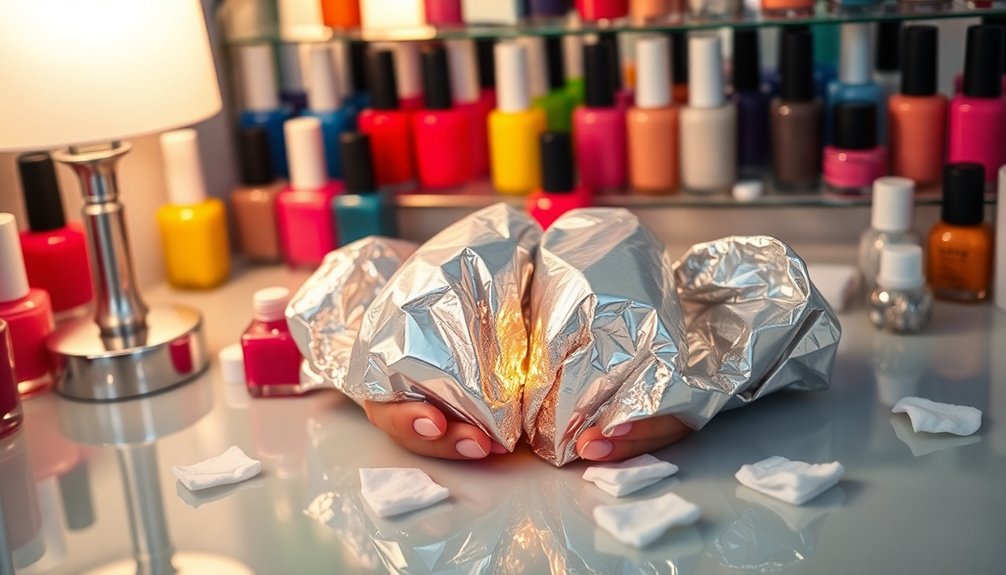
Now that you've filed down the top layer of dip powder, it's time to wrap your nails in acetone-soaked foils.
Make sure each cotton ball is fully saturated with acetone and tightly secure the foil around your nails to keep everything in place.
Timing is essential here, so leave the wraps on for 10-15 minutes to effectively break down the dip powder. Additionally, using energy monitoring features can help you track your utility consumption when using appliances like nail lamps.
Proper Foil Wrapping Technique
To effectively remove dip nails at home, mastering the proper foil wrapping technique is crucial.
Start by cutting aluminum foil into squares that comfortably cover each finger. Soak cotton balls in 100% acetone, placing them directly on your nails for full coverage.
Then, tightly wrap the foil around each finger, pressing down to secure the soaked cotton ball onto the nail. This prevents acetone from escaping and guarantees maximum absorption.
Keep the foil undisturbed for about 15-20 minutes for the best results.
- Use 100% acetone for effective soaking.
- Apply indirect heat with a hot towel for enhanced absorption.
- Make sure the foil is snug to prevent leaks.
Timing for Effective Soaking
Timing is essential for effective soaking when removing dip nails at home. You should leave the acetone-soaked cotton wraps on your nails for about 10-15 minutes. This allows the acetone to penetrate and dissolve that stubborn dip powder bond.
For best results, aim for 15-20 minutes, but if you're dealing with particularly tough dip powder, an extra five minutes can make a difference. Remember to wrap the foil tightly around your nails to guarantee the acetone-soaked cotton stays in contact with the dip powder.
To enhance the effectiveness, consider applying indirect heat, like a hot towel. Additionally, ensure to monitor the condition of your nails during this process, as consistent maintenance can prevent damage. And don't forget to apply cuticle oil afterward to nourish your nails and cuticles.
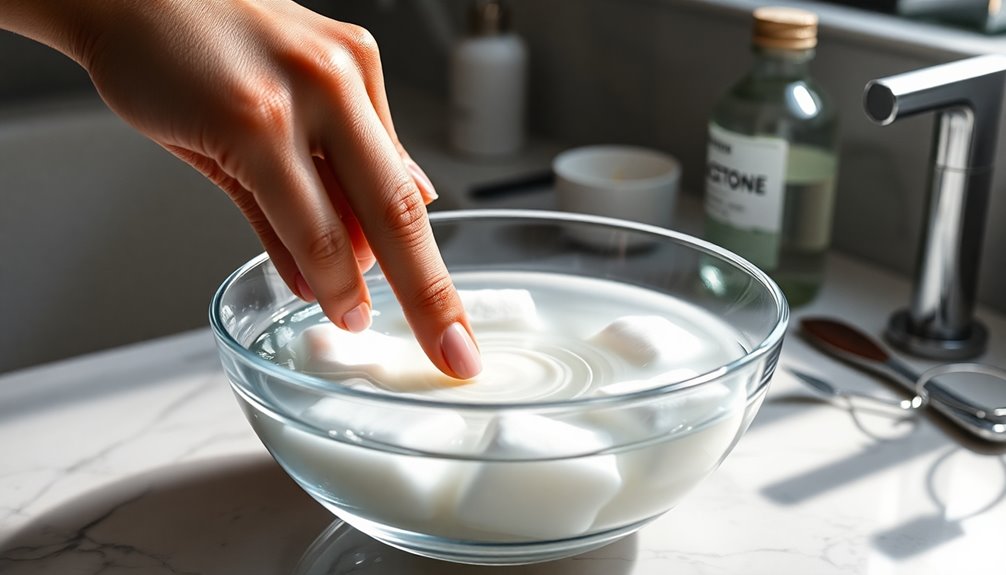
Ensuring Acetone Saturation
Once you've prepared your nails, ensuring acetone saturation is essential for effectively removing dip nails at home.
Start by placing a cotton ball soaked in 100% acetone directly on each nail, covering the entire dip powder area. Then, tightly wrap each nail with aluminum foil to secure the acetone-soaked cotton and prevent evaporation.
- Let the nails soak for 10-15 minutes to allow adequate acetone saturation.
- For better results, apply indirect heat, like a hot towel, to enhance the acetone's effectiveness. This method is similar to how pimple patches work best on clean, dry skin by maximizing contact time.
- After soaking, gently twist and remove the foil wraps, inspecting for any remaining residue.
This method maximizes contact time and helps dissolve the dip powder bond efficiently.
Step 3: Repeat Acetone Soak as Needed
If you still see dip powder residue after your initial soak, it's time to repeat the acetone soak for another five minutes.
Carefully inspect each nail after removing the foil wraps; this helps you determine if any product remains. If you spot any residue, don't hesitate to soak again.
Make sure the acetone-soaked cotton stays in contact with your nail while wrapping, as this maximizes effectiveness.
Repeat this soaking process until you successfully remove dip powder nails completely. Just remember not to over-soak, as this can harm your natural nails. Being mindful of the potential for emotional manipulation during self-care routines is essential for your overall well-being.
Once all the dip powder is gone, you can gently file or use a cuticle pusher to eliminate any stubborn remnants for a clean finish.
Step 4: Carefully Scrape Away Remnants
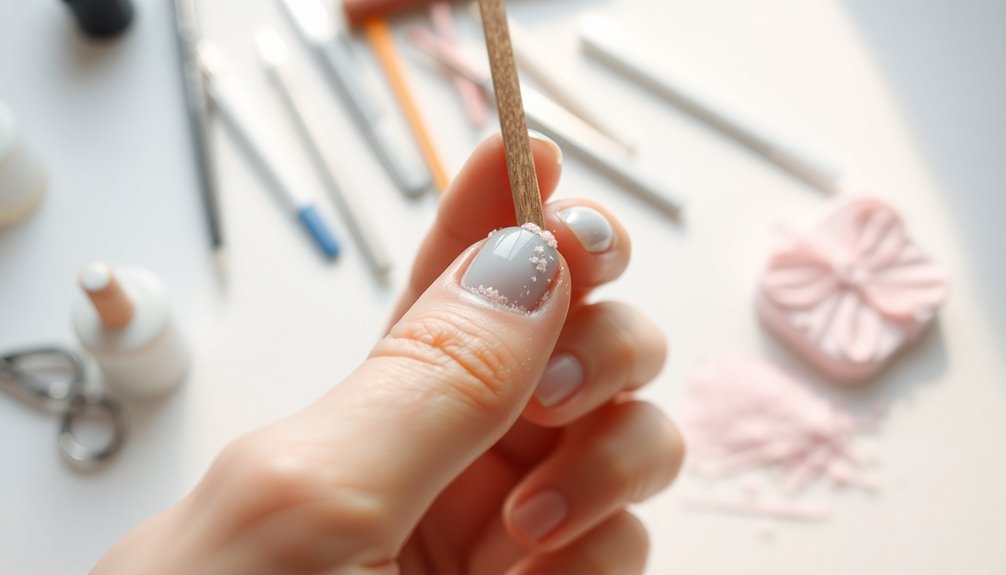
After you've soaked your nails and removed the foil wraps, it's time to tackle any remaining dip powder.
Inspect each nail for residue, and if you find some stubborn spots, grab a stainless steel cuticle pusher to remove the remnants carefully. Remember to use gentle motions—too much force can damage your natural nails.
If you still see remnants, don't hesitate to soak your nails for another five minutes to soften the product further.
Once you've cleared all the dip powder, make sure to wash your hands thoroughly to eliminate any dust or acetone residue.
- Use a soft cloth for drying.
- Keep your workspace clean.
- Prepare cuticle oil for hydration.
Step 5: Add Hydration With Finishing Care Products
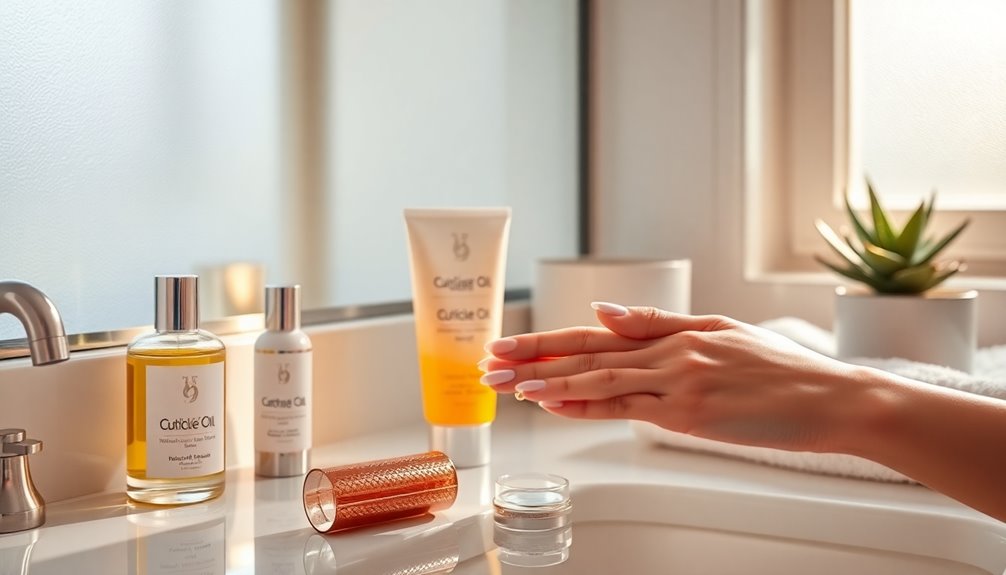
After removing your dip nails, it's crucial to rehydrate both your nails and cuticles.
Use nourishing products like Happy Cuticle Co and consider a daily nail strengthener to support recovery.
Incorporating these steps into your routine will help maintain healthy nails and improve their overall appearance.
Importance of Hydration
While removing dip nails can leave your nails feeling dry and brittle, adding hydration with the right finishing care products is essential for restoring their health.
To combat the drying effects of acetone, you should rehydrate your nails with cuticle oil daily. This helps replenish moisture and prevents brittleness.
Consider these tips for effective hydration:
- Use cuticle oils like Happy Cuticle Co. to enhance appearance and maintain moisture.
- Incorporate nail strengtheners, such as Dr. Dana's Nail Renewal System, for improved nail health.
- Allow a two-week break between dip applications to let your nails recover and regain vigor.
Prioritizing hydration is key to ensuring strong, healthy nails post-removal.
Recommended Products
To effectively restore your nails after removing dip polish, you'll want to invest in quality finishing care products that nourish and protect.
Start by applying a nail strengthener, like Dr. Dana's Nail Renewal System, which targets damage from acetone and helps repair your nails. This is vital for preventing breakage and restoring your nails' natural strength.
Daily use of cuticle oil, such as Happy Cuticle Co., is essential for rehydrating and supporting healthy nail growth.
Don't forget to incorporate a buffing block after removal to smooth out rough edges, ensuring your nails look clean and well-groomed.
Allow your nails a week-long break between dip applications to help them fully recover and regain their strength.
Daily Care Routine
Restoring your nails doesn't stop with just using recommended products; incorporating a daily care routine is key.
Start by applying a nail strengthener every day to help fortify your nails after removal. Don't forget to massage cuticle oil, like Happy Cuticle Co., into your cuticles for hydration and nourishment. This promotes healthy nail growth and keeps your nails looking their best.
Here are a few tips to enhance your daily care routine:
- Use Dr. Dana's Nail Renewal System to boost moisture retention.
- Aim for a week-long break between dip applications for recovery.
- Regularly massage cuticle oil into your nails and surrounding skin to prevent dryness.
Following these steps will guarantee your nails stay strong and healthy!
Aftercare
After you've removed your dip nails, it's important to focus on aftercare to support your natural nails' recovery.
Start by using a nail strengthener daily to restore and protect your nails from further damage.
Don't forget to apply cuticle oil, like Happy Cuticle Co., to replenish moisture and keep your cuticles healthy.
Give your nails a week-long break between dip applications to allow for recovery and minimize potential damage.
For ideal nail health, consider taking a two-week break after every three applications to prevent weakening and brittleness.
Additionally, incorporating products like Dr. Dana's Nail Renewal System can enhance your nails' recovery, providing necessary nutrients for stronger, healthier nails post-removal.
Can You Remove Dip Powder Without Acetone?
Wondering if you can remove dip powder nails without acetone? Yes, it's possible! While acetone is the most effective method, you can try alternatives like vinegar, lemon juice, and even rubbing alcohol.
Keep in mind that these methods may take longer and require more effort.
Here are some tips to help you remove dip powder:
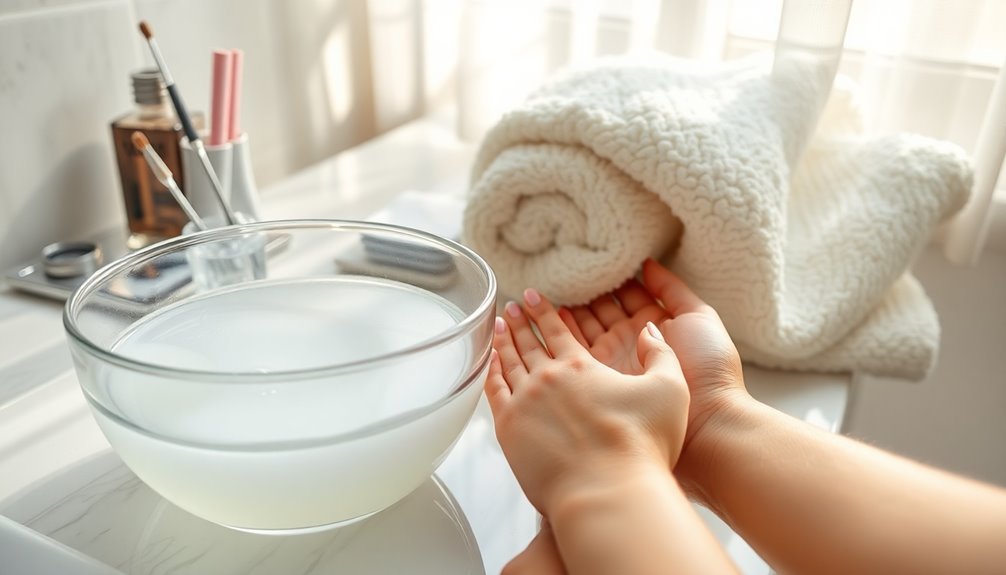
- Soak your nails in warm water mixed with dish soap to loosen the dip powder.
- File down the top layer of the dip to allow other solvents to penetrate better.
- Be cautious, as non-acetone methods can damage your natural nails if not done carefully.
Final Takeaway
While removing dip nails at home can seem intimidating, following the right steps guarantees a safe and effective process.
Start by filing the top layer of your dip powder; this allows acetone to penetrate deeply, ensuring the best results without damaging your natural nails.
Use pure acetone with soaked cotton balls wrapped in aluminum foil, soaking for 15-20 minutes.
After soaking, gently twist and remove the foil to lift off the dip powder. For any residue, a file or cuticle pusher can help.
Post-removal, prioritize your nail health by using nail strengtheners and cuticle oil to replenish moisture.
Frequently Asked Questions
What Is the Fastest Way to Take off Dip Nails at Home?
The fastest way to take off dip nails involves a few simple steps.
First, file down the top layer of the dip powder to help acetone penetrate.
Next, soak cotton balls in 100% acetone and wrap them around each nail with aluminum foil for about 10-15 minutes.
You can enhance the process by applying indirect heat, like a hot towel.
Finally, gently twist and remove the foil, applying slight pressure to lift off the dip powder.
Is It Safe to Remove Dip Nails at Home?
Did you know that over 30% of people experience nail damage from improper nail removal?
So, is it safe to remove dip nails at home? Yes, it can be safe if you follow the right steps.
By buffing the top layer and using 100% acetone, you allow the product to dissolve effectively.
Just remember to soak for 15-20 minutes and care for your nails afterward with strengtheners and oils to minimize any damage.
What Dissolves Dip Powder?
To dissolve dip powder nails, you need 100% pure acetone. It effectively breaks down the adhesive bond of the powder.
Soaking your nails in acetone for about 10-20 minutes will yield the best results. While there are other nail removers, they typically contain lower acetone concentrations, making them less effective.
You can enhance the acetone's power by wrapping your nails in a hot towel, speeding up the removal process considerably.
Why Is Dip Powder so Hard to Remove?
Dip powder's tough to remove because it's designed for durability.
Its strong adhesive bonds tightly to your natural nail, making simple removal methods ineffective. The layers are often thicker than regular polish, requiring more soaking and filing.
Many systems include a gel top coat that adds extra hardness, complicating the process even further.
Without the right technique, like careful filing and soaking, you risk damaging your natural nails during removal.
Conclusion
Removing dip nails at home can feel like an intimidating task, but with the right steps, it's a breeze! Just remember to take your time and pamper your nails afterward. Your nails will thank you and feel as good as new! If you've ever wondered if you can ditch the acetone, you can explore alternatives, but nothing quite matches the effectiveness of a good soak. So, grab your tools and get started—you've got this!