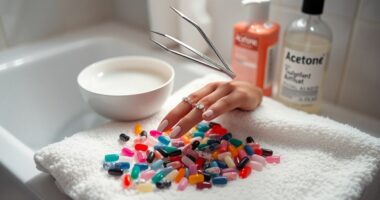
To remove Gel X nails, start by trimming the extensions close to your natural nails with a specialized cutting tool. Soak cotton balls in acetone and place them on each nail, wrapping them with foil for better absorption. Let them sit for 20 minutes, then gently lift off the gel using a cuticle pusher. If necessary, soak for an additional 5-10 minutes. Caring for your nails post-removal is vital, and there's much more to know about nail health.
Key Takeaways
- Trim Gel X extensions close to the natural nails using a specialized cutting tool for easier removal.
- Soak cotton balls in acetone, place on nails, and wrap with foil for 20 minutes to enhance absorption.
- Gently use a cuticle pusher to lift the gel after soaking; re-soak if necessary for stubborn areas.
- Buff any remaining gel with a buffing block and clean nails thoroughly afterward.
- Apply cuticle remover and moisturize nails post-removal to promote healthy growth and hydration.
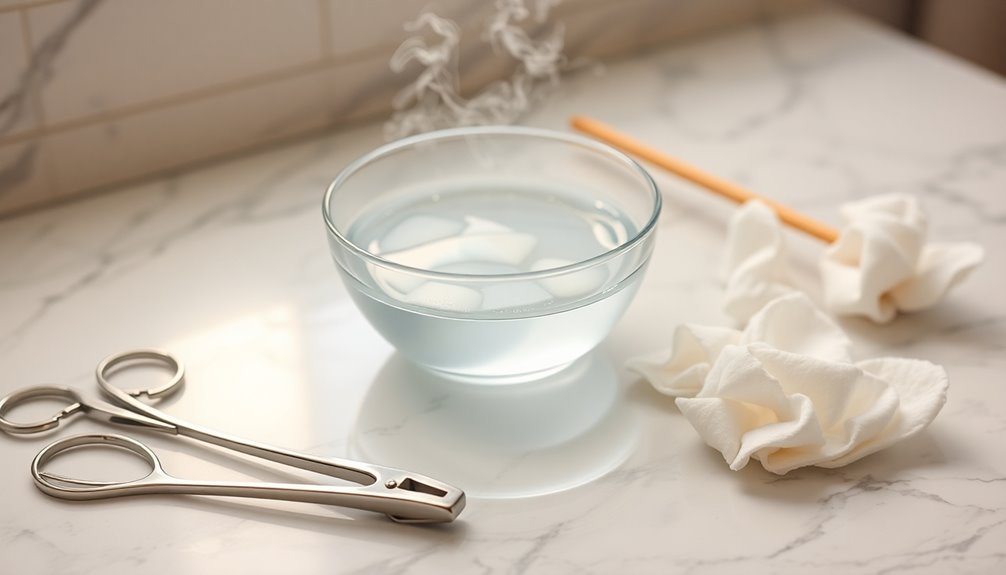
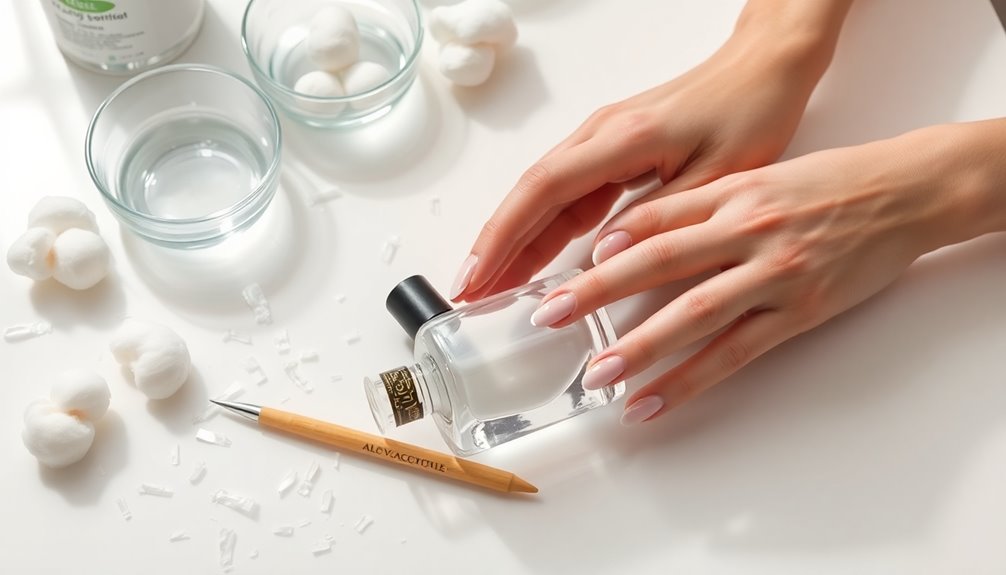
Tools Needed for Gel X Nail Removal
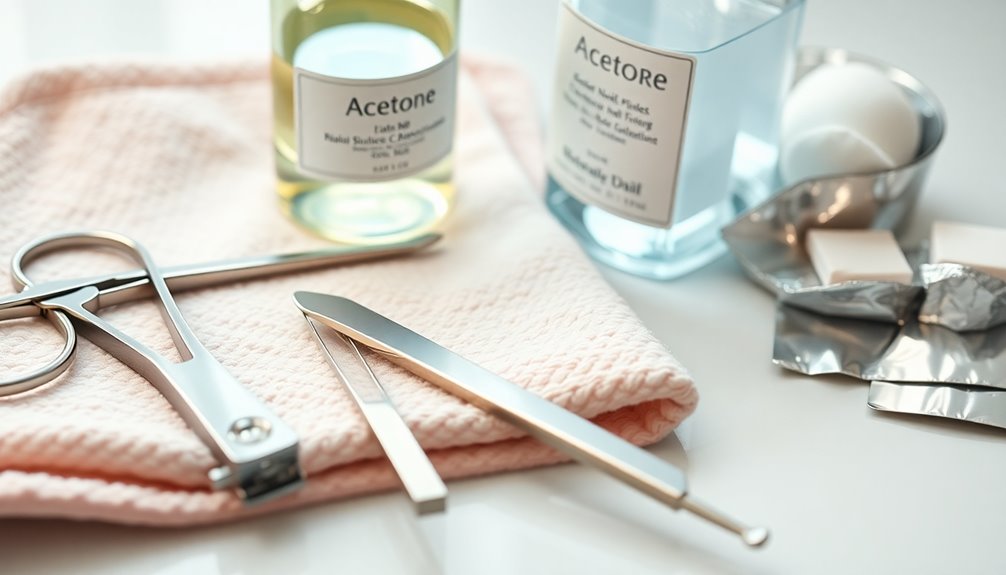
To remove Gel X nails effectively, you'll need a few essential tools. First, grab a specialized cutting tool from Amazon to trim your Gel X extensions close to your natural nail without causing damage.
Next, use a 100 to 180 grit nail file to gently remove the gel polish, preparing your nails for the soaking process. An affordable drill with a 5-in-1 bit can greatly speed up gel removal, making your task easier.
You'll also need pre-cut foil sheets and cotton balls to secure acetone during the soaking, ensuring ideal absorption.
Finally, a cuticle pusher is necessary for gently removing the soaked gel, applying minimal pressure to protect your natural nails. With these tools, you're all set for a smooth removal process! Additionally, regular moisturizing is essential to maintain healthy nails post-removal.
Preparing for the Soaking Process
Now that you've gathered all your tools, it's time to prepare for the soaking process.
First, verify your natural nails are dust-free to help the acetone work efficiently.
Next, break your cotton balls into smaller, thin pieces; this will improve acetone absorption during the soak-off.
Use a specialized cutting tool to trim the gel extensions close to your natural nails without causing damage.
Here's a quick checklist to guide you:
- Cotton balls
- Acetone
- Pre-cut foil sheets
- Specialized cutting tool for extensions
- Timer
In addition, ensure that the materials you use are non-toxic materials to avoid any harmful effects while removing your Gel X nails.
Once everything's ready, you'll be set for the next steps in removing your Gel X nails effectively.
Step-by-Step Soaking Off Procedure
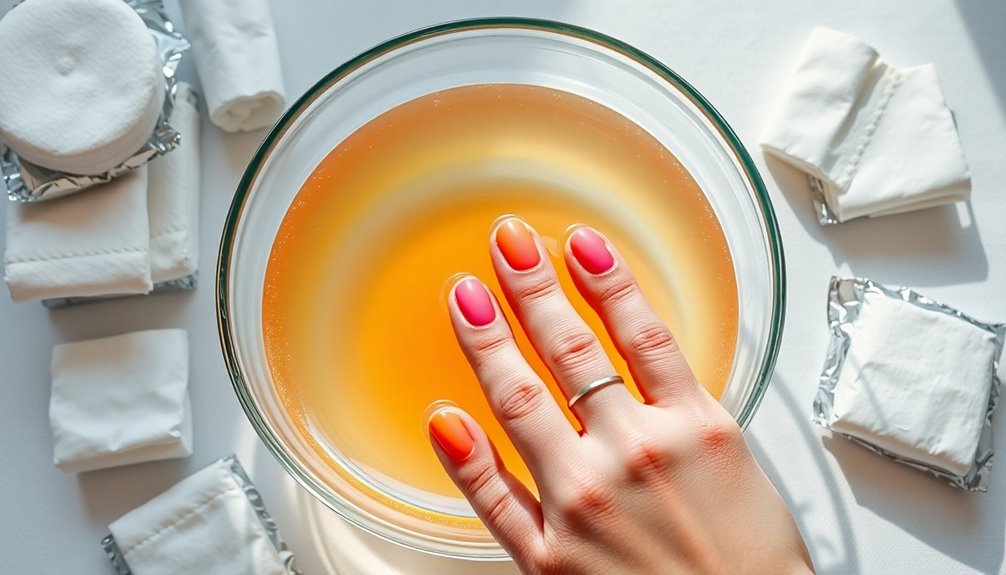
As you begin the soaking-off procedure, it's important to work methodically to ascertain the gel extensions come off smoothly.
Break cotton balls into smaller pieces and soak them in acetone. Place these on each nail, then wrap them tightly with foil to enhance absorption. Set a timer for 20 minutes, allowing the gel to soften.
After soaking, gently use a cuticle pusher to lift the gel off your nails. If it resists, reapply the foil and soak for another 5-10 minutes.
Once the gel is removed, use a buffing block to eliminate any remaining pieces. Finally, make sure your nails are dust-free before applying cuticle remover and filing to shape your natural nails for further care. Regularly moisturizing your nails can help maintain their health after this process, especially with products that contain glycolic acid for hydration.
Techniques for Gel Removal

Effective gel removal techniques can make all the difference in maintaining the health of your natural nails.
Start the removal process by cutting the Gel-X extensions close to your natural nail using a specialized tool.
Next, soak cotton balls in acetone and wrap them around each nail with foil for about 20 minutes to dissolve the gel.
After soaking, gently use a cuticle pusher to remove any softened gel, soaking longer if needed.
Finally, use a buffing block to eliminate remaining fragments and prepare your natural nails for care. Regular filter replacement is essential for maintaining nail health, just as it is crucial for optimal performance in air purifiers.
- Cut extensions carefully
- Soak cotton balls in acetone
- Wrap nails securely with foil
- Gently push off softened gel
- Buff to remove remnants
Caring for Your Natural Nails Post-Removal
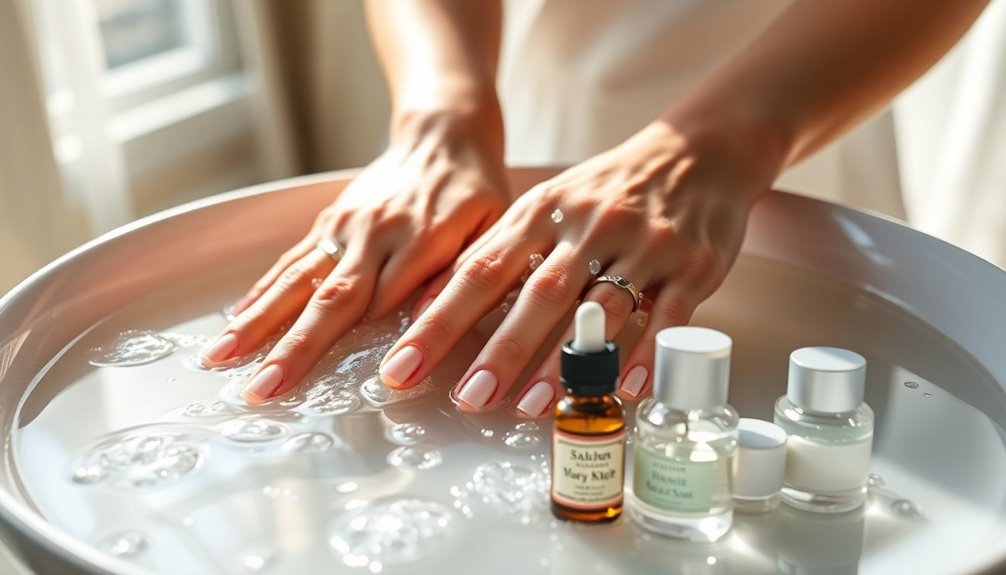
Once you've successfully removed your Gel-X nails, it's essential to give your natural nails some extra care.
Start by applying Sally Hansen instant cuticle remover to nourish and hydrate both your nails and cuticles. Gently push back your cuticles to encourage healthy nail growth and prevent hangnails.
Next, file your natural nails to refine their shape and eliminate any uneven edges that may have occurred during removal. Use a prep pad to clean off dust and debris, ensuring your nails are ready for any further treatments.
If you want to protect your nails at home, consider applying a base gel to reinforce them, promoting strength and reducing the risk of breakage in the future. Additionally, be mindful of high-fat foods that can impact your overall nail health if consumed excessively.
Strengthening Your Nails After Gel Removal
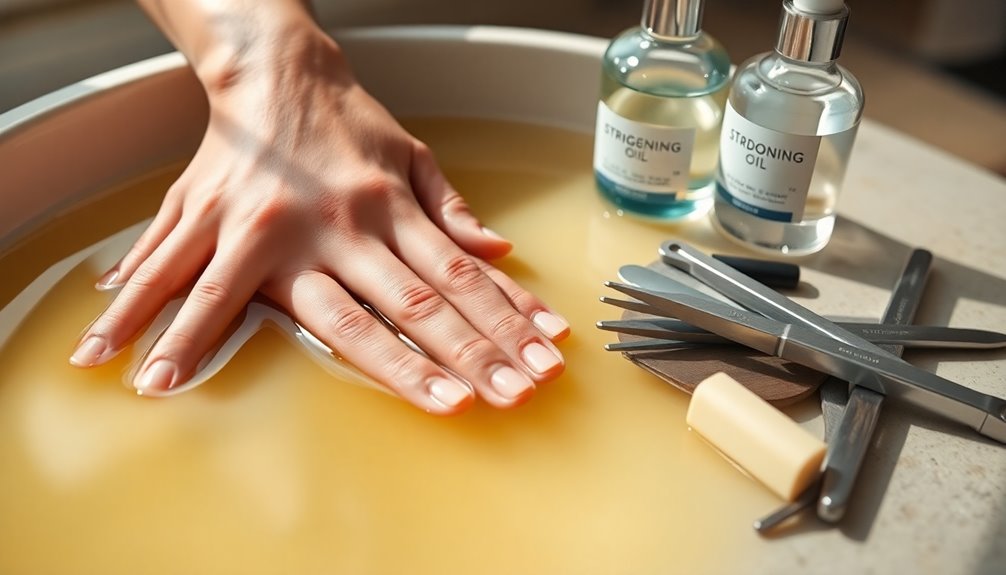
Strengthening your nails after gel removal is essential for restoring their health and resilience.
Begin by applying Sally Hansen instant cuticle remover to promote healthy cuticle growth. Gently push back your cuticles to stimulate nail growth and prevent hangnails.
Use a nail file to shape your natural nails, ensuring a smooth surface to minimize future breakage. Before applying a reinforcing base gel, use a prep pad to remove any dust from your nails.
Finally, maintain your nails with gel products regularly to support healthy growth. Following proper piercing care and hygiene is crucial for nail and cuticle health. Follow these steps for stronger, healthier nails:
- Apply cuticle remover
- Push back cuticles
- Use a nail file
- Clean nails with a prep pad
- Apply a reinforcing base gel
Cleaning Up After Gel Polish Removal
After you've successfully removed your gel polish, it's important to clean up your nails for best health and appearance.
Start by applying Sally Hansen instant cuticle remover to your natural nails. This will soften and prepare the cuticles for pushing back.
Gently use a cuticle pusher to push back the cuticles, promoting nail health and guaranteeing a clean nail bed.
Next, file your natural nails to clean up their shape and smooth any rough edges left from the gel removal process, especially if you used aluminum foil during the process.
Finally, remove any dust from the nails with a prep pad to guarantee a clean surface before applying new products. This step is vital for healthy nail growth. Incorporating essential oils like lavender oil can also promote relaxation during your nail care routine.
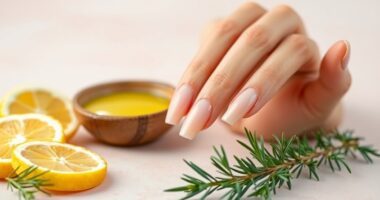
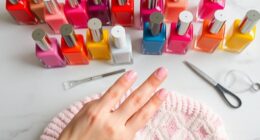
Tips for Maintaining Healthy Nails
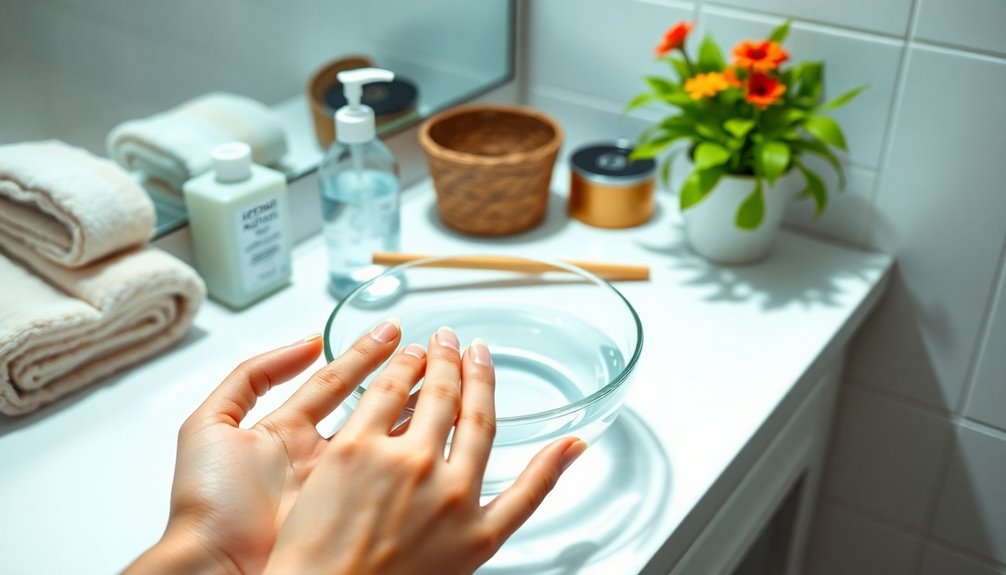
To keep your nails healthy, focus on regular moisturization and balanced nutrition. Gentle filing techniques can also help maintain their shape without causing damage. Additionally, incorporating glycolic acid into your nail care routine can promote smoother skin around the nails and enhance overall nail health.
Regular Moisturization Practices
Maintaining healthy nails hinges on regular moisturization practices that nourish both your nails and cuticles. Here are some effective tips to keep your nails in top shape:
- Apply a moisturizing cuticle oil or cream daily to prevent dryness and cracking.
- Use hand creams with shea butter or vitamin E to boost skin elasticity and nail strength.
- Soak your nails in warm, soapy water weekly for better moisture absorption.
- Drink plenty of water to guarantee proper hydration, promoting healthy nail growth.
- Wear gloves while cleaning or doing dishes to avoid harsh chemicals and protect against moisture loss.
- Incorporating essential oils such as tea tree or lavender can enhance your nail care routine by providing additional antibacterial benefits.
Balanced Nutrition Importance
Healthy nails don't just come from external care; they also rely heavily on what you put into your body. Balanced nutrition is essential for nail strength and growth.
Incorporate biotin, zinc, and vitamins A, C, and E into your diet to promote healthy nails. Eating protein-rich foods like lean meats, fish, and legumes helps fortify your nails, which are made primarily of keratin.
Don't forget omega-3 fatty acids found in fish, flaxseeds, and walnuts, as they keep your nails moisturized and prevent brittleness. Staying hydrated by drinking plenty of water also supports nail health, while leafy greens and fruits provide antioxidants that protect nail cells. Additionally, herbal teas can support overall well-being, which may indirectly benefit nail health through improved mood and reduced stress levels.
Prioritizing balanced nutrition is key to maintaining beautiful, strong nails.
Gentle Filing Techniques
While you might be keen to remove your gel X nails quickly, using gentle filing techniques is essential for maintaining the health of your natural nails.
Start by using a 100 to 180 grit nail file, taking care not to file too deeply. Consider these tips:
- Use a specialized tool to cut extensions close to your natural nail.
- Keep the nail dust-free before soaking off the gel polish.
- After soaking, gently use a cuticle pusher to remove the gel.
- Apply minimal pressure while pushing to avoid damaging your natural nail.
- Regularly file and shape your nails post-removal to promote health.
Frequently Asked Questions
Can You Remove Gel-X Nails at Home?
Yes, you can definitely remove Gel-X nails at home.
Start by gathering the right tools, like a specialized cutter and acetone. Cut the extensions close to your natural nails, ensuring you don't cause any damage.
Soak cotton balls in acetone, wrap them around your nails with foil, and wait about 20 minutes.
After that, gently push off the gel. Don't forget to file and buff your nails afterward for a smooth finish!
Are Gel-X Nails Easier to Remove Than Acrylic?
Yes, Gel-X nails are easier to remove than acrylics.
You'll find that they soak off quickly, needing just 20-30 minutes, while acrylics can take longer.
You can cut Gel-X nails closer to your natural nail before soaking, which saves time.
Plus, they cause less brittleness and damage, making the removal process gentler on your nails.
If comfort's a priority for you, you'll likely prefer Gel-X over traditional acrylics.
Can You Peel off Gel-X Nails?
You can't just peel off Gel-X nails without risking damage to your natural nails.
These products bond strongly, making them tough to remove that way. Peeling can lead to tearing or peeling of your natural nails, which isn't ideal.
Instead, you should consider using a proper soaking method or visiting a professional nail technician.
They'll guarantee your nails stay healthy and intact, minimizing any potential harm during the removal process.
Do Gel-X Nails Fall off on Their Own?
You might wonder if Gel-X nails can just fall off on their own.
The truth is, they're designed to be incredibly durable and stay put. Most often, they won't release without some help.
However, if they're improperly applied or if your natural nails are weak, you could see some lifting.
It's essential to catch any signs of detachment early to avoid damaging your natural nails.
Conclusion
Now that you know how to safely remove your Gel X nails, you can keep your natural nails healthy and strong. For instance, Sarah, who regularly used Gel X, started following these steps and noticed her nails felt much stronger within weeks. By taking the time to care for your nails post-removal and implementing a strengthening routine, you can enjoy beautiful, healthy nails and avoid damage in the future. Happy nail care!