
To take off acrylic nails, start by trimming them down and filing the shiny topcoat. Soak cotton balls in 100% acetone, wrap them around your nails with aluminum foil, and let them sit for 20-30 minutes. Gently push off the softened acrylics with a cuticle pusher. After removal, buff your nails, apply cuticle oil, and keep them moisturized. There's more to guarantee your nails stay healthy and strong afterward, so keep exploring!
Key Takeaways
- Trim acrylic nails to about two centimeters above the natural nail length to make removal easier.
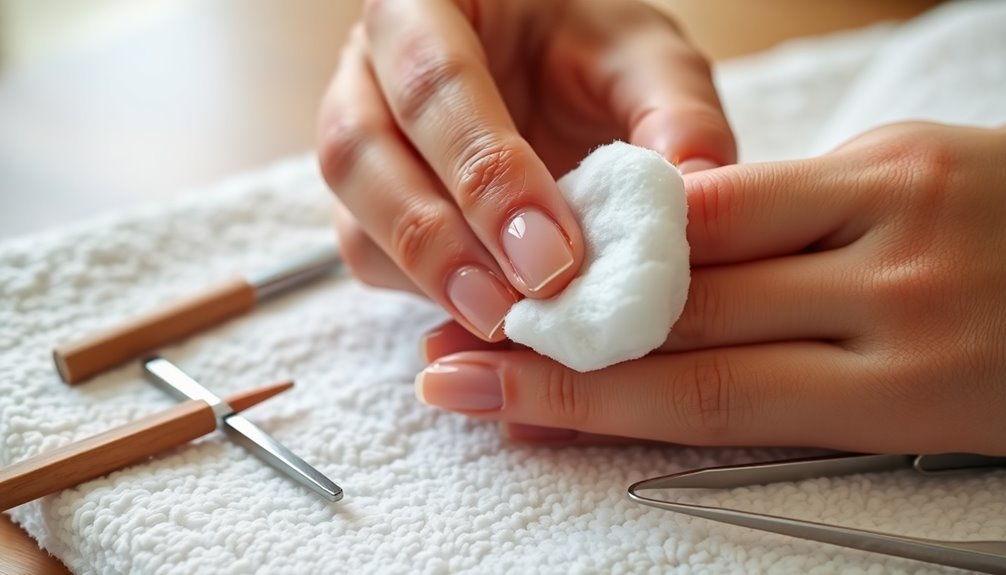
- File down the shiny topcoat to thin the acrylic before soaking.
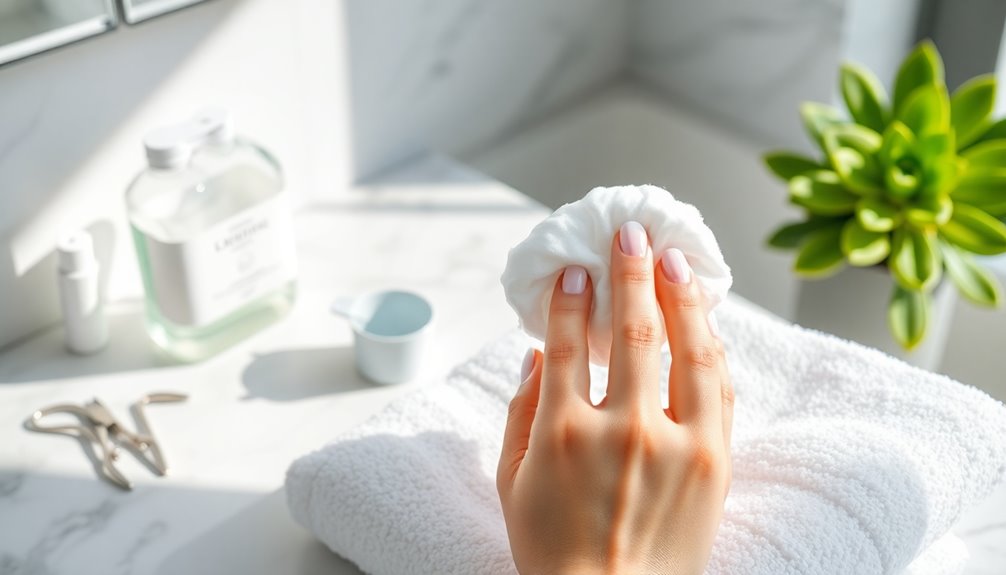
- Soak cotton balls in 100% acetone, wrap them on nails, and leave for 20-30 minutes.
- Gently push off softened acrylics with a cuticle pusher, re-soaking if needed.
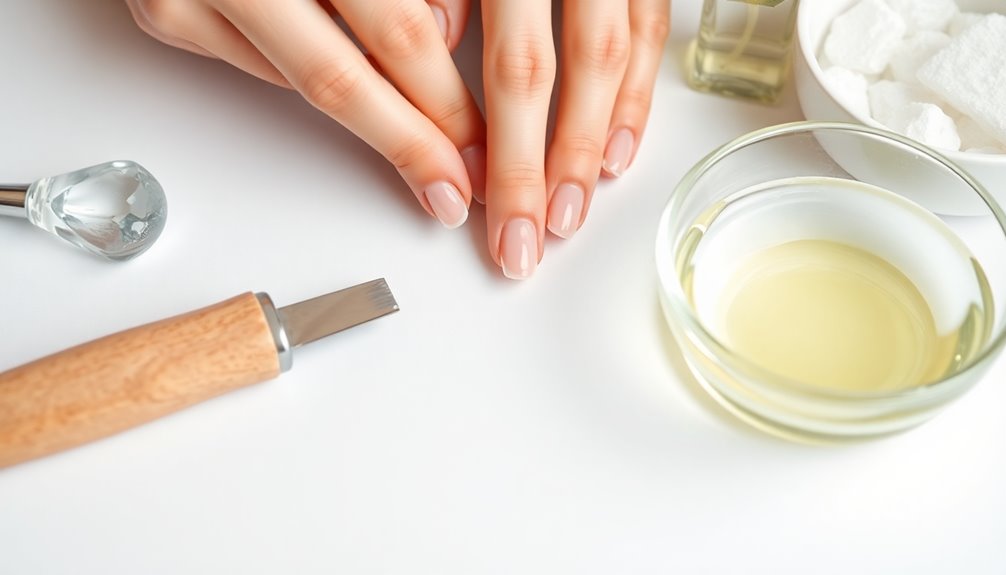
- After removal, apply cuticle oil and moisturizer to nourish and hydrate natural nails.
Tools Required for Acrylic Nail Removal
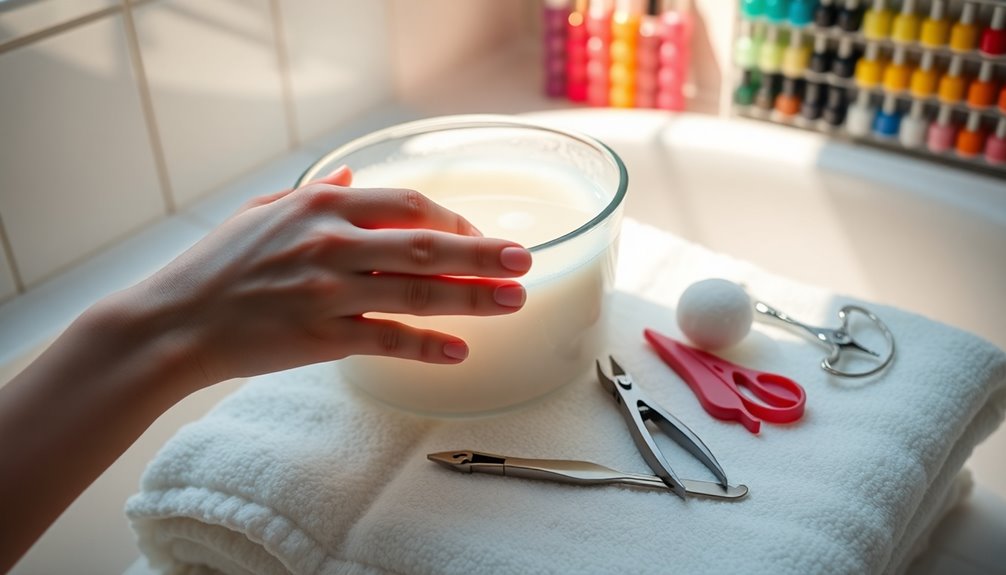
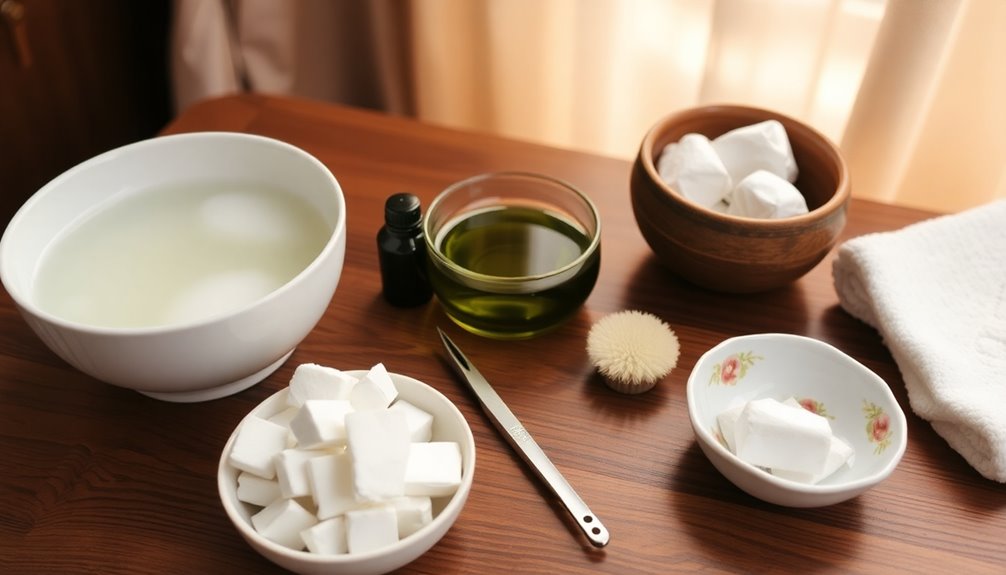
When you're ready to remove your acrylic nails, you'll need a few essential tools to make the process smooth and efficient.
Start with nail clippers to trim down the length of your acrylics. Next, grab a dual-grit nail file, ideally 100/80 grit, to file the surface and make it easier for the pure acetone to penetrate.
You'll also need cotton balls soaked in 100% pure acetone, along with aluminum foil to secure them onto your nails. A cuticle pusher is crucial for gently scraping off the softened acrylics afterward.
Don't forget a hand towel to protect your workspace and a nail buffer to smooth your natural nails post-removal. Having these tools ready will streamline the process considerably. Additionally, it's essential to remember that regular moisturizing can help maintain the health of your natural nails after removal.
Step-by-Step Guide to Removing Acrylic Nails
To successfully remove your acrylic nails, follow a straightforward step-by-step process that guarantees minimal damage to your natural nails.
Start by trimming the acrylic down to about two centimeters above your natural nail. Use a coarse nail file to gently file away the shiny topcoat and thin out the acrylic.
Next, soak cotton balls in 100% acetone and place them on each nail, wrapping them securely with aluminum foil for 20-30 minutes.
After soaking, gently push off the softened acrylic with a cuticle pusher, re-soaking if necessary.
Finally, buff your natural nails to smooth any rough spots and apply cuticle oil or moisturizer to promote nail health post-removal. To ensure your nails remain healthy, consider using essential oils for nail health such as lavender oil, which can help alleviate stress-related nail issues.
Alternative Methods for Acrylic Nail Removal
If you're looking for ways to remove acrylic nails without harsh chemicals, several alternative methods can help. Here are some effective techniques:
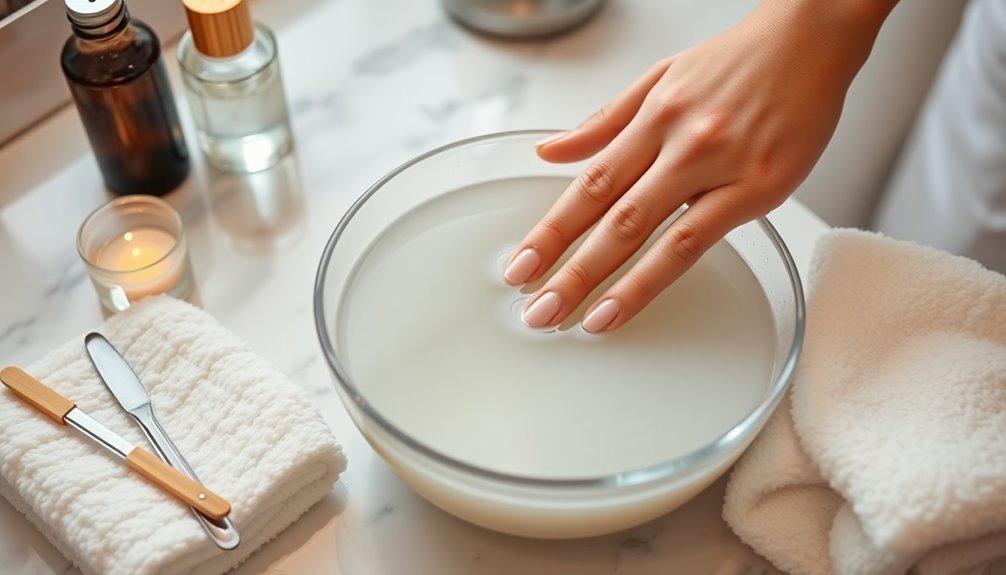
- Warm Water Soak: Soak your nails in a mixture of warm water and dish soap for 30 minutes to soften the acrylics.
- Dental Floss: Gently pry the edges of the acrylic and use dental floss to saw back and forth, lifting the acrylic from your natural nails.
- Acetone-Free Remover: If you want to avoid acetone, soak your nails in acetone-free remover for 30 to 40 minutes to loosen the acrylics.
- Nail Drill: A nail drill can grind down the acrylics safely, but use caution to protect your natural nails.
Additionally, keeping your nails healthy can improve their resilience against damage during the removal process, as proper air quality considerations can influence overall nail health.
Remember to apply coconut oil and vitamin E around your nails for moisturized skin care during the process.
Quick Removal Techniques
Looking for a speedy way to remove your acrylic nails? Try these quick removal techniques! Start by trimming your acrylic nails as short as possible. This minimizes the material you need to remove. If your acrylics are loose, use the floss method: gently lift the edges with a cuticle stick, then slide dental floss in a sawing motion to pop them off. Remember, this method should only be used when acrylics are already lifting to avoid damaging your natural nails. Additionally, it's important to follow up with proper nail care, just as you would with routine health checks for pets to maintain overall health.
| Step | Action | Purpose |
|---|---|---|
| Trim Acrylic Nails | Cut down to the nail bed | Reduce removal material |
| Use Cuticle Stick | Lift edges for better access | Prevent nail damage |
| Floss Method | Saw gently to remove acrylics | Quick and effective |
| Follow Up | Apply cuticle oil and buff nails | Restore moisture and care |
Always prioritize proper nail care afterward!
Aftercare for Your Natural Nails
After removing your acrylic nails, focusing on aftercare for your natural nails is important. This will help promote recovery and restore strength.
Here are four essential steps to follow:
- Buff your nails gently to eliminate any residue and smooth rough spots, enhancing their appearance.
- Apply cuticle oil immediately to nourish and hydrate your cuticles and nail beds, restoring lost moisture.
- Use a rich hand cream regularly to combat drying effects, keeping your skin and nails moisturized and preventing brittleness.
- Monitor for signs of discoloration, cracking, or splitting, which may indicate the need for further care or an extended break from enhancements. Additionally, consider using cuticle oil to ensure optimal hydration and recovery, as it plays a crucial role in nail health.
Tips and Precautions for Safe Removal
When removing acrylic nails, taking the right precautions can help prevent damage to your natural nails and surrounding skin.
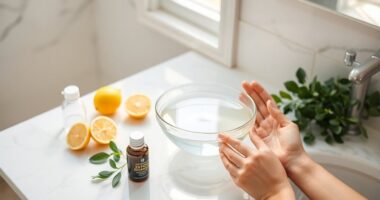
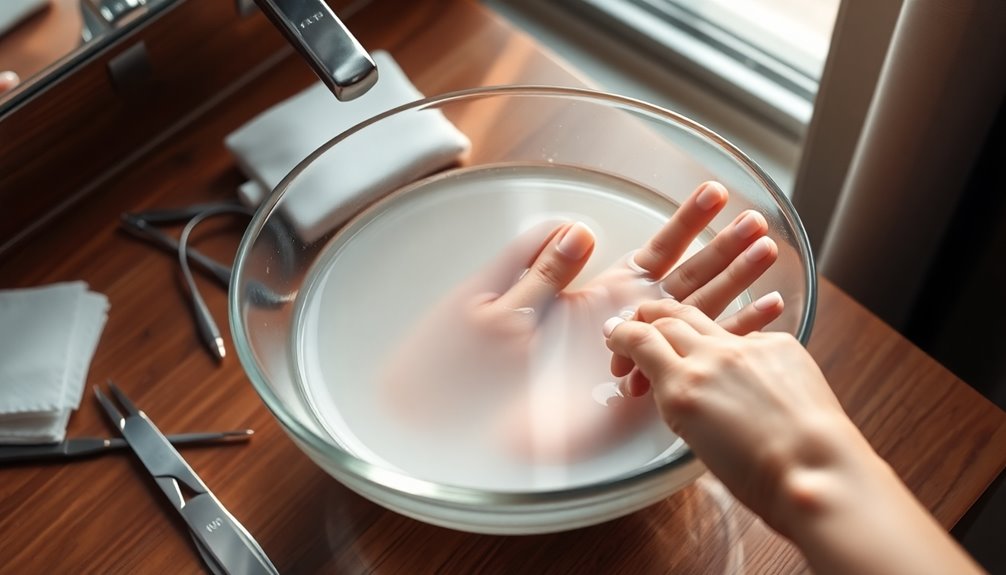
To remove acrylic nails without damage, start by applying petroleum jelly around your nails to protect the skin from dryness caused by 100% acetone.
Then, soak your nails in a glass or ceramic bowl with acetone for effective removal.
Avoid forcefully peeling off the acrylics, as this can cause serious damage to your nail beds.
After you've removed the acrylics, consistently apply cuticle oil and hand cream to nourish and restore moisture to your nails and skin.
Additionally, regular washing of your hands can help maintain nail health and prevent infections.
These steps guarantee you can safely remove acrylic nails without compromising your natural beauty.
Common Mistakes to Avoid
When you're ready to take off your acrylic nails, don't rush the process. Using the right tools is essential, so steer clear of anything that isn't designed for acrylic removal. Additionally, consider the importance of emergency funds to mitigate any financial stress that might arise from unexpected beauty expenses.
Rushing the Removal Process
Although it might be tempting to rush the removal of your acrylic nails, doing so can lead to serious damage to your natural nails.
To guarantee a safe and effective process, follow these tips:
- Soak for Adequate Time: Allow at least 20-30 minutes for your acrylic nails to soak in acetone to soften them properly.
- Don't Force the Removal: Avoid peeling or forcibly removing acrylics before they're adequately softened to prevent tears or splits in your natural nails.
- Trim and File First: Skipping trimming and filing can hinder acetone penetration, making removal harder.
- Monitor Your Nails: Keep an eye on your nails during the process to avoid over-soaking, which can cause damage from prolonged acetone exposure. Additionally, be mindful that moderation in butter consumption is essential for maintaining healthy nails and skin, as excessive dietary fats can impact overall health.
Using Inappropriate Tools
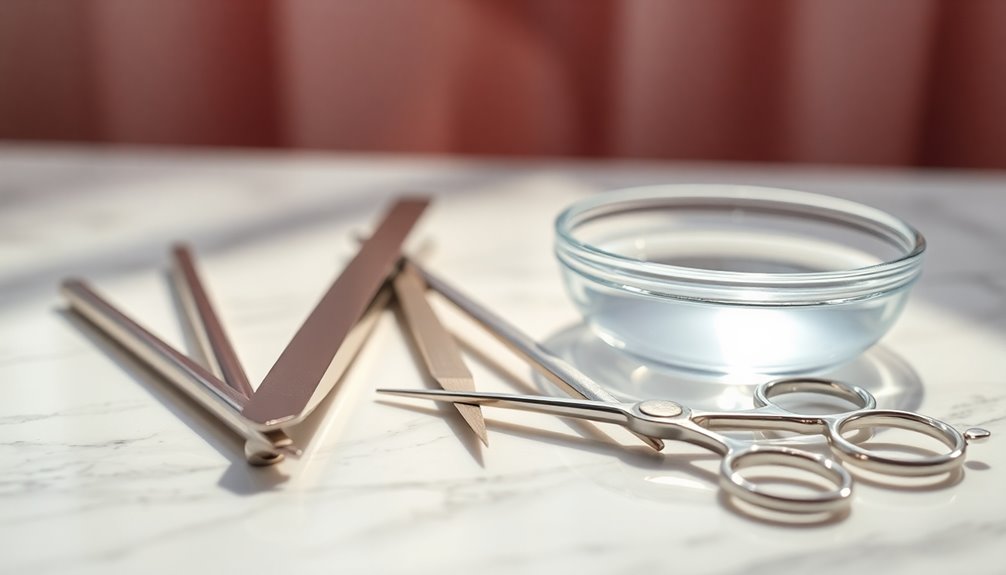
Using the right tools is essential for a safe and effective acrylic nail removal process.
Avoid using inappropriate tools like regular nail files; instead, opt for coarse grit files to speed up acrylic removal without damaging your natural nails.
Beware of metal tools, such as scissors or kitchen knives, as they can cause painful cuts.
For your acetone soak, use a glass or ceramic bowl instead of plastic, which may react with acetone.
When soaking, always use lint-free cotton balls to prevent annoying fibers from sticking to your nails.
Finally, don't rely solely on non-acetone removers; proper soaking methods are key for effective removal. Butter enhances flavor in your baking, ensuring the best quality for your nails' appearance.
Prioritize nail care by choosing the right tools for a smoother experience.
Expert Recommendations for Nail Health
To guarantee your nails recover and thrive after acrylic removal, it's essential to adopt a few expert-recommended practices.
Follow these steps for ideal nail health:
- Apply cuticle oil regularly to keep your nails and cuticles moisturized, promoting flexibility and nail growth.
- Incorporate a nail strengthener into your daily routine to restore integrity and combat brittleness post-acrylic.
- Wait a week before reapplying any artificial nails, allowing your natural nails time to recover and strengthen.
- Maintain a balanced diet rich in vitamins and minerals like biotin and zinc to support nail health and growth. Additionally, a well-rounded diet can enhance your overall health and recovery process.
Additionally, keep your nails trimmed and filed to prevent splitting and breakage, ensuring they stay strong and healthy.
Frequently Asked Questions
How Do I Take My Acrylic Nails off at Home?
To take your acrylic nails off at home, start by trimming them down to reduce the surface area.
Then, file the shiny top layer to help acetone penetrate.
Soak cotton balls in pure acetone, place them on each nail, and wrap them with aluminum foil for 20 to 30 minutes.
After soaking, gently scrape off the softened acrylic with a cuticle pusher.
Finally, buff your natural nails and apply cuticle oil for nourishment.
How Do Salons Remove Acrylic Nails?
Ever wondered how salons make nail removal look so easy?
They start by trimming your acrylic nails down to minimize the amount that needs to be taken off. Next, they file the top layer to break the seal, making it easier for acetone to work.
Soaked cotton balls in acetone get wrapped in foil on each nail for about 20-30 minutes. Finally, a cuticle pusher gently scrapes off the softened acrylic, protecting your natural nails.
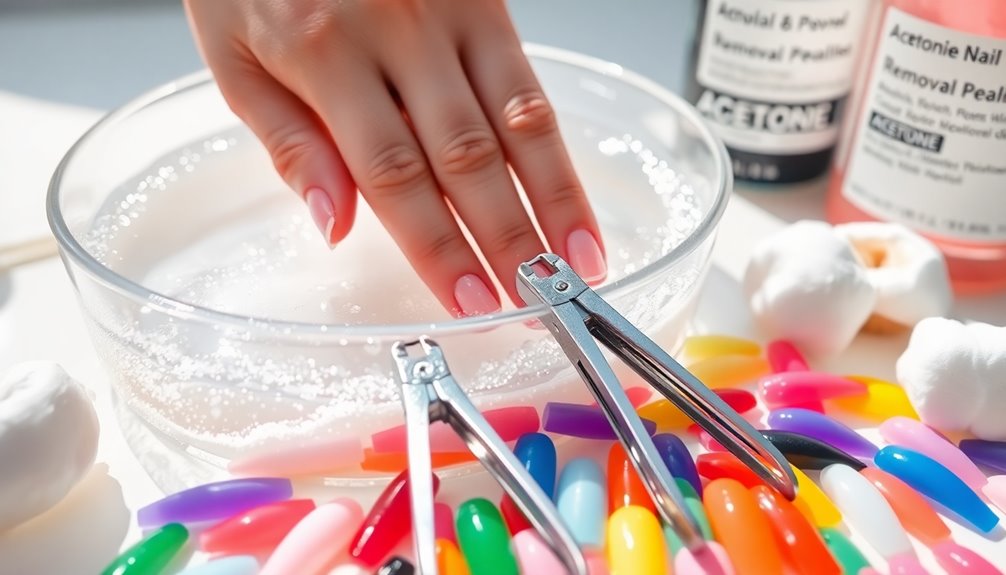
Do You Need 100% Acetone to Remove Acrylic Nails?
You don't necessarily need 100% acetone to remove acrylic nails, but it's highly recommended for the best results.
Pure acetone works more effectively, dissolving the acrylic faster than non-acetone removers.
You'll find that soaking your nails in acetone for about 20 to 30 minutes makes the process much easier and less damaging to your natural nails.
If you choose non-acetone, be prepared for a longer soak and potentially more nail damage.
Does Dawn Dish Soap and Oil Remove Acrylic Nails?
Dawn dish soap and oil won't effectively remove acrylic nails.
While mixing them might slightly loosen the acrylic, it's not as potent as acetone.
You'll find the process takes much longer, potentially causing skin irritation from prolonged exposure.
Even if your nails feel softer, you might still have remnants left behind.
For the best results, you should stick to using 100% acetone or consult a professional nail technician for safe removal.
Conclusion
Now that you know how to safely remove your acrylic nails, it's time to enjoy the freedom of your natural nails. Imagine sitting in your favorite chair, sipping tea, as you gently peel away the layers, revealing your healthy nails underneath. With a little care and the right techniques, you'll keep your nails looking their best. Remember, taking the time for proper removal today can lead to beautiful, strong nails tomorrow. Enjoy your nail journey!