To use builder gel on your natural nails, first remove any existing product and prep your nails by pushing back cuticles and cleaning with a flame drill bit. Then, file the shiny layer off your nail bed for better adhesion. Apply a thin slip layer of builder gel, cure under a UV/LED lamp, and repeat for desired strength. Finish with gel polish and a top coat. Regular maintenance keeps your nails looking fabulous. Discover additional tips and techniques for perfect results!
Key Takeaways
- Prepare the natural nail bed by removing the shiny layer and pushing back cuticles to ensure proper adhesion of the builder gel.
- Apply a thin slip layer of builder gel, centering it along the nail structure for even coverage and support.
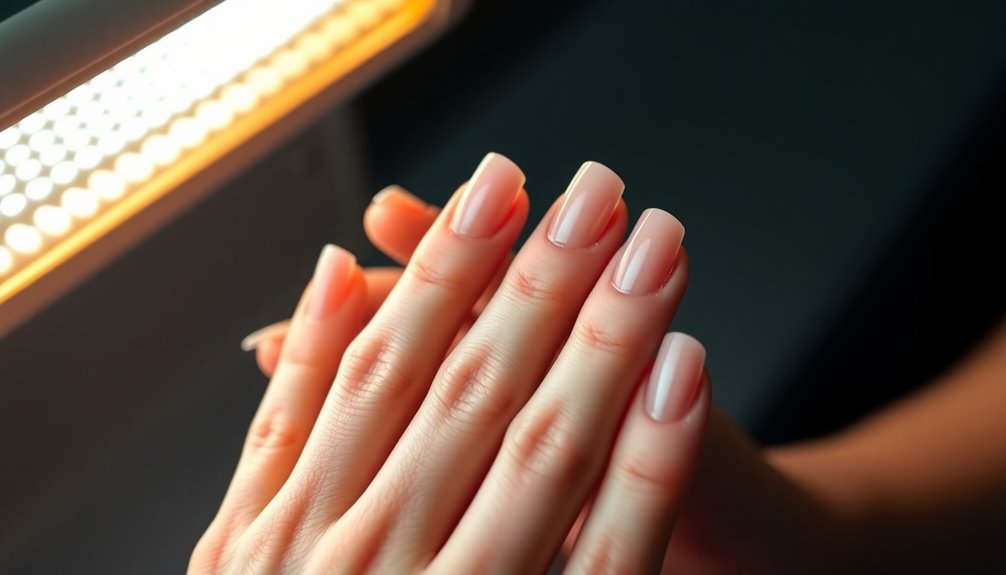
- Cure the builder gel under a UV or LED lamp for 30 to 60 seconds, checking manufacturer instructions for specific times.
- Repeat the application for additional layers if needed, curing each layer separately for optimal durability.
- Finish with a gel polish color and top coat, curing each layer to achieve a glossy, protective finish.
Nail Removal and Preparation
Before applying Builder gel, it's crucial to remove any existing product properly. Start by using a drill or manual file to gently remove the old product, leaving a thin layer on the nail bed if necessary. This step is an important part of the process.
Use a wooden cuticle stick to push back your cuticles carefully, protecting the nail bed from damage. A flame drill bit can help eliminate any sticky residue that remains.
After that, file off the shiny layer from the natural nail bed and apply rubbing alcohol to remove excess oil, which improves product adhesion.
It's also important to ensure that your nails are healthy and free from any dental health concerns, as poor nail health can sometimes be linked to underlying issues.
Finish this prep by applying a base gel, capping the tips, and curing it under a lamp for 30 seconds.
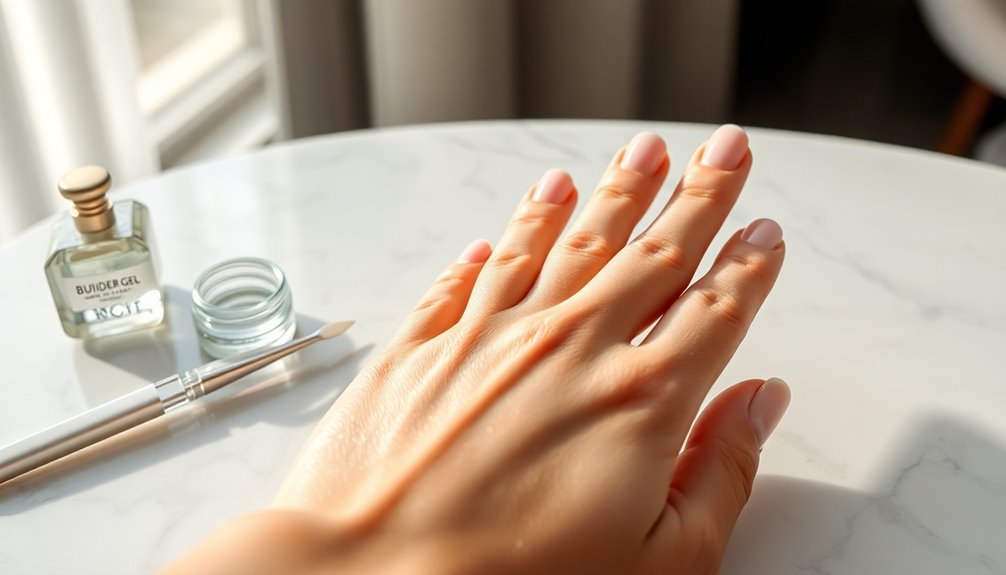
Preparing the Natural Nail Bed
After you've successfully removed any old product and prepped your nails, the next step involves preparing the natural nail bed for Builder gel application.
Start by filing off the shiny layer of your natural nails. This creates a better surface for the gel to adhere to.
Next, use a wooden cuticle stick to gently push back your cuticles, taking care not to damage the nail bed.
To remove any sticky residue, employ a flame drill bit for a thorough clean.
Once your nails are prepped, apply rubbing alcohol to eliminate excess oil, which can hinder adhesion. Additionally, ensure your nails are free from essential oils for dental care that may interfere with the bonding process.
Finally, make sure the nails are completely dry before moving on to the application of the base gel for best bonding.
Applying the Builder Gel
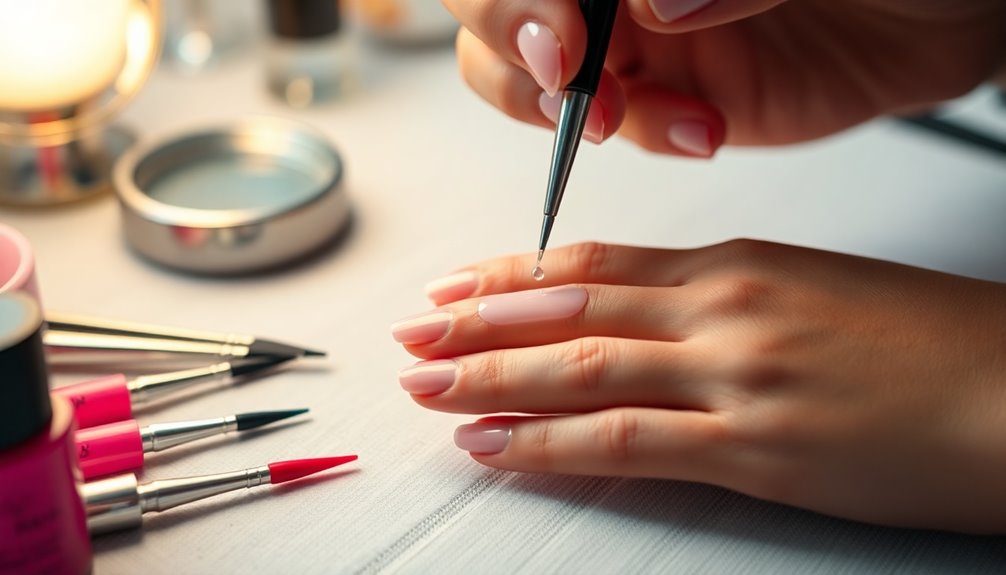
When applying Builder gel, start with a thin slip layer to guarantee even coverage. Pay attention to the curing process, as it's essential for the gel to set properly between layers. This technique not only enhances durability but also helps achieve a flawless finish. Additionally, using a professional results technique can significantly improve the overall appearance of your nails.
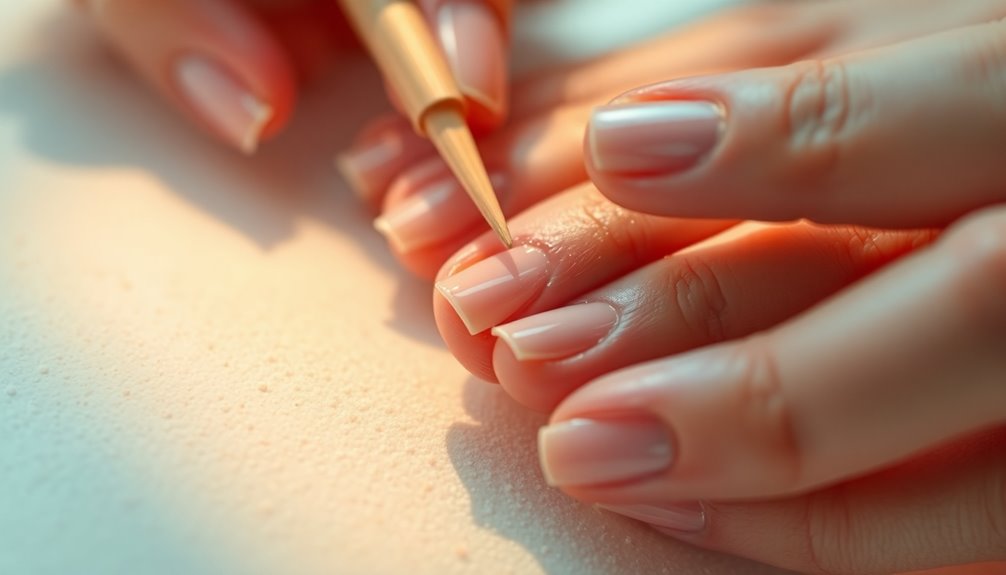
Proper Application Technique
To achieve a flawless application of Builder gel on your natural nails, start by applying a slip layer as a thin base coat, guaranteeing it's close to the cuticles and moved towards the tips while avoiding the sidewalls. Center most of the product along the nail structure to emphasize shape and support. Flip your nails upside down before curing to allow the gel to settle evenly. Cure each layer under the lamp for the recommended time, usually 30 seconds, to guarantee proper adhesion and strength. Regular maintenance can also help maintain the health of your nails, similar to how preventive maintenance extends the lifespan of appliances. Repeat the application for additional layers as needed, curing each one separately to build the desired thickness and durability.
| Step | Action | Emotion Elicited |
|---|---|---|
| 1. Slip Layer | Apply a thin base coat | Anticipation |
| 2. Nail Structure | Center product for support | Confidence |
| 3. Curing | Flip and cure for evenness | Satisfaction |
Curing Process Importance
Curing the Builder gel is essential for ensuring that your nails not only look great but also maintain their strength and durability.
After each application, you should cure the gel for about 30 seconds under a UV or LED lamp. This step is vital for proper adhesion and strength.
Make sure each layer is evenly applied and cured separately, as this helps the product set correctly. Start with the slip layer, as it provides a solid foundation for the additional layers.
Flipping your nails upside down during curing can help the gel settle evenly, promoting a balanced nail structure.
Always check the specific product instructions for curing times, since different gels may have varying requirements for ideal results. Additionally, ensuring proper air quality monitoring can enhance your overall nail care experience by creating a healthier environment for your beauty routine.
Curing and Structuring the Nails
Once you've applied the Builder gel, pay attention to how you cure and structure your nails for the best results.
Positioning the gel near the cuticles and flipping your nails upside down during application can help create a strong foundation. Additionally, maintaining proper skin exfoliation is essential for achieving a flawless finish and preventing lifting.
Optimal Curing Times
When applying builder gel on natural nails, understanding ideal curing times is crucial for achieving a durable and well-structured finish. Curing typically ranges from 30 to 60 seconds, so always check the manufacturer's instructions for the specific product you're using.
After applying the base coat, cure it under the lamp for 30 seconds before adding the slip layer of builder gel. Remember to cure each layer between applications to promote proper adhesion and prevent lifting or bubbling.
For best results, apply the builder gel near the cuticles and center most of the product on the nail. Flip your nails upside down during curing to utilize gravity effectively.
Regularly monitor the curing process to avoid weakened nails and guarantee lasting durability. Additionally, using a high-quality butter as a reward for your nail care routine can enhance the overall health of your nails and skin.
Nail Structure Techniques
Understanding how to effectively apply builder gel goes beyond just curing times; it also involves mastering techniques for structuring the nails.
Start by creating a slip layer with a thin coat of gel to help it adhere better. Concentrate most of the product in the center of the nail, gently moving it towards the cuticles and tips while avoiding the sidewalls.
Flipping your nails upside down during application allows gravity to help the gel settle evenly, enhancing the apex and overall strength. Cure each layer under a lamp for about 30 seconds to guarantee proper hardening.
Regular maintenance and knowledge of specific curing times will prevent damage and extend the life of your builder gel application on natural nails. Additionally, utilizing storage solutions for your nail tools can streamline the process and keep your workspace organized.
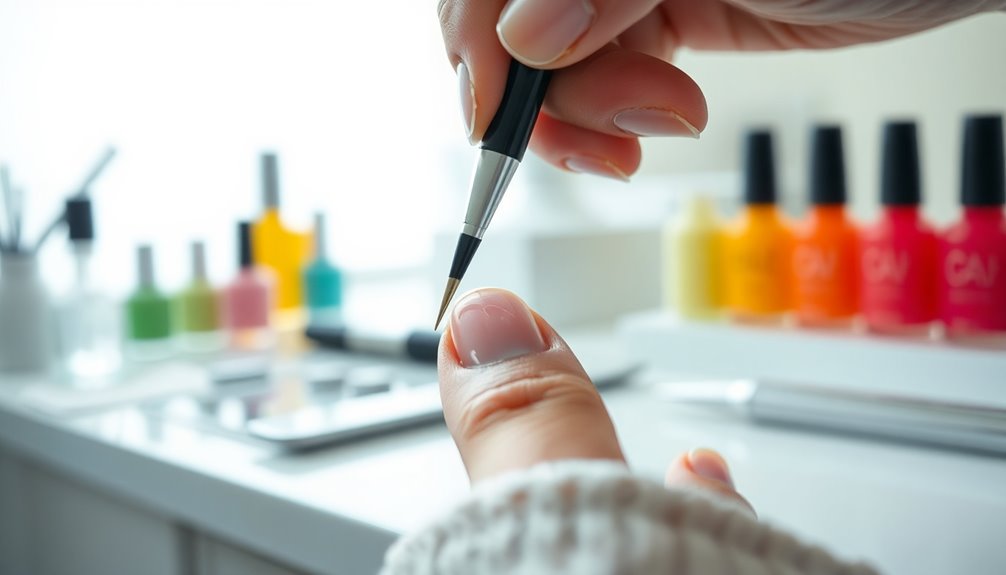
Finishing Touches and Top Coat
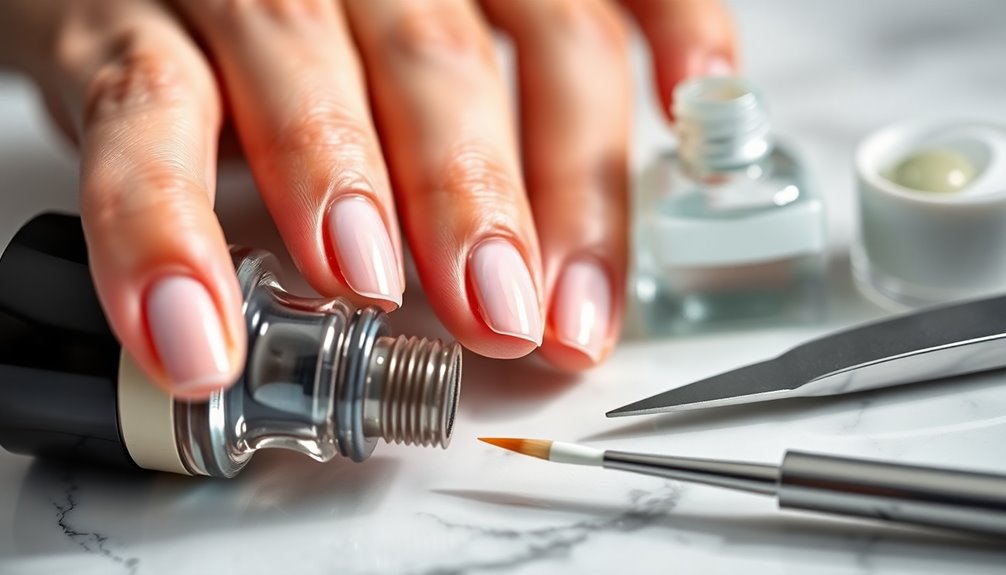
To achieve a polished and professional look after applying Builder gel, you'll want to focus on the finishing touches, including the selection of a gel polish color and the application of a top coat.
Follow these steps for best results:
- Choose a gel polish color, like a pearly ballerina pink, to enhance your nails.
- Apply one thin coat of the gel polish and cure it under a lamp for 30 seconds, ensuring proper adhesion.
- Finally, apply a gel top coat and cure it for 60 seconds to create a protective layer and a glossy finish. Additionally, ensure that you use proper dilution techniques for any nail products to prevent skin irritation.
Maintenance and Care for Builder Gel Nails
After achieving that polished look with your builder gel nails, maintaining their beauty and durability is key. Regular maintenance every 2-3 weeks is essential to check for lifting or damage and keep your nails looking fresh.
Always use a gentle cleanser and steer clear of harsh chemicals to prevent weakening the builder gel and harming your natural nails.
When filling, only file the top layer of the builder gel—avoid reaching the natural nail bed to maintain strength.
Daily application of cuticle oil helps keep the surrounding skin hydrated, reducing the risk of lifting.
Finally, adhere to the specific curing times for the products you use, as different brands have varying instructions for maximum durability and appearance. Additionally, maintaining a clean environment can significantly contribute to preventing any potential infections or damage to your nails.
Frequently Asked Questions
Can You Put Builder Gel on Natural Nails?
Yes, you can put builder gel on natural nails! Just make sure you prep your nails properly.
Start by filing off the shiny layer and cleaning the cuticle area. Don't forget to use rubbing alcohol to remove excess oil for better adhesion.
Apply a thin slip layer of builder gel, curing each layer under a lamp for about 30 seconds.
Regular maintenance will help keep your nails strong and looking great!
How Do You Use Builder Gel for Beginners?
To use builder gel as a beginner, start by prepping your nails.
File away any shine, push back your cuticles, and clean your nail beds with rubbing alcohol.
Next, apply a thin slip layer of builder gel, focusing on the center and avoiding the sides.
Cure it under a UV or LED lamp for about 30 seconds.
Flip your nails upside down during curing for better contour, then finish with colored gel polish and a top coat.
What Are the Disadvantages of Builder Gel?
Have you ever considered the downsides of using builder gel?
While it can enhance your nails, it also adds weight, potentially leading to discomfort or breakage if not applied correctly.
The UV light used for curing can harm your skin over time, and improper application may damage your natural nails.
Plus, regular maintenance every few weeks can be time-consuming and costly.
Ultimately, be aware of possible allergic reactions to the chemicals in the gel.
Do You Need a Base Coat With Builder Gel?
Yes, you need a base coat with builder gel. It creates a smooth surface for better adhesion, which helps prevent lifting.
You'll want to cure the base coat under a lamp for about 30 seconds before applying the builder gel. A thin layer not only prepares your nails but also caps the tips for added durability.
Always check your specific product instructions, as some builder gels may have different requirements for base coat usage.
Conclusion
In the world of nails, "good things come to those who wait." By following these steps for applying builder gel on your natural nails, you can achieve a stunning, long-lasting finish. Remember to care for your nails properly to keep them looking fabulous. With a little practice and patience, you'll master the art of builder gel application, transforming your nails into a beautiful canvas that shines. Embrace your creativity and enjoy the process!