
To create a built-in look with basic tools, start by precisely measuring your space and planning your layout. Use a saw, drill, level, and screwdrivers to cut and install shelves directly into wall studs for stability. Make certain each shelf is level and secure, then hide edges with trim or molding for a seamless appearance. Adding LED lighting behind or underneath shelves can further enhance the look. Keep exploring to discover more tips for a professional finish.
Key Takeaways
- Plan the layout precisely, measuring and mapping shelf and lighting placement before starting construction.
- Use basic woodworking tools like saws, drills, and levels to cut and install shelves accurately.
- Secure shelves directly into wall studs for stability and ensure they are perfectly level during installation.
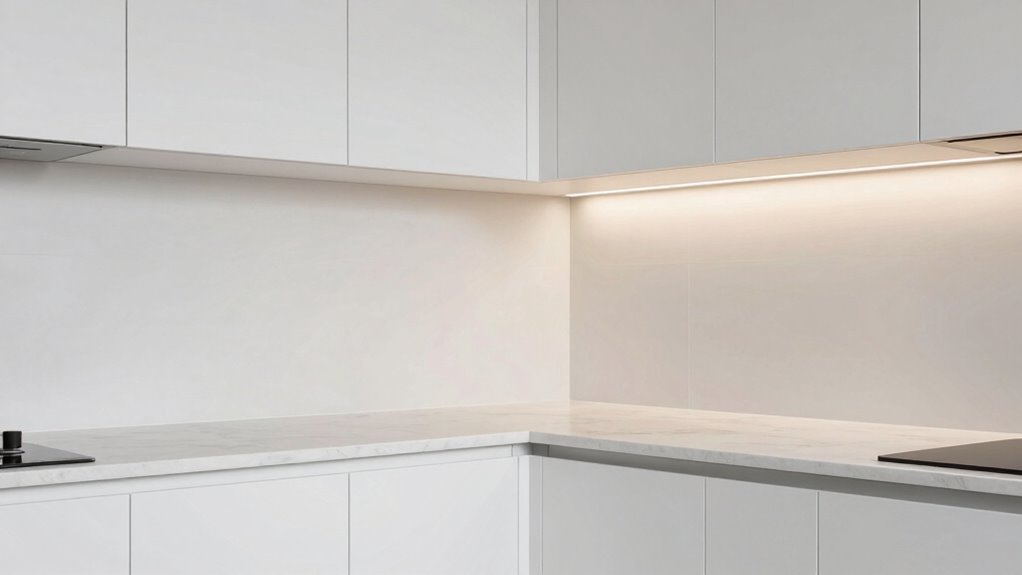
- Hide edges with trim or molding and install subtle LED lighting for a seamless, built-in appearance.
- Arrange decor thoughtfully to enhance the integrated, polished look of the built-in shelves.
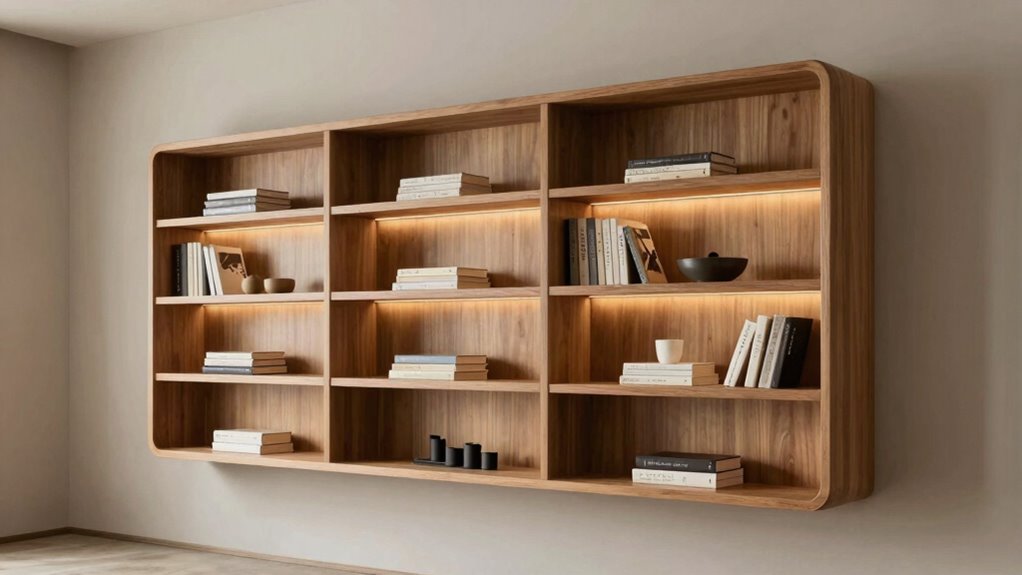
Ever wondered how to make your space feel seamless and custom-designed? Achieving a built-in look doesn’t have to mean tearing down walls or hiring a contractor. With some basic tools and a little patience, you can create a sophisticated, integrated appearance that elevates your room’s style. Start by planning your layout carefully, imagining how you want your custom shelving to fit within the space. Measure precisely to guarantee your shelves will sit flush against the wall, giving that seamless, built-in effect. When designing, consider incorporating integrated lighting within your shelves or behind them. This detail isn’t just functional; it adds a sleek, modern touch and highlights your display items beautifully.
Create a seamless, custom look with careful planning, precise measurements, and integrated lighting—no contractor required.
Once you’ve mapped out your design, gather your tools: a saw, drill, level, measuring tape, and screwdrivers. Basic woodworking skills are enough to handle this project, but patience is key. Begin by cutting your shelves to size, making sure they’re sturdy enough to hold your intended items. When installing, use a level to ensure each shelf sits perfectly straight. Securely anchoring your shelves directly into wall studs will give you the stability needed for a built-in look, preventing sagging or wobbling over time. As you attach each shelf, double-check their alignment for a crisp, professional appearance. Additionally, understanding 3D scanning technology can help you create precise digital models of your space, ensuring your custom shelves fit perfectly.
To truly mimic a custom built-in, think about how to hide the edges and seams. Use trim or molding to cover any gaps or rough edges, giving your project a polished finish. For integrated lighting, consider installing LED strip lights behind or underneath your shelves. These can be wired through the wall or plugged into an outlet, depending on your setup. Once installed, test your lighting to ensure it illuminates your display area evenly and adds depth to your shelves. The subtle glow will enhance the overall aesthetic, making your space feel more cohesive and thoughtfully designed. Incorporating wall anchoring techniques ensures your shelves remain securely in place, especially when loading heavier items. Exploring Biodiversity principles can also inspire eco-friendly choices for your project, such as sustainable materials or natural finishes. Additionally, paying attention to the aesthetic details will help your built-in look blend seamlessly with your existing decor.
Finally, load your shelves with your favorite decor, books, or collectibles. The beauty of a built-in look is the seamless integration—your items look like they belong there, and the lighting accentuates every detail. With some basic tools, careful planning, and attention to detail, you can achieve a chic, custom-built ambiance that transforms your room into a polished, personalized space. It’s a satisfying project that combines practicality with style, giving you a stunning result that feels like it was built by a pro.

SLIIMU Floating Shelf Installation Dowel Jig Kit with 1/2 x 9.8'' &1/2 x 5''Bit,Mantle Straight Hole Drill Guide for Hidden Shelf Bracket,Self Centering Doweling Drill Jig for Invisible Shelf Hardware
HIGH-QUALITY MATERIAL: The body of the floating shelf drill guide is made of industrial grade aluminum alloy, which…
As an affiliate, we earn on qualifying purchases.
As an affiliate, we earn on qualifying purchases.
Frequently Asked Questions
What Are the Best Basic Tools for Built-In Projects?
You’ll want a few basic tools like a power saw, drill, screwdriver, measuring tape, and a level to start your built-in project. Use these tools to install decorative trim that adds detail and style. Don’t forget to explore different hardware options, such as knobs and handles, to personalize your built-in. With these simple tools, you can achieve a professional look without needing specialized equipment, making your project both fun and manageable.
How Do I Measure Space Accurately for Built-Ins?
To measure space accurately for built-ins, use measuring techniques like a tape measure and a level to get precise dimensions. Always measure multiple points in each area—height, width, and depth—to account for irregularities. Record your measurements carefully, and consider space optimization by planning for clearance and storage needs. Double-check your measurements before cutting or assembling to make certain everything fits perfectly and looks seamless.
Can I Install Built-Ins Without Professional Help?
Yes, you can install built-ins without professional help if you’re confident with DIY safety and tool maintenance. Make certain to carefully follow instructions, use the right tools, and wear safety gear. Measure and plan thoroughly before cutting or assembling. Take your time, and don’t rush. If you’re unsure about any step, consider consulting tutorials or seeking advice to avoid accidents or mistakes. Proper preparation ensures a successful, safe project.
What Types of Wood Are Best for Built-In Furniture?
Think of your built-in as a canvas, and the wood as its soul. Opt for hardwoods like oak, maple, or cherry for durability and mesmerizing wood grain patterns that add character. These woods respond beautifully to wood treatment, enhancing their natural beauty and ensuring your piece ages gracefully. Softwoods like pine work well too, but choose carefully—less dense, easier to work with, and still capable of stunning finishes.
How Do I Ensure a Seamless Finish With Basic Tools?
To guarantee a seamless finish with basic tools, focus on smooth sanding and careful application of finishing techniques. Use fine-grit sandpaper to remove imperfections, then wipe away dust thoroughly. Incorporate decorative accents strategically to hide minor flaws and add character. Apply paint or stain evenly, using a brush or cloth, and consider sealing with a clear finish for durability. Proper preparation and attention to detail will give your built-in a professional, seamless appearance.

CUBITOR Under Cabinet COB Led Light Strip kit,16.4ft/5m Cuttable 3000K,Diffused Power with 6 Output Ports,Touch Switch&Dimmer Strip for Gun Safe Case,Book Shelf,Floating Shelf,Wall Panel,Home Decor
【Easy Installation】Package contains 12V 36W transformer,touch sensor,6Pcs*6.56ft auxiliary cables,1Roll 16.4ft-long self-adhesive cob strip, mounting clips and tape. Note:The…
As an affiliate, we earn on qualifying purchases.
As an affiliate, we earn on qualifying purchases.
Conclusion
By following these simple steps, you can achieve a sleek, built-in look using basic tools and materials. It’s a cost-effective way to upgrade your space without professional help. Did you know that DIY home improvements can increase your property value by up to 10%? With a little patience and creativity, you’ll have a seamless, custom feel that makes your home uniquely yours—all without breaking the bank. So go ahead, get started and enjoy your stunning new space!

PREXISO 2-in-1 Stud Finder with Laser Level, Rechargeable Multi Surface Cross Line Laser & Wall Stud Scanners Tool for Hanging Frames & Picture, Wood Ac Wire Metal Studs Pipe Detection Gift for Dad
TIPS: 1. Calibration is necessary before using the stud finder function. 2. Laser level is manual-leveling, not self-leveling,…
As an affiliate, we earn on qualifying purchases.
As an affiliate, we earn on qualifying purchases.
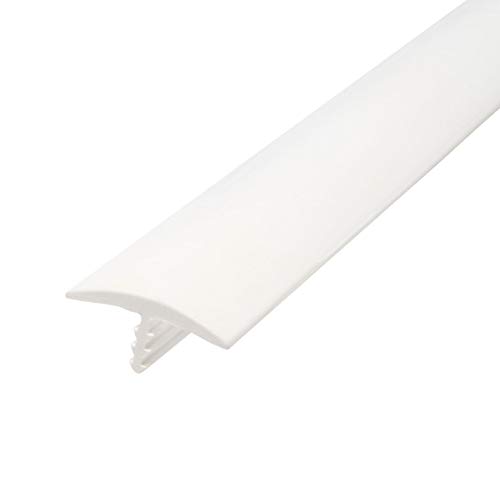
Outwater Industries 25 Foot White 3/4 Inch Center Barb Tee Moulding T Molding Hobbyist Pack, Small Projects, Arcade Machines and Tables
T MOULDING FOR 3/4" THICK PANELS – This flexible plastic T-molding fits 3/4-inch thick panels. Features a center…
As an affiliate, we earn on qualifying purchases.
As an affiliate, we earn on qualifying purchases.