To give your furniture a boho-inspired upgrade, start by thoroughly prepping the surface—cleaning, sanding, and filling gaps. Choose vibrant base colors and apply multiple thin coats for even coverage. Layer different hues, use water sprays, and textured techniques like stippling or palette knives for depth. Add stencils, metallic accents, and faux rust effects for visual interest. Finish with wax, stains, and distressing to create a unique, vintage look. Keep exploring for tips on perfecting your boho furniture transformation.
Key Takeaways
- Prepare furniture surfaces thoroughly with cleaning, sanding, and filling to ensure a smooth, durable base for painting.
- Use layered, vibrant colors with water spritzes and blending techniques to create depth and watercolor effects.
- Apply textured paint, stenciling, and metallic accents for added dimension and boho-inspired details.
- Distress surfaces by sanding, scraping, and using water or tools to simulate rust, wear, and natural aging.
- Finish with colored waxes, gel stains, and protective topcoats to achieve a rustic, vintage, and vibrant boho look.
Preparing Your Furniture for a Boho Makeover

Before starting your boho furniture makeover, it’s essential to prepare the piece properly. First, thoroughly clean your furniture surfaces with a degreasing cleaner like Dixie Belle White Lightning. This step removes dirt, grease, and any gloss, helping your paint adhere better. Next, carefully remove hardware; if it lacks screws, use a flat-head screwdriver to detach it without damage. Sand the furniture using a 5-inch orbital sander or fine grit sandpaper to create a smooth surface and eliminate any existing finish. If there are holes or imperfections, fill them with a durable, sandable wood filler such as Dixie Mud, then let it dry completely before sanding smooth. Properly preparing your furniture sets a solid foundation for a stunning boho makeover. Additionally, understanding color accuracy can help you achieve the desired aesthetic when choosing paint colors and finishes.
Removing and Saving Hardware for Future Use
Removing and saving hardware is a crucial step in your boho furniture makeover, especially if you plan to reuse or repurpose the existing pieces. Carefully detach hinges, knobs, and other hardware, keeping track of screws and parts for easy reinstallation. Some hardware may lack screws or be glued, so use a flat-head screwdriver or gently pry to detach it safely. Store the hardware in a labeled container or small bag to prevent loss and stay organized. If the hardware is outdated or mismatched, save it for future projects or repurposing. Leaving hardware on during painting can protect it from drips and simplify reattachment. Just remember to clean it thoroughly before reinstalling to ensure it looks great and functions properly. Proper handling of hardware can also facilitate poolside entertaining by ensuring your furniture remains functional and attractive. Additionally, researching hardware preservation techniques can help maintain its quality and appearance over time.
Creating a Base Coat for Vibrant Color Foundation
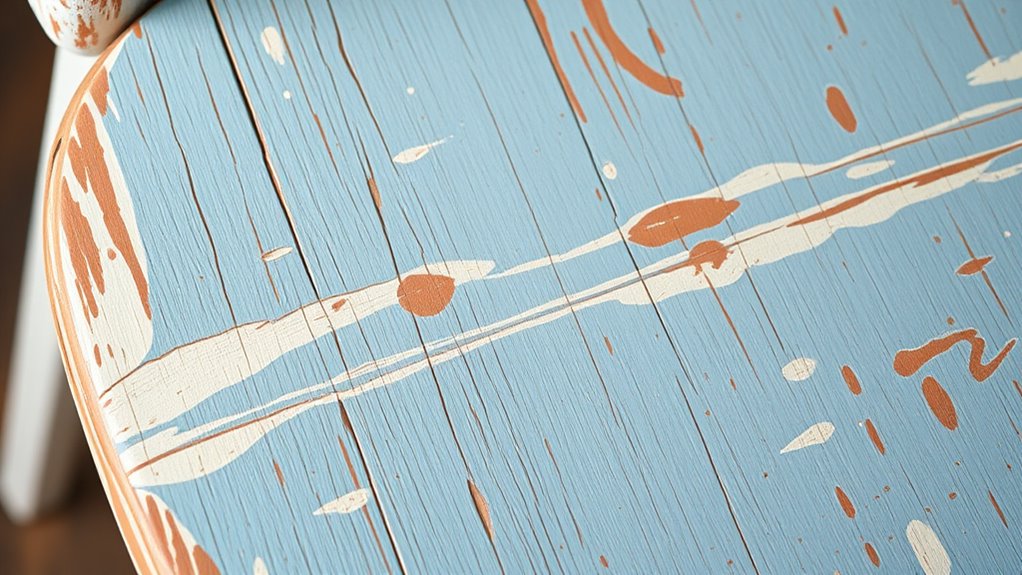
Choose a bright, bold color like Antebellum Blue to create a lively foundation for your furniture. Use smooth, even strokes with a quality brush or roller to prevent streaks and guarantee consistent coverage. Let each thin coat dry completely before adding the next to avoid drips and protect the wood underneath. Incorporate natural materials such as linen or reclaimed wood to enhance the authenticity of your boho furniture makeover. Additionally, selecting high-quality paint can improve durability and finish for your project.
Choosing Bright, Bold Colors
Selecting a bright, bold color like Antebellum Blue as your base coat instantly sets a lively, boho tone for your furniture piece. Going with such a vibrant hue creates a striking foundation that enhances layered textures and eclectic details. When applying your coat, guarantee you use high-quality acrylic or chalk paint for smooth coverage and better durability. Applying an even, solid coat prevents excessive wood exposure and provides a consistent background for subsequent distressing or stenciling. Remember, a well-applied base coat acts as a protective barrier, reducing the need for multiple top coats and improving your distressing results. Allow the coat to dry completely before moving on to the next step, ensuring your vibrant color foundation is perfect for creating that authentic boho look.
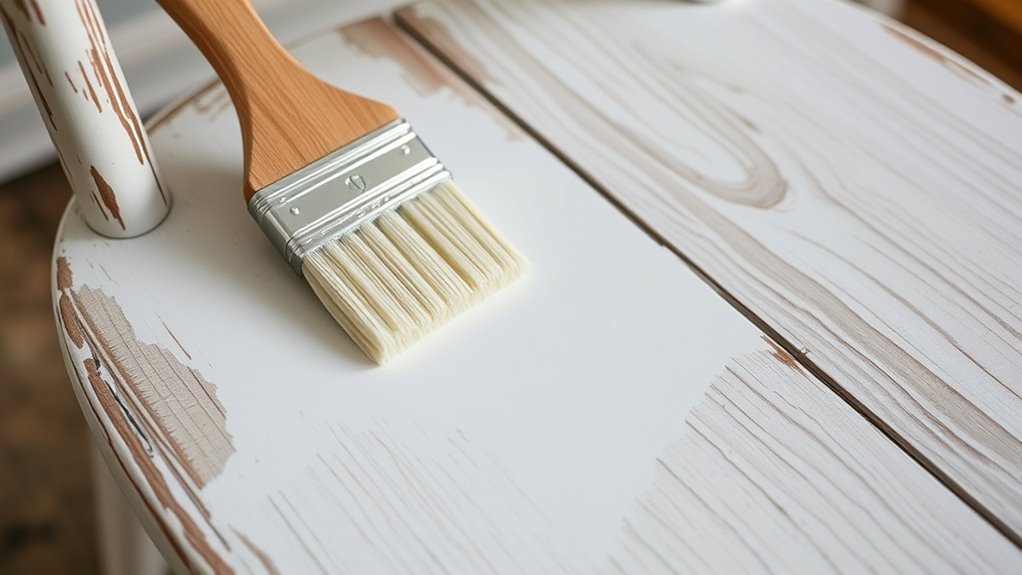
Applying Even Coverage
To achieve a vibrant, even color foundation, it is essential to apply your base coat carefully and systematically. Use a high-quality brush or roller to spread the paint I used smoothly across the surface, working in consistent, overlapping strokes. Thin multiple layers of the base coat rather than one thick coat—this improves adhesion and reduces drips or streaks. Allow each coat to dry completely before applying the next to build a solid, uniform coverage. Applying the paint carefully ensures no patchy areas or uneven patches appear later. A well-executed base coat creates a stable background that enhances the brightness and longevity of your final boho finish. Taking your time during this step guarantees a vibrant, professional-looking result.
Preventing Wood Exposure
How can you guarantee your wood surface remains protected and vibrant during your furniture makeover? The key is applying a solid base coat. This layer prevents excessive wood exposure, which can lead to uneven coloration and damage. Use a high-quality, opaque paint like Antebellum Blue to create a uniform background that enhances your decorative layers. Ascertain even coverage with a brush or roller to avoid streaks or thin spots, giving you a smooth foundation. Wait for the base coat to dry completely before adding additional layers or distressing techniques—this prevents smudging and uneven patches. A properly applied base coat not only shields the wood but also improves paint adhesion, resulting in a durable, vibrant boho-inspired finish. Additionally, understanding AI’s role in safety measures can help inform your approach to protecting and maintaining your furniture during the makeover process.
Layering Colors and Techniques for Artistic Depth
Start by layering vibrant hues like Muscadine Wine, Colonel Mustard, and Mermaid Tail to build visual interest. Use water sprays to softly blend colors and add fluidity, while applying semi-dry paint with a putty knife creates dynamic textures. Incorporate stencil patterns with metallic paints or sand selectively to reveal underlying layers and add depth to your boho furniture piece. Utilizing personal vibration can help you envision unique patterns and color combinations before starting your project. Embracing artistic expression can also inspire more creative and personalized designs. Additionally, understanding website performance metrics can help you analyze which color schemes or techniques resonate most with your audience if you’re sharing your project online. Exploring keto diet basics can inspire a fresh perspective on your creative process by encouraging healthy habits and mindful planning during your project.
Layering Vibrant Hues
Layering vibrant hues transforms a piece into a lively work of art by applying multiple colors in a spontaneous, artistic way. With painted furniture, you can create depth and interest by layering bold shades like Peony, Daisy, Florida Orange, and Pure Ocean. Use irregular strokes with semi-dry or wet paint to encourage natural blending, giving your furniture a painterly, textured look. Lightly spray water over the layers to soften edges and help colors meld seamlessly. This technique adds dynamic variation and vibrancy, making your piece truly unique. Once the layers dry, sanding lightly reveals glimpses of underlying colors, enhancing the distressed, multidimensional effect. This approach breathes life into your DIY project, turning simple paint into a vibrant, textured masterpiece. Incorporating layering techniques during each step can help ensure your layering process results in a cohesive and visually captivating finish. Additionally, practicing mindful painting can improve your control and overall aesthetic outcome.
Blending With Water Sprays
Blending with water sprays is a versatile technique that allows you to achieve seamless color shifts and added depth in your boho furniture projects. By lightly misting the surface with water before or during painting, you enable the colors to bleed and merge naturally, creating a watercolor effect. Using water sprays helps soften edges between different hues, resulting in a textured, layered look characteristic of boho style. You can control the blending intensity by adjusting the amount of water, with more water promoting diffusion and softer overlaps. To visualize this, consider:
- Spraying water to create a misty, ethereal backdrop
- Merging two contrasting colors with gentle sprays
- Softening sharp paint edges for a smooth transition
- Using water to manipulate wet paint for spontaneous effects
This technique enhances your furniture’s artistic depth and dimension.
Creating Texture and Depth
Achieving rich texture and depth on your boho furniture involves carefully applying multiple layers of color and utilizing various techniques to enhance visual interest. Layering colors like Muscadine Wine, Colonel Mustard, and Mermaid Tail creates complexity, while tools like a putty knife or stippling brush add textured effects by dragging or stippling wet paint. Incorporating blending techniques with water spritzes and dry brushing helps colors progress seamlessly, building a rich, layered appearance. Applying contrasting layers and then sanding or distressing reveals underlying hues, adding age and character. Mixing textured paint with uneven, pancake-like consistencies results in a dynamic depth that mimics natural wear, giving your piece an artistic, layered finish. These techniques combine to produce a textured, multidimensional boho furniture piece. To further enhance the process, experimenting with different textile art techniques can help refine your application and achieve more professional-looking results.
Using Stencils and Metallic Accents to Enhance the Design
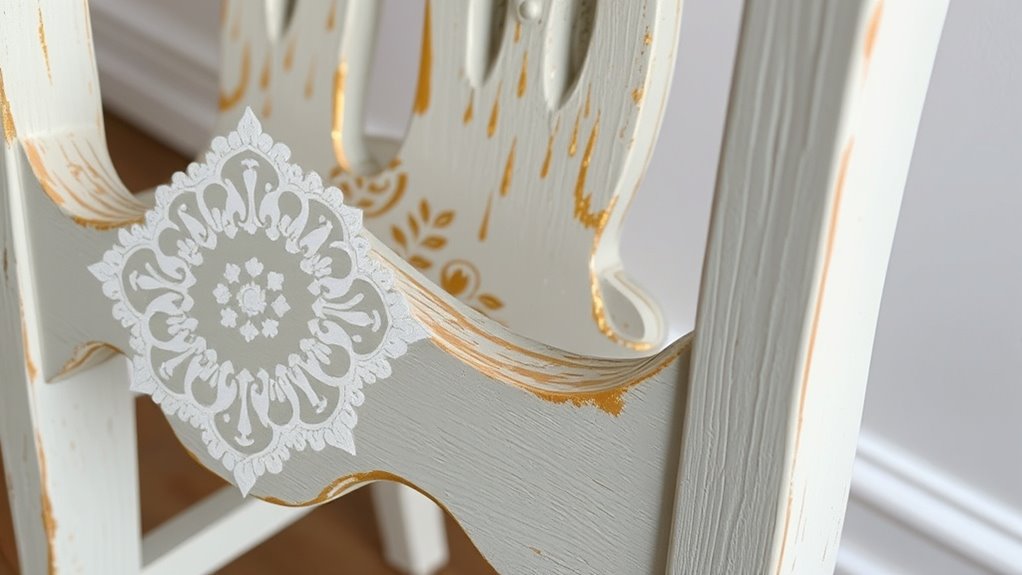
Using stencils and metallic accents can instantly elevate your boho furniture makeover by adding eye-catching detail and shimmer. Start by choosing reusable stencils like Redesign With Prima’s Stick N’ Style Irregular Triangles for precise, repeatable patterns. Apply metallic acrylic paints such as Art Alchemy through the stencil to add shimmer and dimension. To create a textured, layered effect, use strips of cardboard or other tools to overlay colors over stenciled areas. Carefully lift the stencil to prevent smudging, ensuring crisp metallic accents. Imagine:
- Sharp geometric patterns repeating across the surface
- Metallic shimmer highlighting key design areas
- Layered colors creating depth and movement
- Clean, crisp lines that add a professional touch to your boho piece.
Additionally, incorporating visual appeal through metallic accents can significantly enhance the overall impact of your project.
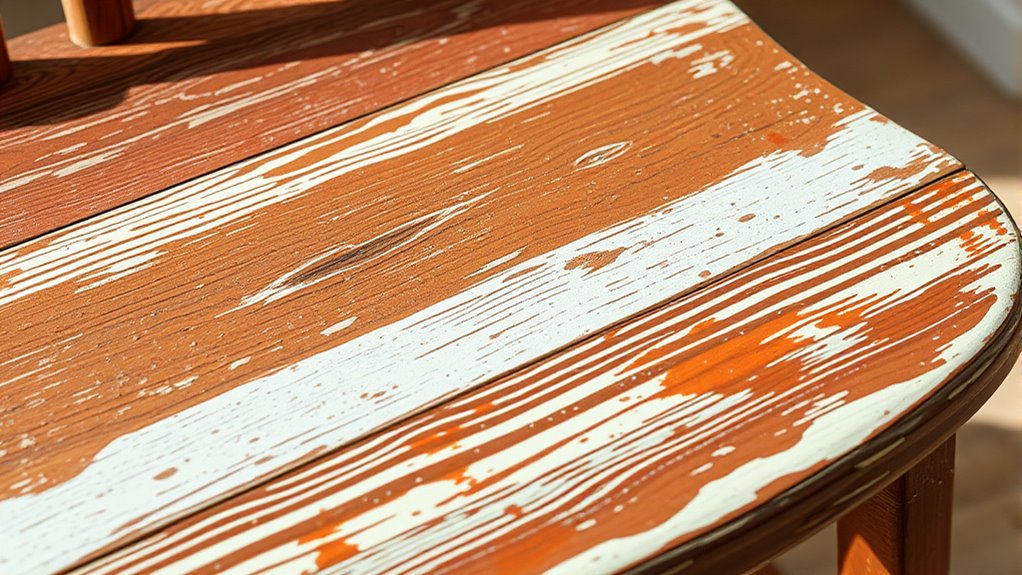
Applying Texture and Creating a Distressed Look
To add depth and visual interest to your boho furniture, applying texture and creating a distressed look can transform a plain piece into a charming, aged masterpiece. Start by mixing thick acrylic paints with Sea Spray to form a pancake-like texture. Use a stippling brush or sponge to dab this textured paint onto the surface, building layers without full coverage. Layer different colors like barn red, Kernel Mustard, Mermaid Tail, and Ocean to enrich the textured appearance. Once the paint dries, sand specific areas to reveal underlying colors, giving your piece a worn, distressed finish. Incorporating layering techniques and sanding to create a natural, aged look is essential for achieving the authentic distressed aesthetic. You can also combine drip effects with sanding to add character and depth, resulting in a dynamic, boho-inspired piece that looks beautifully aged and full of personality. Additionally, experimenting with faux finishing methods can enhance the realistic aged effect of your furniture. Practicing patience and mindfulness during the crafting process can help you achieve better results and enjoy a more fulfilling creative experience. Exploring personal development principles, such as patience and mindfulness during the crafting process, can also enrich your creative experience.
Adding Faux Rust, Drips, and Surface Details
To create convincing faux rust effects, layer rust-colored paints like Rusty Nail and Coffee Bean over metal surfaces and distress them with sandpaper for an aged look. For authentic drips, spritz water onto wet paint and let it run naturally or guide it with a tongue depressor. Adding surface details through stencil work and controlled dripping enhances the weathered, industrial feel of your furniture. Incorporating vibrational energy techniques can further amplify your creative process and results. Remember to maintain a positive mindset, as emotional support can boost your confidence and patience during your DIY project. Utilizing payment processing knowledge can inspire innovative ideas for incorporating metallic finishes that mimic real rust. Using unique and wicked planters as inspiration, you can also experiment with creative textures and finishes to make your furniture truly stand out. Additionally, exploring economic growth factors in Indonesia can provide insights into sustainable practices and local materials to enrich your project.
Achieving Rusted Metal Effects
Achieving a convincing rusted metal effect involves layering rust-colored paints like Rusty Nail and Coffee Bean onto your furniture, then gently sanding to reveal distressed patches that mimic natural corrosion. To enhance realism, use a misting bottle to wet areas and apply drips with a brush or tongue depressor, creating rust runoff and aging effects. Next, distress the edges and panels by sanding smooth, exposing layers beneath for a weathered look. You can also add textured rust patterns by applying paint through silk screen stencils, then lifting the stencil to reveal textured details. Finally, deepen the rusted surface by layering rust-colored waxes and water-based gel stains, sealing the piece with a protective topcoat for durability. This technique transforms your furniture into authentic-looking, distressed rusted metal.
Creating Authentic Drip Details
Creating authentic drip details starts with preparing your painted surface by lightly misting it with a spray bottle, which encourages the paint to flow naturally and form realistic rust-like drips. This technique helps achieve natural drip effects that enhance your distressed finish. Next, layer different rust colors like Rusty Nail and Coffee Bean over wet areas using a brush or sponge to add depth and authenticity. To control drip length and direction, drag a tongue depressor or flat tool through the wet paint, mimicking natural corrosion patterns. Finally, sand distressed areas after applying drips and rust to reveal underlying layers and create texture. Incorporate these techniques to craft a weathered, authentic look on your furniture.
| Step | Technique | Effect |
|---|---|---|
| Mist with spray bottle | Encourages natural flow of paint | Realistic rust drips |
| Layer rust colors | Adds depth and authenticity | Rust-like surface |
| Drag tool through wet paint | Controls drip shape and direction | Custom drip effects |
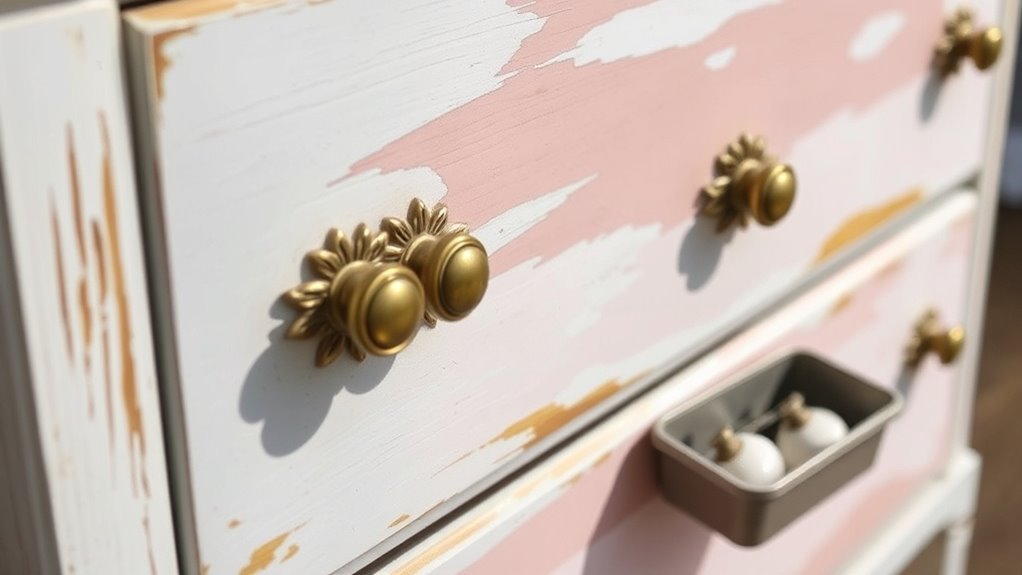
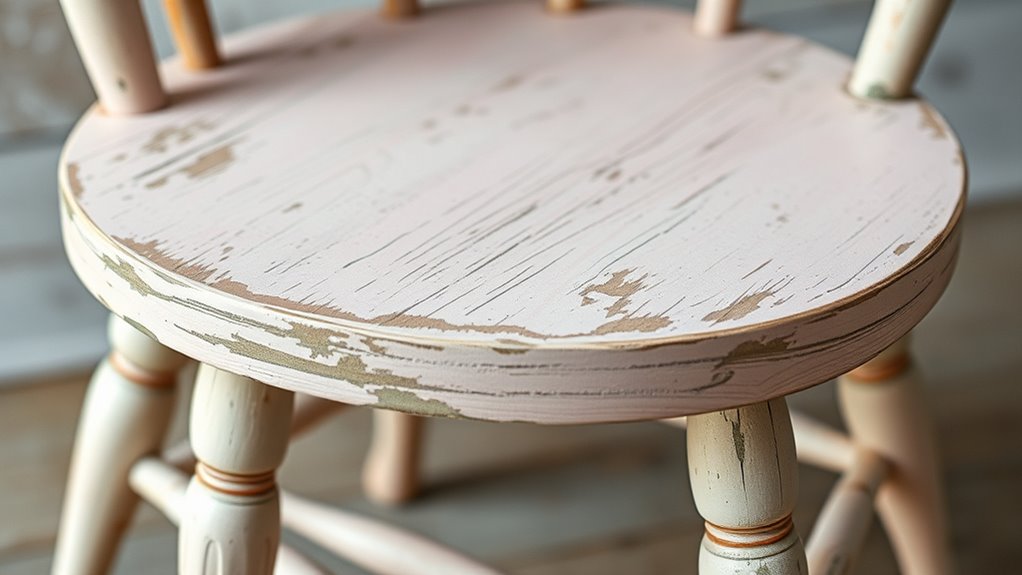
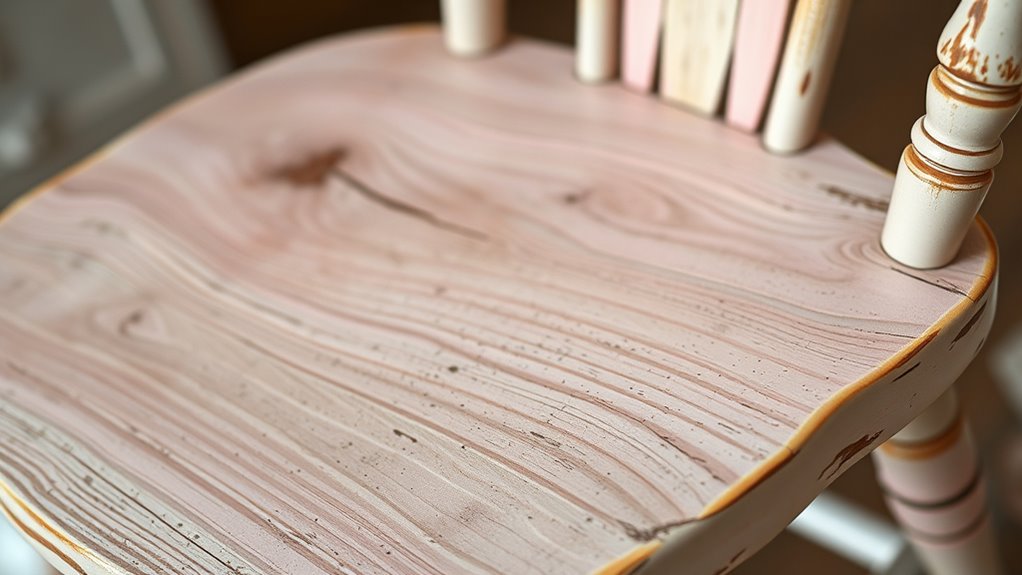
Distressing and Revealing Underlying Layers
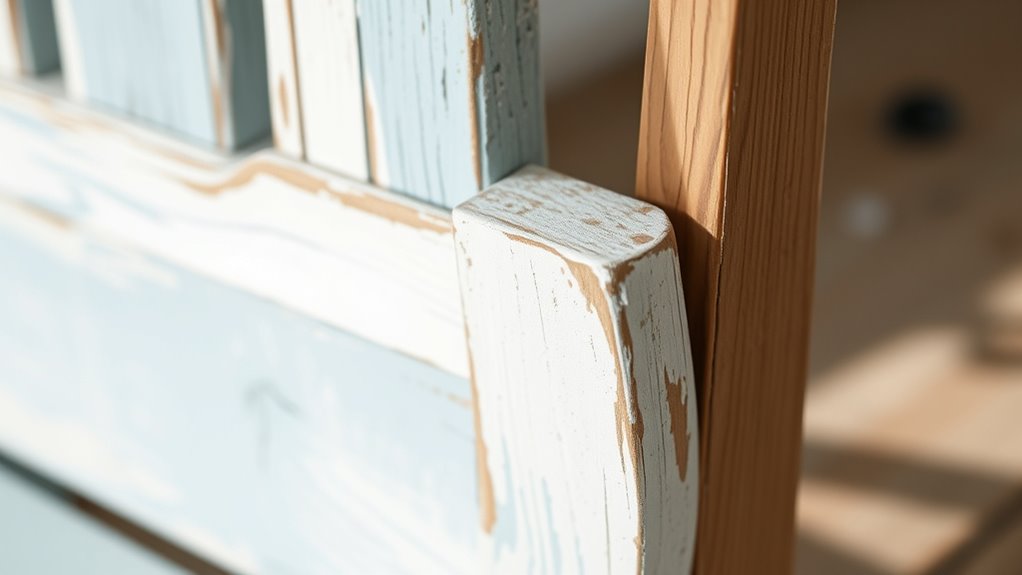
Distressing techniques involve carefully sanding or scraping the surface to expose underlying layers of paint or wood, giving your furniture a charming, vintage feel. By layering different colors underneath the topcoat, you create depth that becomes more prominent during distressing. To achieve this look, you might:
- Use fine grit sandpaper (like 120 grit) to gently remove paint in selected areas, revealing layers beneath.
- Spritz water or wipe with a damp cloth to soften paint, making distressing easier and more controlled.
- Scrape or sand along edges and corners to highlight natural wear and character.
- Combine dry brushing with distressing to add subtle highlights and emphasize details.
These techniques enhance the layered effect, making your furniture uniquely vintage and full of character.
Finishing With Wax, Stains, and Aging Techniques
Finishing your furniture with wax, stains, and aging techniques adds depth and character, transforming a basic piece into a vintage-inspired treasure. Applying colored wax, like Florida Orange mixed with clear wax, highlights crevices and details, giving an authentic aged look. Allow the wax to dry for 24-48 hours before sealing with Gator Hide to prevent smudging and boost durability. Water-based gel stains, such as Tobacco Road, can be applied over painted surfaces with a spritz of water, making the stain easier to spread evenly and reducing absorption. Lightly sanding after staining or waxing reveals underlying layers, enhancing the vintage, distressed effect. Using aging techniques like Dixie Belle Dixie Dirt or Charcoal Dixie Dirt with wax creates a worn, rustic appearance that completes your boho furniture transformation.
Styling and Final Touches for a Unique Boho Statement

To achieve a truly unique boho statement, focus on adding layered paints, waxes, and distressing techniques that bring texture and depth to your piece. Use layered paints to build vibrant, contrasting backgrounds, then apply distressing techniques like light sanding to reveal underlying colors, creating a worn, vintage look. Incorporate metallic or bright-colored acrylics through stencils or tools such as cardboard strips to add eclectic, eye-catching details. Strategically apply colored waxes and gel stains into cracks and crevices to deepen the aged appearance and add visual interest. For the final touches, consider:
Create vibrant textures with layered paints, distressing, metallic accents, and colored waxes for a unique boho look.
- Adding metallic accents with stencils
- Highlighting distressed areas with colored waxes
- Lightly sanding to enhance textures
- Sealing everything with a protective topcoat to guarantee durability and shine.
Frequently Asked Questions
How Do You Make Painted Furniture Look Distressed?
To make painted furniture look distressed, you start by lightly sanding edges and corners to reveal the underlying wood or base color. Use a dry brush or damp cloth to rub off paint in naturally worn areas like handles and raised details. After the paint dries, sand certain spots for a smoother, aged look. Finish by applying wax, glaze, or stain to deepen shadows and highlight the distressed features.
How to Antique Furniture After Painting?
Antiquing furniture after painting is like giving it a love-worn charm. First, apply a dark wax or oil-based glaze into the crevices to deepen the details. Wipe away excess with a soft cloth, leaving it in recesses. Lightly sand edges to soften and blend, then distress by sanding some painted areas to reveal layers or wood. Finish with a clear wax or topcoat to protect and preserve that beautifully aged look.
How to Paint a Piece of Furniture?
To paint a piece of furniture, start by cleaning it thoroughly with a degreaser. Remove hardware if needed. Apply a smooth, even base coat of paint with brushes or rollers to prevent wood exposure. Use a dry brush or stippling to add textured layers of different colors, then lightly sand to distress. Finish with a protective topcoat like wax or polyurethane for durability and a polished look.
Conclusion
Now that you’ve transformed your furniture into a boho masterpiece, remember that imperfections add charm—like a scratched record or a worn-in favorite shirt. Your DIY project is a perfect blend of chaos and harmony, just like life itself. Embrace the quirks, celebrate the layers, and let your unique style shine through. After all, in the world of boho, it’s the imperfections that make it truly beautiful and yours.