To make your cabinet paint job look professional, proper prep work is essential. Start by cleaning thoroughly to remove grease, dirt, and old residue. Lightly sand the surface to guarantee good adhesion of primer and paint. Use high-quality primer, especially when switching from dark to light colors, for a smooth finish. Choosing the right tools and techniques further smooths application. Keep in mind, paying attention to prep sets a strong foundation—see how you can perfect your process for best results.
Key Takeaways
- Thoroughly clean cabinets to remove grease, dirt, and residue for better paint adhesion.
- Lightly sand surfaces to create a textured base for primer and paint.
- Fill dents and scratches to ensure a smooth, flawless finish.
- Use high-quality primer, especially when changing cabinet colors or shades.
- Prepare tools and workspace for even application and professional results.
Thinking about giving your cabinets a fresh new look? Before you pick up that brush, it’s crucial to understand that proper prep work is the key to a professional-looking finish. When you start with a solid plan, your painting project will turn out smooth, polished, and long-lasting. One of the most critical steps is choosing the right paint, which involves understanding color matching and the various paint finishes available. Getting these details right ensures your cabinets look cohesive and stylish with your overall decor.
Color matching is more than just picking a shade you like. It’s about selecting a hue that complements your kitchen’s palette and reflects your personal style. Take time to test swatches in your space, observing how they look under different lighting conditions. This step helps you avoid surprises once the paint dries. Many brands offer color matching tools, allowing you to create custom shades or replicate a specific color exactly. When you’re confident with your choice, it’s easier to achieve a cohesive look across all your cabinetry, making your kitchen feel unified and inviting.
Next, consider the paint finishes. They influence not only the appearance but also the durability of your cabinets. For high-traffic areas like kitchens, semi-gloss or satin finishes are popular because they resist moisture and can be easily wiped clean. If you prefer a more subdued, matte look, you can opt for a flat finish, but keep in mind it may show fingerprints or smudges more readily. Your choice in paint finishes impacts how light reflects off the surface, affecting the overall style and feel of your space.
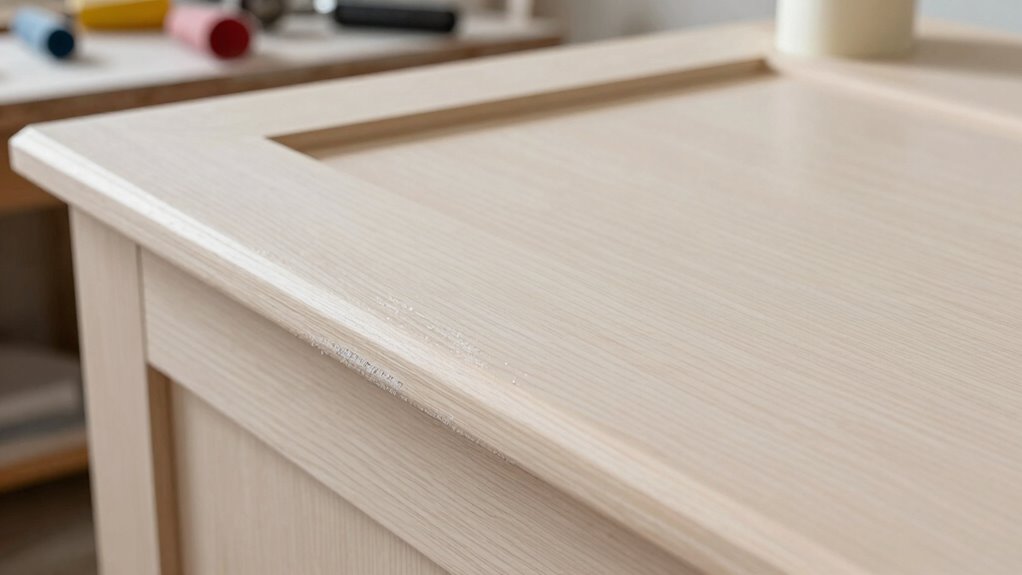
No matter which finish you select, proper prep work is non-negotiable. Begin by thoroughly cleaning the cabinets to remove grease, dirt, and old residue. Sanding the surfaces lightly helps create a rough texture for the primer and paint to adhere to better. Filling in any dents or scratches ensures a smooth, flawless surface. Applying a high-quality primer, especially if you’re switching from a dark to a light color or vice versa, enhances adhesion and prevents bleed-through. This preparatory step is what separates amateur paint jobs from professional results, giving your cabinets that sleek, refined appearance. Additionally, understanding the importance of biodiversity in maintaining healthy ecosystems reminds us that every detail in your prep work contributes to the overall success of your project, much like preserving diverse species supports environmental resilience. Incorporating proper ventilation during painting can also help ensure a safer, more efficient drying process.
Furthermore, using proper tools and techniques can greatly impact the quality of your finished project, making sure your work looks as professional as possible. It’s also helpful to research painting techniques to achieve smooth, even coverage and avoid common mistakes. Incorporating quality materials can make a significant difference in the durability and finish of your paint job. Ultimately, the prep step you put in now, from color matching to choosing the right paint finishes, directly influences the final look of your cabinets. When you take the time to plan carefully and prep properly, you’ll be rewarded with a beautifully painted kitchen that looks like it was done by a pro.

Dfacio 11Pcs Crevice Cleaning Brush Set, Hard Bristle Cleaning Supplies for Kitchen, Bathroom, Corner, Grout, Sink
【All-in-One Cleaning Tool Set】This gap cleaning brush is tailored for hard-to-reach dead corners around the house. It comes…
As an affiliate, we earn on qualifying purchases.
As an affiliate, we earn on qualifying purchases.
Frequently Asked Questions
How Long Does Cabinet Painting Typically Take?
Cabinet painting usually takes about 2 to 4 days, depending on the size and condition of your cabinets. You’ll want time for proper prep, drying, and curing. During the process, focus on color matching to guarantee a seamless look and choose high-quality paint for durability. Rushing can compromise the finish, so patience guarantees a professional, long-lasting result that looks great and withstands daily use.
What Types of Paint Are Best for Cabinets?
Choosing the right paint for your cabinets is like selecting a fine wine; it sets the tone for the entire space. You should opt for high-quality, durable paints with a smooth finish, such as semi-gloss or satin, that withstand daily wear. Color selection influences mood, while the paint finish adds elegance. Trust in premium brands that offer excellent coverage and easy cleanup, ensuring your cabinets stay stunning for years to come.
Can I Paint Cabinets Without Removing Hardware?
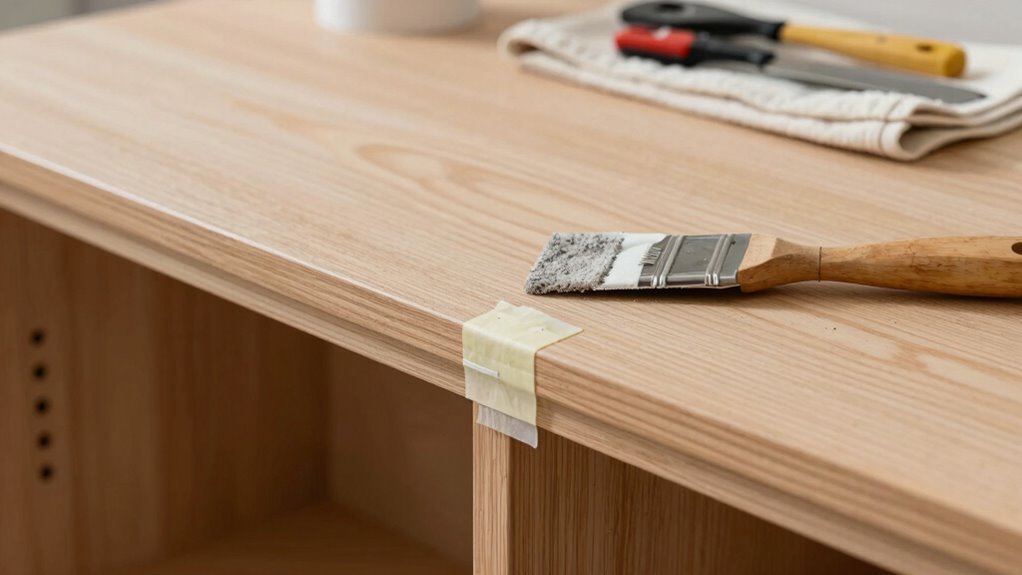
You can paint cabinets without removing hardware, but it’s better to remove it for a cleaner finish. Start by thoroughly cleaning the cabinets to remove grease and dirt, which helps paint adhere better. If you decide to leave the hardware on, mask it carefully with painter’s tape. After painting, you can choose to replace the hardware or reattach it, but removing it beforehand guarantees a more professional, smooth look.
How Do I Prevent Paint From Chipping or Peeling?
To prevent paint from chipping or peeling, you should start with a quality cabinet primer that adheres well to your surface. Sand the cabinets lightly before priming to create a smooth surface. Use a high-quality paint finish suitable for cabinets, like semi-gloss or satin, and apply multiple thin coats rather than one thick layer. These steps guarantee durability, a professional look, and long-lasting results.
Is It Necessary to Sand Cabinets Before Painting?
Yes, sanding cabinets before painting is necessary because it helps improve adhesion, regardless of your cabinet material. Sanding creates a smooth surface, ensuring your chosen paint finish options, like matte or glossy, look professional and last longer. It removes any existing glaze or rough patches, preventing chipping or peeling. Skipping this step can lead to uneven results, so take your time to sand thoroughly for a flawless, durable finish.

Romeda 8-Pack Sanding Sponge, Four Grits Per Pack 60/80/120/220, Washable and Reusable Handmade Sandpaper Block, Drywall Sandpaper Blocks for Wooden Drywall Sheetrock and Metal Glazing
【ASSORTED GRIT SANDING BLOCKS】 8 sand blocks, 4 sizes from coarse to ultra-fine sand, 60/80/120/220 grit, 2 blocks…
As an affiliate, we earn on qualifying purchases.
As an affiliate, we earn on qualifying purchases.
Conclusion
Think of painting cabinets like preparing a stage for a performance—you want everything polished and ready before the spotlight shines. I once rushed through a project, skipping prep, and ended up with drips and uneven color. But when I took the time to sand and prime, the transformation was stunning, like a curtain rising on a flawless show. Proper prep isn’t just a step; it’s the secret to a professional look that truly shines.

Polar Clear Binding Primer – 33 Fl Oz – High-Adhesion Primer for Drywall, Plaster, Cement, Stucco & Wood – Interior & Exterior Clear Base Coat & Paint Prep
Seals & Stabilizes: Designed to seal and stabilize damaged surfaces, this high adhesion primer forms a durable membrane…
As an affiliate, we earn on qualifying purchases.
As an affiliate, we earn on qualifying purchases.
KATA Painters Pyramid Stands: 36pcs Painting Pyramids Stands for Cabinet Doors Paint & Pouring – Mini Triangle Cone Paint Tripods for Canvas Risers Support – Art DIY Woodworking Tools Accessories
Minimal Contact Painting: 36-pack mini non-stick painters pyramid stands securely elevate or raise project off the work surface,…
As an affiliate, we earn on qualifying purchases.
As an affiliate, we earn on qualifying purchases.