
To remove press-on nails, start by gathering nail clippers, a bowl of warm, soapy water, and acetone. Soak your nails for 10-15 minutes to loosen them. Use an orangewood stick to gently lift the edges of the nails. If you feel resistance, soak them a bit longer. After removal, buff your natural nails and apply cuticle oil to re-hydrate. If you've experienced any damage, you'll want to know how to care for your nails moving forward.
Key Takeaways
- Soak nails in warm, soapy water for 15 minutes or use acetone with cotton balls wrapped in foil for 10-15 minutes to loosen press-ons.
- Gently lift edges of the press-on nails with an orangewood stick or metal pusher after soaking to avoid damaging natural nails.
- Apply cuticle oil underneath the nails to ease removal and protect your natural nails during the process.
- If resistance is felt while lifting, return to soaking to ensure nails are fully loosened before attempting removal again.
- Post-removal, buff nails, moisturize with hand cream, and apply cuticle oil daily to promote healthy nail recovery.
Tools You'll Need to Remove Press-On Nails
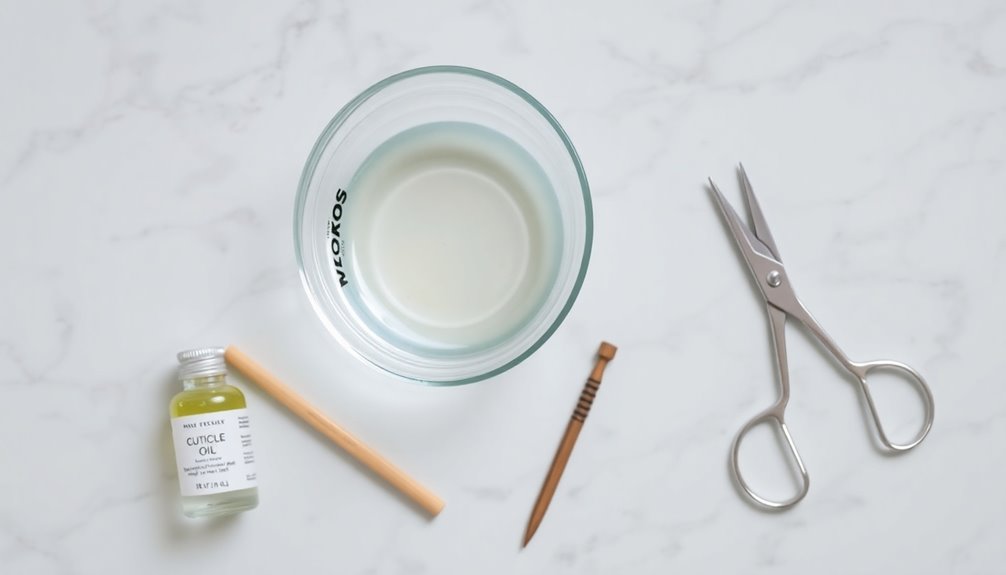
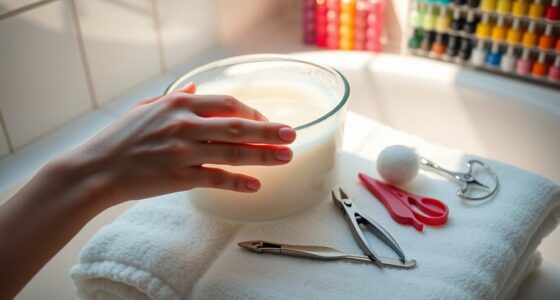
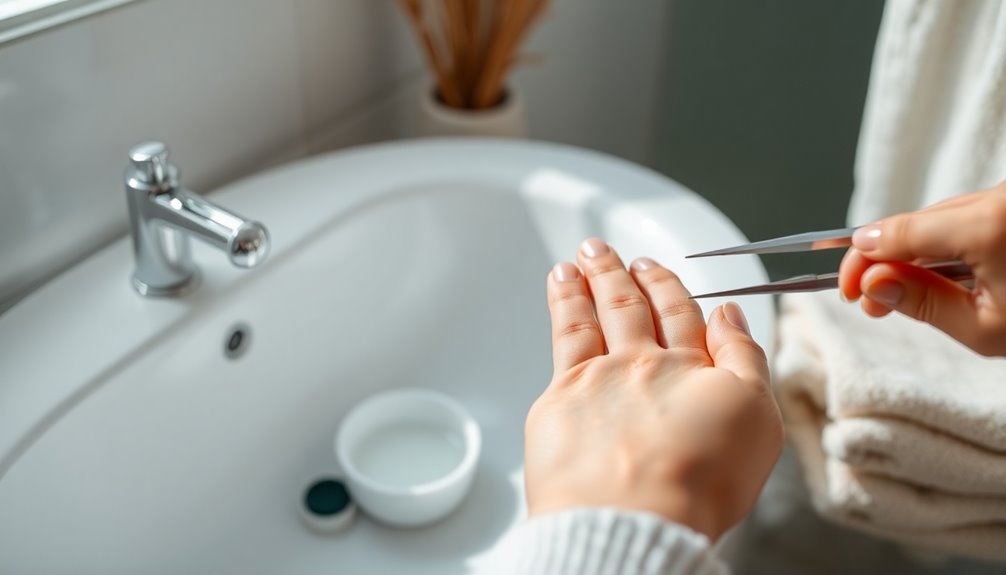
To remove your press-on nails effectively, you'll need a few essential tools. Start with nail clippers and cuticle nippers to trim any excess length.
A small bowl is necessary for soaking, whether you choose warm, soapy water or acetone to help loosen the adhesive. If your press-ons have 3D accents like rhinestones, a nail file can be useful to thin them out, making removal easier.
After soaking, use an orangewood stick or metal pusher to gently lift off the press-on nails, ensuring you don't damage your natural nails. It's important to avoid using any products with high sugar levels immediately after removing your nails, as they may cause your skin to become sticky and uncomfortable.
Finally, don't forget to have cuticle oil on hand to apply post-removal, as it'll help hydrate your nails and maintain their health.
Start With a File (Optional)
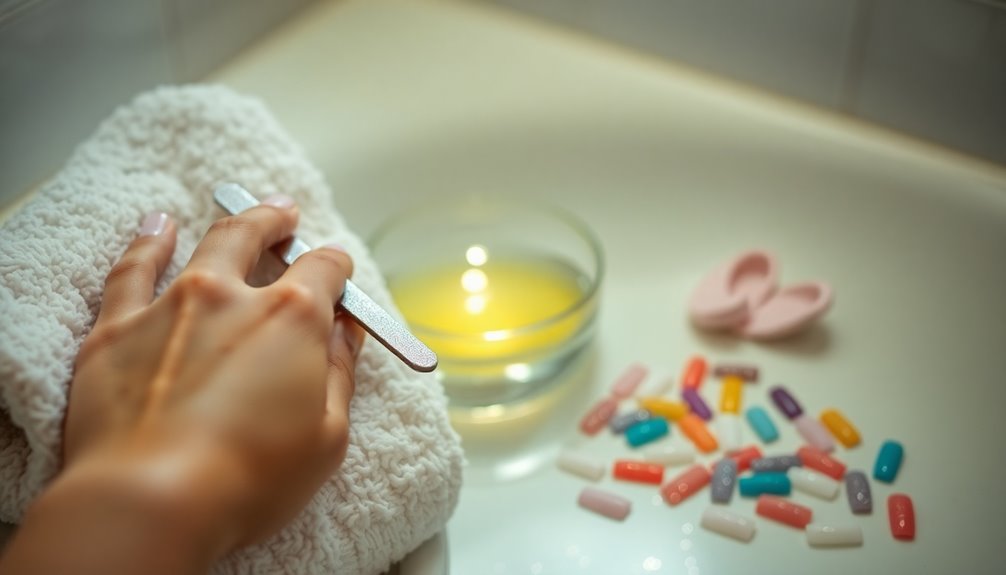
Filing the surface of your press-on nails can greatly ease the removal process, especially if they've 3D accents like rhinestones.
By using a nail file with around 180 grit, you'll create a roughened surface that allows acetone or soapy water to penetrate better, making it easier to break down the adhesive.
Before you file, consider using backup cuticle nippers to gently chip away any embellishments, simplifying the process.
Remember to focus on reducing the thickness of the press-ons without damaging your natural nails.
Once you've filed, you can proceed to soaking, which will further loosen the adhesive and guarantee a smoother removal experience. Additionally, prioritizing essential oils during your nail care can help maintain healthy nails post-removal.
Prioritizing nail care during this process is essential for maintaining healthy nails.
How to Soak-Off Press-On Nails
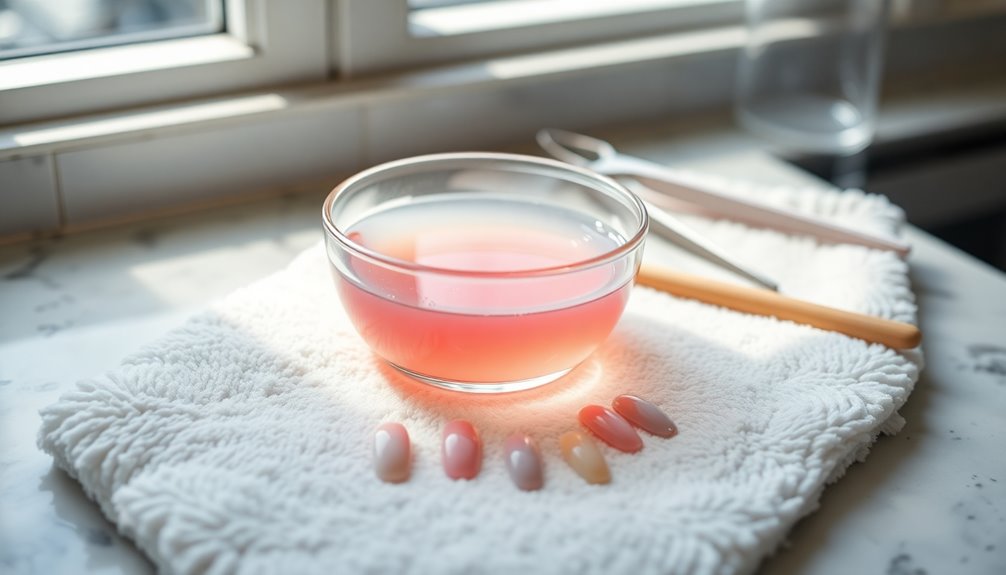
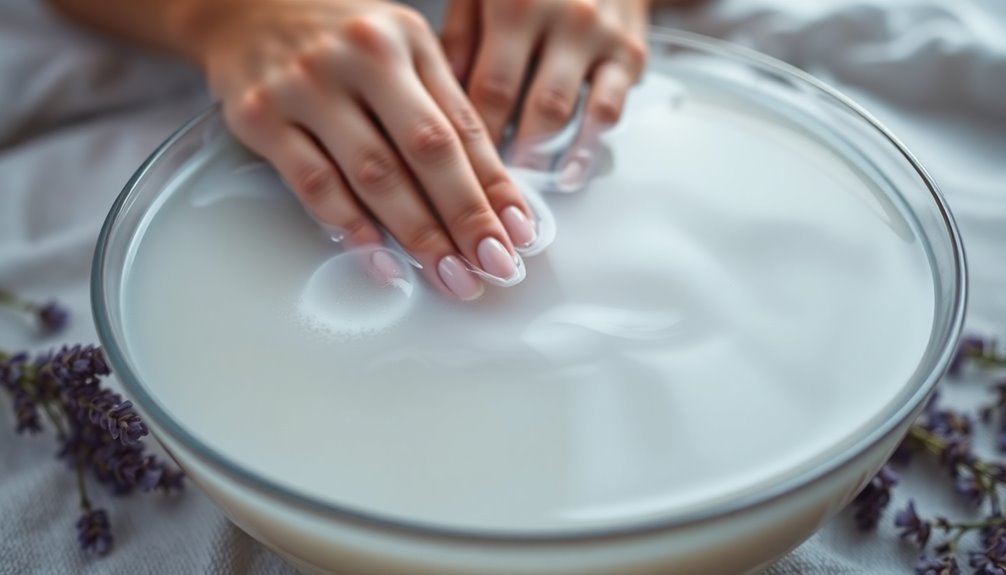
After you've filed the surface of your press-on nails, soaking them is the next step to guarantee a smooth removal.
To soak your nails, set up a soaking station with warm water mixed with liquid dish soap and submerge your fingers for about 15 minutes. This helps loosen the adhesive.
If you prefer using acetone, soak a cotton ball with it, place it on the nail, and wrap it in aluminum foil for 10-15 minutes to dissolve the adhesive more effectively.
After soaking, gently rock your nails up and down to help further loosen them. Use an orangewood stick or metal pusher to gently lift the press-ons.
If you feel resistance, return to soaking for a bit longer to confirm your nail beds stay healthy. Additionally, ensuring proper airflow around the unit can enhance the performance of air purifiers, which may be beneficial if you are working in a space with strong odors from the adhesive.
Remove the Press-On Nail
Gently lift the edges of your press-on nails using an orangewood stick or metal pusher, ensuring you're not damaging your natural nail bed.
If you feel resistance, soak your nails a bit longer; acetone will help dissolve the adhesive.
Before you start, applying cuticle oil underneath can ease the removal process and protect your natural nail.
Patience is key here; be sure your nails are fully soaked before attempting to remove them to avoid tearing.
Repeat the soaking and lifting process as necessary, allowing enough time for the adhesive to loosen.
This careful approach will help you safely remove my nails without causing any injury or damage to your natural nail bed. Additionally, using products with glycolic acid can help in gently exfoliating the skin around your nails, improving overall nail health.
Buff Away the Evidence
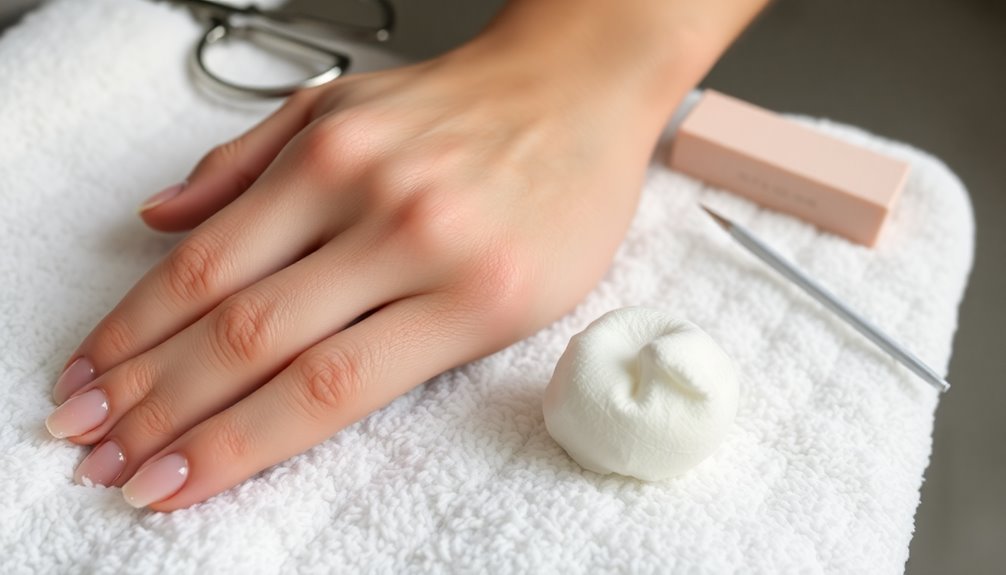
Buffing the surface of your natural nails can help remove any remaining residue from the press-on nails and smooth out rough spots.
Here's why you should incorporate buffing into your routine:
- Enhances the appearance of your natural nails
- Prepares a smooth surface for future polish applications
- Promotes healthy nail growth
- Reduces the risk of breakage or damage
Using a 180 grit nail file, apply gentle pressure while focusing on areas that need it. It's also beneficial to maintain natural nail health by moisturizing regularly.
Avoid excessive filing, as this can weaken your nails. After buffing, use a nail buffer to add shine and achieve a polished look.
Regular buffing not only improves aesthetics but also nurtures the overall health of your nails, keeping them strong and beautiful.
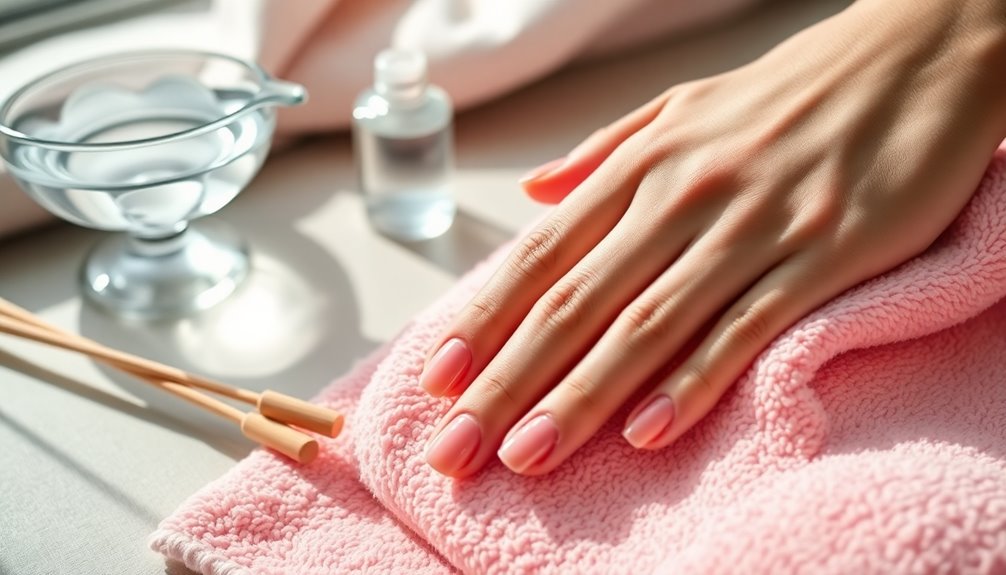
Re-Hydrate the Hands and Nails
To keep your hands and nails looking their best, applying a good moisturizer right after removing press-on nails is essential.
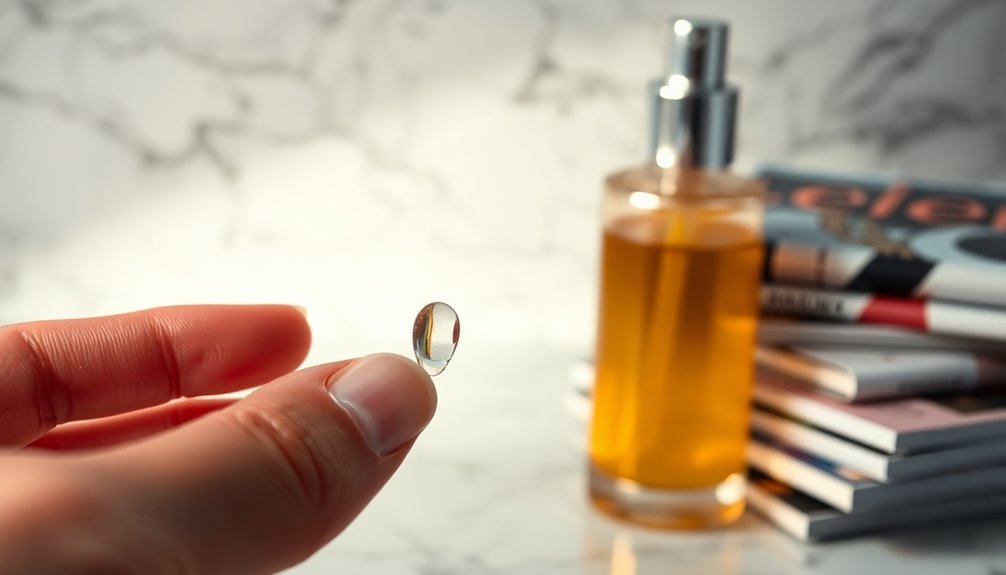
Start by using a rich hand cream to re-hydrate the hands and nails, combating any dryness from the removal process. Next, apply cuticle oil daily; it'll help maintain moisture and promote healthy nail growth.
Products like Weleda Skin Food and Essie Apricot Cuticle Oil work wonders! This regular application can also prevent brittleness and enhance shine.
Consider using petroleum jelly on your nails and cuticles for added moisture retention.
Finally, buff your nails to smooth out rough spots and improve their overall appearance, making it easier for future nail applications. Your nails will thank you! Additionally, using a high-quality moisturizer can improve skin health and prevent dryness, similar to the commitment to quality ingredients found in Patchology products.
Repairing Damage Caused by Press-On Nails
Although press-on nails can enhance your look, they may also leave your natural nails feeling weak and damaged upon removal. To repair the damage and promote healthier nails, consider these tips:
- Avoid using nail glue after applying press-ons.
- Trim nails short to prevent breakage.
- Buff off any remaining rough spots gently.
- Regularly apply cuticle oil to hydrate.
Give your nails time to grow by skipping regular polish or new press-ons for 1-2 weeks. This break allows your nails to regain strength.
Hydrating your cuticles and nail beds with creams or oils is essential for recovery. A nail tech can offer additional advice tailored to your needs, ensuring your nails return to their healthy state. Additionally, incorporating natural elements like oils enriched with botanical extracts can further enhance nail health and recovery.
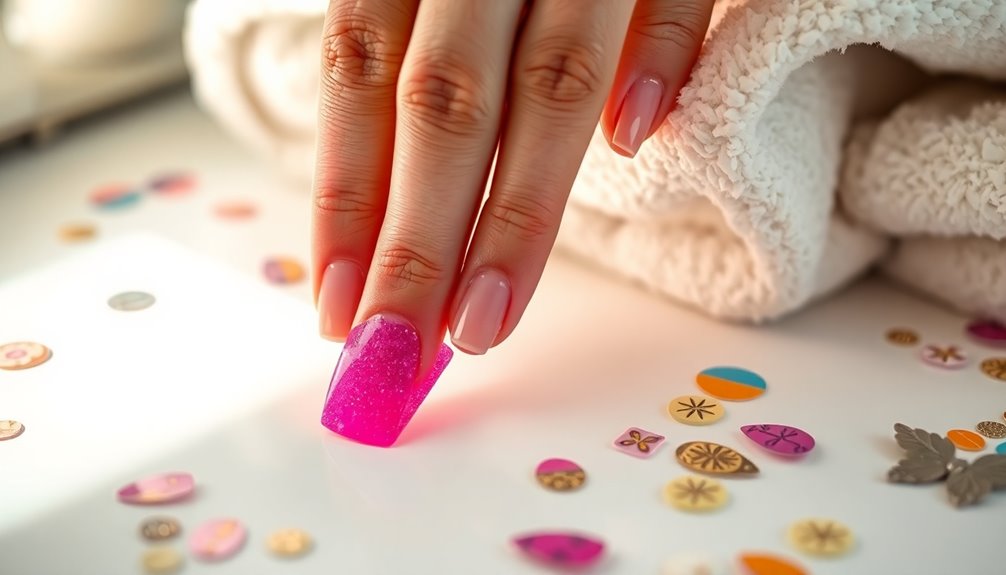
Pick Your Next Set
When picking your next set of press-on nails, think about your nail style preferences and the color trends for 2023.
Choosing high-quality materials can make a big difference in how long your nails last and how they look.
Don't forget to explore unique designs that can elevate your overall manicure! Additionally, consider incorporating high omega-3 fatty acids into your diet, as they can promote overall health and complement your polished look.
Nail Style Preferences
Choosing your next set of press-on nails can be an exciting opportunity to express your personal style. When selecting your nails, consider your lifestyle and preferences:
- Opt for shorter, durable designs if you lead an active life.
- Explore various shapes like almond, square, or stiletto to find what complements your hands and nails.
- Experiment with different finishes—matte, glossy, or glitter—to match your mood or outfit.
- If you love nail art, intricate designs or 3D accents can elevate your look, but be cautious when removing press-on nails to avoid damaging your natural nails.
- Keep in mind that nail shapes can significantly influence the overall appearance of your hands and nails.
Visit a nail studio or consult a nail artist for additional inspiration, ensuring you choose a style that feels uniquely you!
Color Trends 2023
What colors are you drawn to this year?
In 2023, earthy tones like terracotta, olive green, and muted browns are perfect if you're seeking a natural vibe and want to embrace sustainability.
If you're feeling bold, bright colors such as electric blue, hot pink, and vibrant orange can make a playful statement that stands out.
For a subtle yet chic look, pastel shades like soft lavender, baby pink, and mint green remain popular.
Don't forget the allure of metallic finishes in gold, silver, and rose gold for that elegant touch.
Finally, elevate your style with nail art featuring geometric designs and abstract patterns, adding a unique flair to your press-on nails. Incorporating unique decor items can also enhance your overall aesthetic, matching your nail colors beautifully.
Material Quality Considerations
Selecting the right material for your press-on nails can greatly impact your overall experience and satisfaction.
Here are some key points to contemplate:
- Choose high-quality brands that use durable materials.
- Opt for flexible acrylic or gel for a comfortable fit.
- Look for a protective base coat to shield your natural nails.
- Check customer reviews for insights on longevity and easy application.
Frequently Asked Questions
How to Take off Press-On Nails at Home?
When you're looking to take off press-on nails at home, start by soaking your fingers in warm, soapy water for about 15 minutes to loosen the adhesive.
If you've got acetone, soak a cotton ball in it, place it on your nail, and wrap it with aluminum foil for 10-15 minutes.
Gently use an orangewood stick to lift them off, and remember to moisturize your hands afterward to keep them healthy!
Does Dish Soap Remove Press-On Nails?
Yes, dish soap can help remove press-on nails. When you mix it with warm water, the surfactants in the soap break down the adhesive, making removal easier.
Soaking your nails in this mixture for about 15 minutes allows the solution to penetrate and soften the glue. You can gently rock the nails back and forth during this time for even better results.
Just remember to be gentle to avoid damaging your natural nails!
How Do You Take off Fake Nails Without Acetone?
Imagine your fingers trapped in a fortress of fake nails, but don't worry—you've got the perfect strategy to escape!
Soak your fingers in warm, soapy water for 10-15 minutes. As they relax, gently rock the nails back and forth.
Once they're loose, use a cuticle pusher to lift the edges carefully. If they resist, just soak longer—no need to force it.
Finally, treat your nails with cuticle oil and moisturizer for a happy ending!
How to Get Adhesive off Press-On Nails?
To get adhesive off press-on nails, start by soaking them in warm, soapy water for about 10-15 minutes. This helps loosen the glue.
You can also use acetone-soaked cotton balls wrapped in aluminum foil for a quicker method.
Gently rock the nails back and forth during soaking to aid in loosening.
Once softened, carefully use an orangewood stick or metal pusher to lift them off without forcing, preventing damage to your natural nails.
Conclusion
Now that you've successfully removed your press-on nails, it's essential to care for your natural nails. Did you know that approximately 30% of people experience nail damage from improper removal techniques? By following the right steps, you can avoid this fate and keep your nails healthy. Remember to re-hydrate and consider using a strengthening treatment. With proper care, your nails will be ready for whatever stylish set you choose next! Happy nail decorating!