
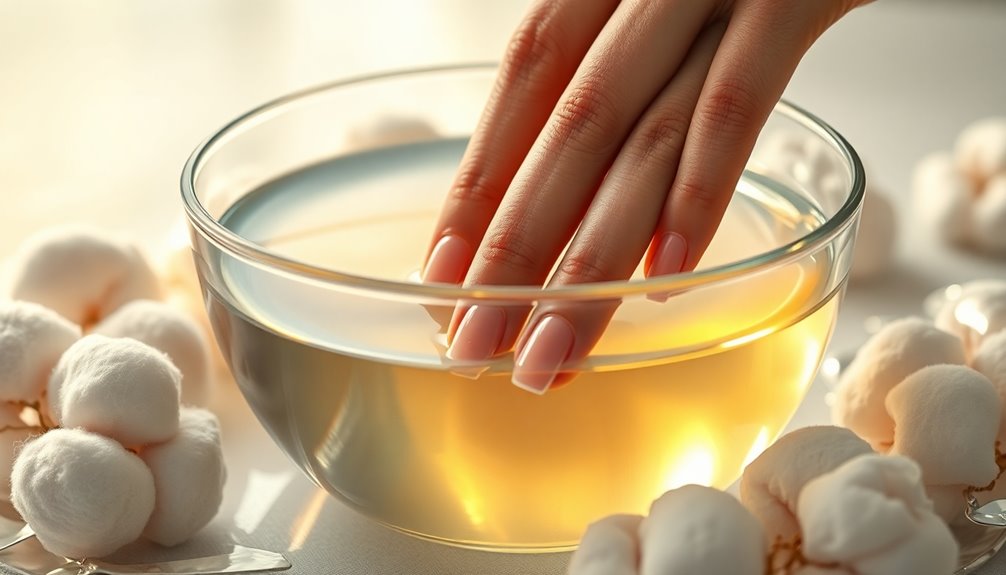
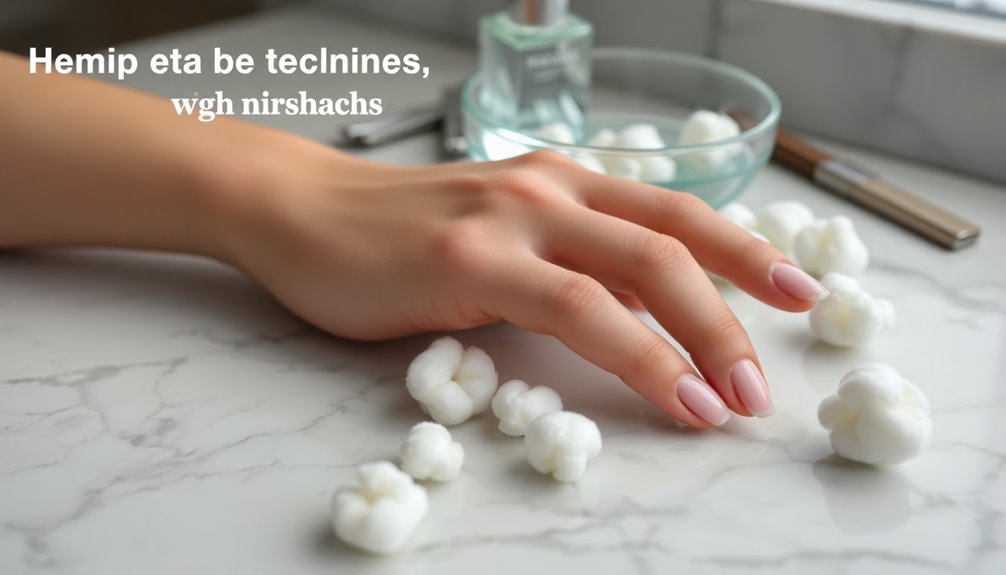
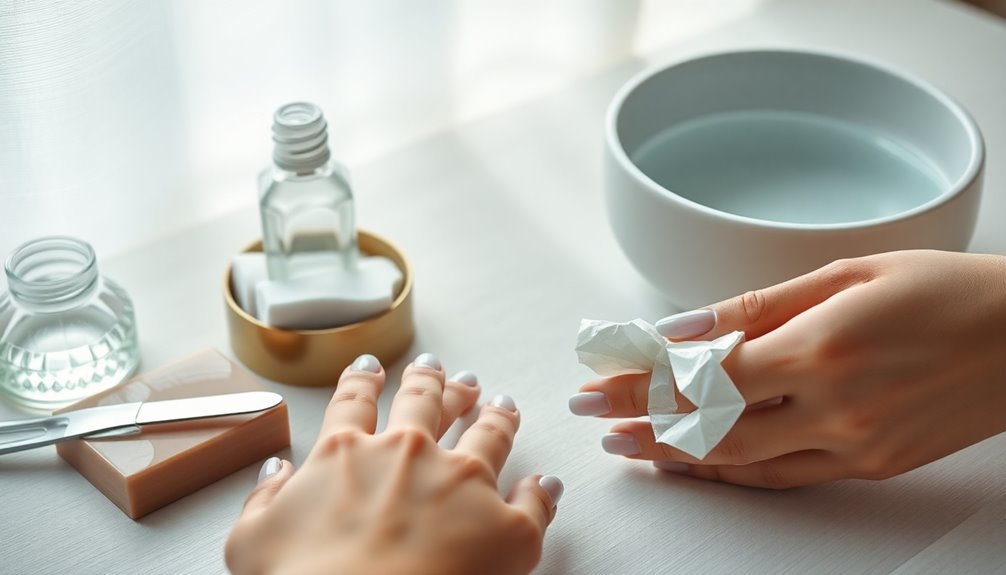
To soak off acrylic nails, trim them down, then buff the top layer to help acetone penetrate. Soak cotton balls in 100% pure acetone, place them on your nails, and wrap with aluminum foil to secure. Let them sit for 20 to 30 minutes, checking periodically. Gently push off the softened acrylic with a cuticle pusher. After removal, you'll want to care for your natural nails properly. Discover more tips for a smooth process below.
Key Takeaways
- Trim acrylic nails to about two centimeters above the natural nail beds for easier soaking.
- Buff the top layer of acrylic with a coarse grit nail file to enhance acetone penetration.
- Soak cotton balls in 100% pure acetone and place them on each nail, securing with aluminum foil.
- Allow the nails to soak for 20 to 30 minutes, checking periodically for softness.
- After removal, moisturize nails and cuticles with oil and hand cream to maintain hydration.
Tools Needed for Soaking Off Acrylic Nails
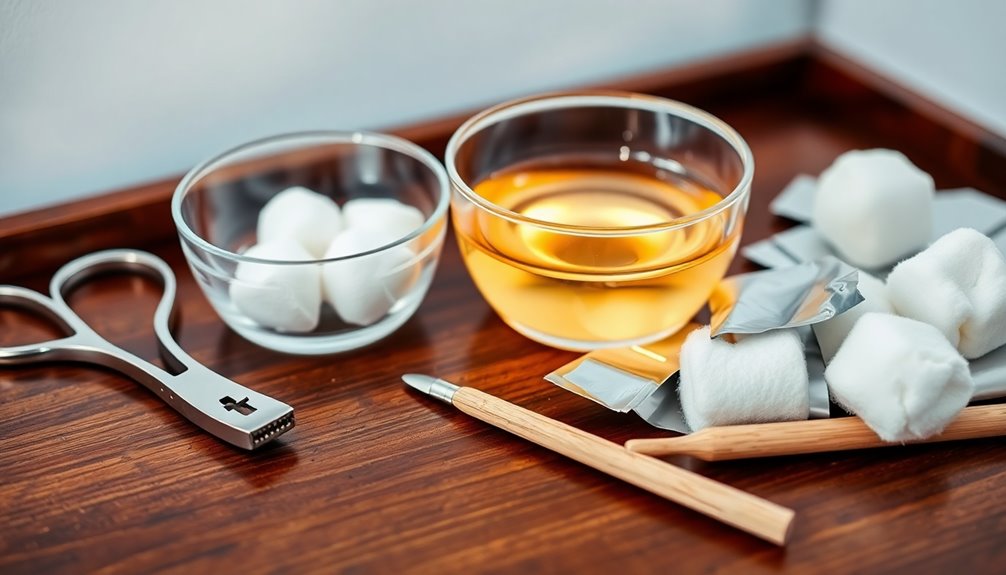
To soak off acrylic nails effectively, you'll need a few key tools. First, grab some 100% pure acetone, as it's essential for dissolving the acrylic material.
You'll also need cotton balls to soak in the acetone, allowing for maximum absorption. Next, have aluminum foil on hand to wrap around the cotton balls, securing them against your nails during the acetone soak.
A nail file with coarse grit is important too; it helps file down the top layer of acrylic, making it easier for the acetone to penetrate.
Finally, a cuticle pusher is necessary for gently pushing off the softened acrylic once the soak is complete. With these tools, nail removal will be a breeze! Additionally, ensure you follow proper air purifier maintenance practices to maintain a clean and healthy environment during the process.
Preparing Your Workspace for Nail Removal
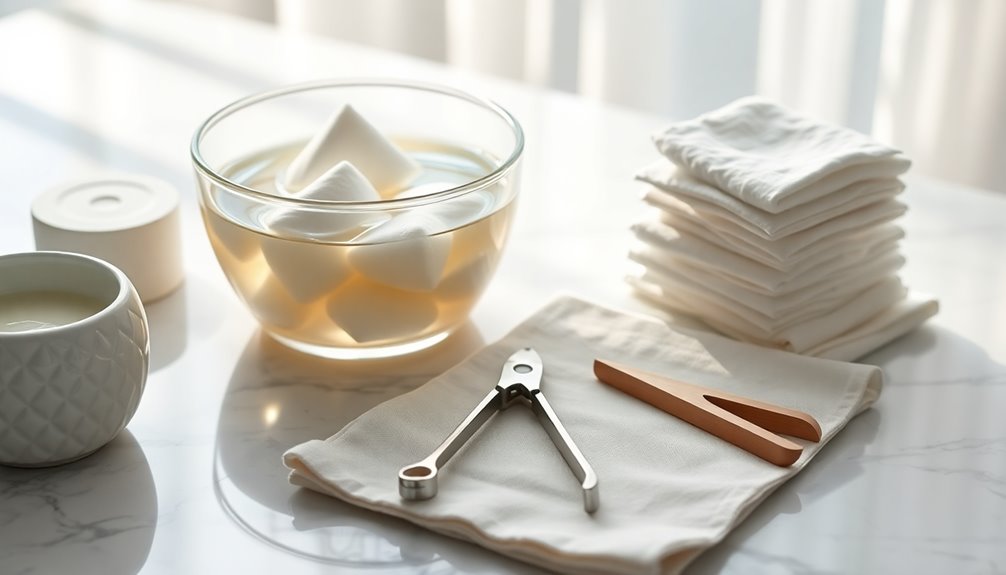
Before diving into the process of soaking off your acrylic nails, it's crucial to prepare your workspace properly. Start by finding a clean and well-ventilated area to minimize exposure to acetone fumes. Protect surfaces using a hand towel and paper towel to manage spills and keep everything organized. Gather all necessary tools within reach to avoid interruptions during the soaking process.
Here's a quick visual guide to help you organize:
| Necessary Tools | Purpose | Notes |
|---|---|---|
| Nail Clippers | Trim acrylic nails | Verify they're sharp |
| Acetone | Soaking | Use in a well-ventilated area |
| Cotton Balls | Absorb acetone | Keep them handy |
| Aluminum Foil | Wrap fingers | Helps retain moisture |
| Fan or Window | Enhance airflow | Reduces strong odors |
Prepare mentally for the time commitment, as it can take 30 minutes or longer. Additionally, knowing the operating hours of local salons can help if you decide to seek professional assistance after attempting to remove your acrylic nails at home.
Step-by-Step Guide to Soaking Off Acrylics
Soaking off your acrylic nails can be a straightforward process if you follow a few key steps.
Start by trimming your acrylic nails down to about two centimeters above your natural nail beds. Use a coarse nail file to gently buff the shiny topcoat, allowing the acetone to penetrate effectively.
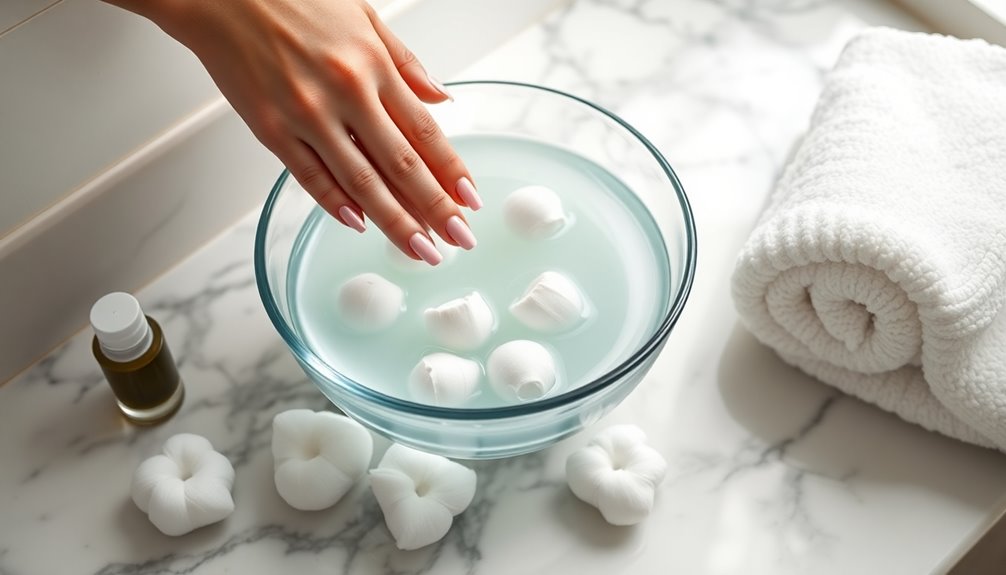
Soak cotton balls in 100% pure acetone, place them on each nail, and wrap them in aluminum foil to keep them secure. Let your nails soak for 20 to 30 minutes, checking periodically to see if the acrylic is softening. It's important to ensure that you use 100% pure acetone for the best results, as it effectively breaks down the acrylic material.
Once it is, use a cuticle pusher to gently push off the softened acrylic, ensuring you remove acrylic nails without damage.
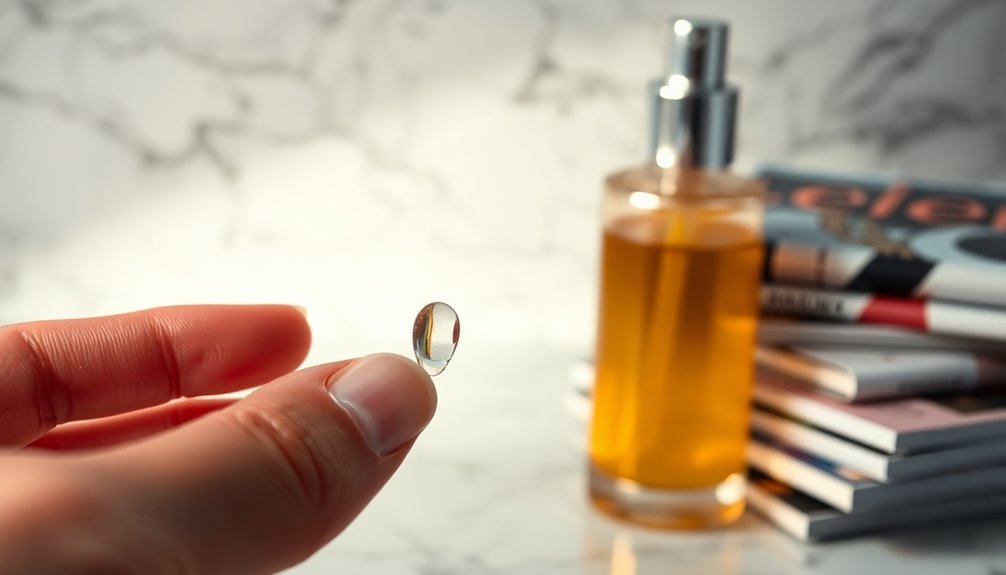
Finish with cuticle oil to nourish your natural nails.
Alternative Methods for Acrylic Nail Removal
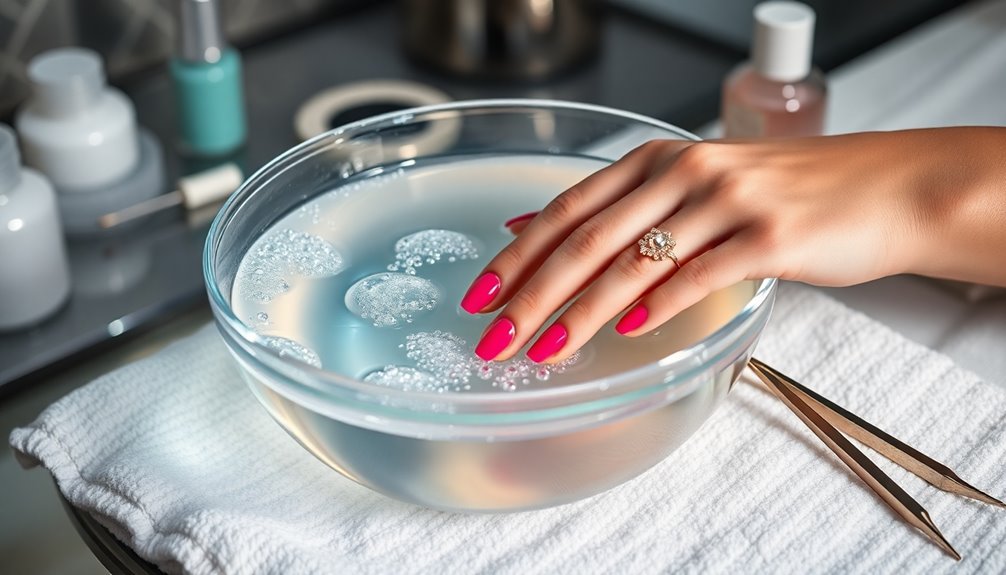
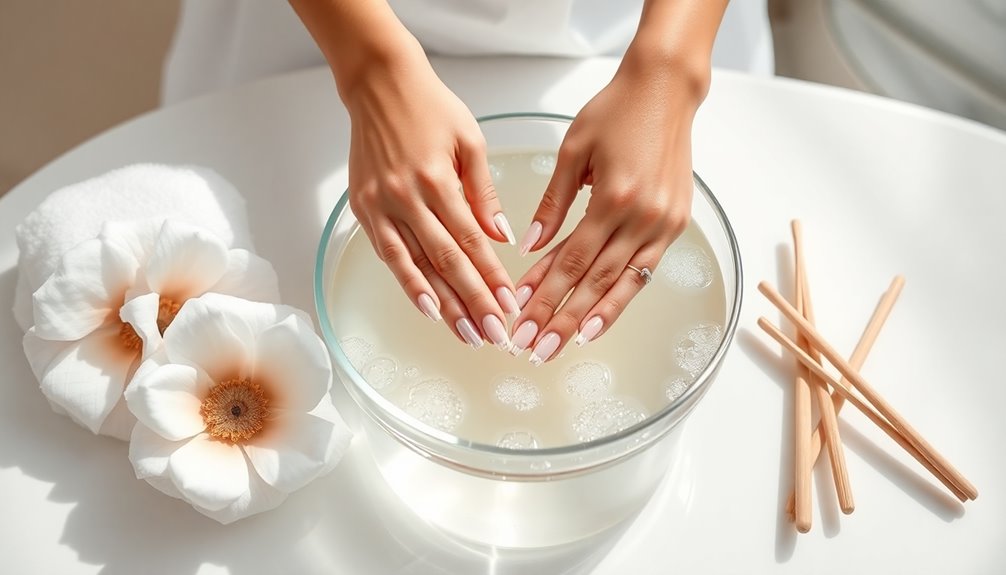
- Warm water and olive oil: Soak your nails in a mixture of warm water and olive oil to soften the acrylics, making removal easier and more moisturizing.
- Dental floss technique: Use a cuticle stick for gentle prying at the edges, then saw dental floss back and forth to detach the acrylic from your natural nail.
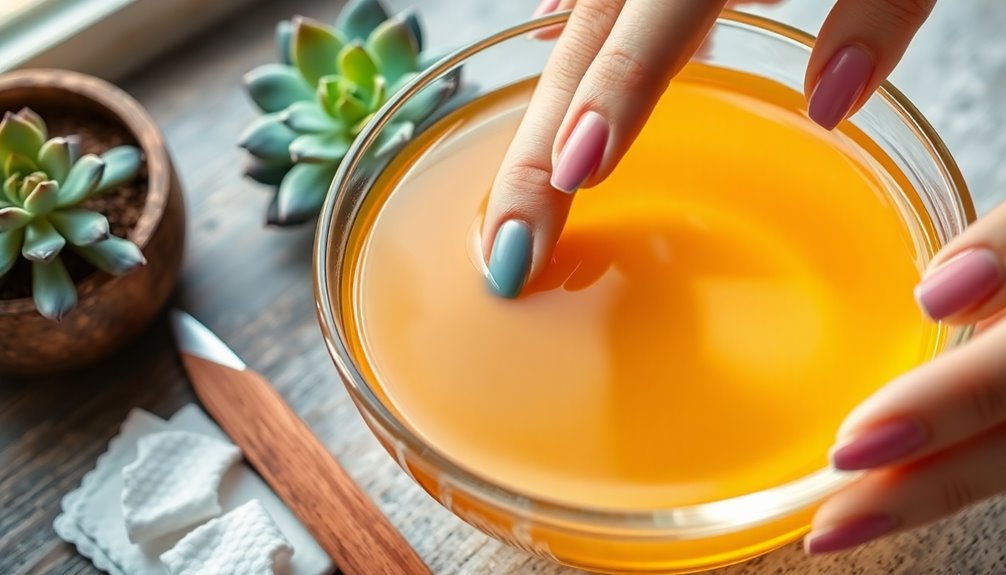
- Natural oils: Apply coconut or almond oil around your nails to help loosen the acrylics and keep your nails healthy. Additionally, using essential oils for hair growth can promote healthier nails during the removal process.
Remember to be patient and avoid forceful pulling to prevent damage to your natural nail bed.
Tips for Quick and Effective Soaking
While you may be enthusiastic to remove your acrylic nails quickly, following a few essential tips can make the process both efficient and effective.
Start by using 100% pure acetone as your nail polish remover. Warm it slightly to enhance its potency.
Then, soak cotton balls in the acetone and wrap them around each nail, securing with aluminum foil to prevent evaporation. Soak your nails for at least 20 to 30 minutes, checking periodically.
To accelerate the soaking process, place a warm towel over the wrapped nails.
Once the acrylics are softened, use a cuticle pusher to gently push them off. Be careful not to scrape too hard, as you don't want to damage your nails in the process. Remember that hydration is essential for maintaining nail health, so ensure to moisturize your nails and cuticles after removal.
Aftercare for Your Natural Nails
After you've removed your acrylic nails, it's important to give your natural nails the care they need to recover.
Start by buffing your nails gently to eliminate any residue and smooth rough spots. This promotes a healthier appearance.
Incorporate these aftercare steps into your routine:
- Apply cuticle oil daily to nourish and soften your cuticles and nail beds, restoring lost moisture.
- Use hydrating hand cream regularly to combat dryness from acetone exposure, keeping your hands soft.
- Consider a nail strengthener for at least a week post-removal to prevent brittleness.
Additionally, be mindful of the importance of hair health after any nail treatments, as it emphasizes the need for overall care of your beauty routine.
Keep an eye out for any signs of discoloration, cracking, or splitting, and allow sufficient time for recovery before reapplying acrylics or other products.
Common Mistakes to Avoid During Removal
Taking care of your natural nails post-removal is important, but being aware of common mistakes during the acrylic removal process is just as essential.
First, don't forcefully peel off your acrylic nails, as this can cause significant damage to your natural nails underneath. Always use high-quality acetone; lower-grade products may prolong the process and lead to frustration.
Before you soak, remember to clip the acrylics to reduce soaking time and minimize potential damage. Avoid soaking for too long, since excessive exposure to acetone can dry out and weaken your natural nails. Additionally, consider treating yourself to a decadent treat like chocolate peanut butter bars after completing the removal process to reward your patience.
Finally, keep your skin protected by using a barrier cream to prevent irritation. By avoiding these mistakes, you'll guarantee a smoother removal experience.
Maintaining Nail Health Post-Removal
Maintaining healthy nails after removing acrylics is essential for restoring their strength and appearance. To help your natural nails recover, follow these tips:
- Apply a high-quality cuticle oil daily to hydrate your nail beds and prevent dryness.
- Use a nail strengthener or serum for at least a week to promote nail growth and combat brittle nails.
- Regularly hydrate your hands with nourishing hand cream to maintain skin health.
Avoid using nail polish or acrylics for a while to allow your nails to regain strength.
Make sure to monitor your nails for any signs of discoloration, cracking, or splitting.
If you notice persistent issues, consult a professional for proper care and treatment.
Additionally, consider incorporating natural nail health practices, such as regular moisturizing, to further enhance the recovery process.
Your nails will thank you!
Frequently Asked Questions
How Can I Remove My Acrylic Nails at Home?
To remove your acrylic nails at home, you'll need some tools: nail clippers, a coarse nail file, acetone, cotton balls, and aluminum foil.
Start by trimming your nails down and filing off the shiny surface. Soak the cotton balls in acetone, place them on your nails, and wrap them in foil to keep it secure.
After 20 to 30 minutes, gently push off the softened acrylics and take care of your natural nails afterward.
What Is the Best Soak-Off Method for Acrylic Nails?
Did you know that nearly 30% of women regularly use acrylic nails?
To effectively soak them off, start by clipping them down to about two centimeters above your nail bed.
File the shiny topcoat to help the acetone absorb better. Soak cotton balls in 100% pure acetone, place them on your nails, and wrap them in aluminum foil.
Keep them wrapped for 20-30 minutes, then gently push off the softened acrylic with a cuticle pusher.
Can I Soak My Acrylic Nails in a Bowl of Nail Polish Remover?
You can't soak your acrylic nails in a bowl of nail polish remover and expect great results.
Most removers aren't acetone-based, so they won't effectively dissolve the acrylics. Instead, you should use 100% pure acetone, which actually breaks down the material.
If you go this route, make sure to monitor your natural nails during the soaking process to prevent damage. Always be gentle when removing the softened acrylics to protect your nails.
Does Dawn Dish Soap and Oil Remove Acrylic Nails?
Imagine a gentle, homemade remedy that whispers promises of softening stubborn acrylics.
While Dawn dish soap mixed with oil can help break down the acrylic, it's not a miracle solution. You'll need to soak for 30 to 60 minutes for it to work, and even then, you might've to pry them off gently.
Just be cautious—your natural nails could suffer if you're not careful. For a thorough removal, acetone's still your best bet.
Conclusion
Now that you've mastered the art of soaking off acrylic nails, you're just a few steps away from revealing your natural beauty. But wait—before you plunge into your next manicure, consider how you'll care for your nails afterward. Will you nourish them with oils or let them breathe? The choices you make now will set the stage for your nails' health. So, what will your next move be? The secret to stunning nails lies just ahead.