To cut your dog's black nails safely, use a flashlight to help see the nail structure. Trim tiny bits, about 1/16th of an inch at a time, to avoid cutting the quick. Look for a vertical dark center to identify where the quick begins. If you accidentally cut the quick, apply styptic powder to stop the bleeding. With the right techniques and tools, you'll keep your dog's paws healthy and comfortable. Discover even more tips and techniques next.
Key Takeaways
- Identify the quick by looking for a vertical dark center in the nail, indicating where it begins.
- Trim small sections, about 1/16th of an inch, to safely locate the quick without cutting it.
- Use a bright light to better see the nail structure, especially when dealing with black nails.
- Apply styptic powder immediately if you accidentally cut the quick to stop bleeding effectively.
- Regularly trim nails every two weeks to keep the quick from extending deeper, making future trims easier.

Isner Mile Dad Gifts Fathers Day Husband: from Wife Daughter, Beard Grooming Kit for Men with Beard Oil Balm Wash Brush Comb & Straight Razor, Stocking Stuffers Birthday Gifts for Men Him Boyfriend
COMMAND ATTENTION WHEREVER YOU GO - A groomed beard will make you stand out from the crowd! The...
As an affiliate, we earn on qualifying purchases.
Understanding Dog Nail Anatomy

Understanding your dog's nail anatomy is essential for safe trimming. Each toenail consists of a hard outer shell and an inner cuticle known as the quick, which houses blood vessels and nerves.
When you trim your dog's nails, avoiding the quick is vital to prevent pain and bleeding. Black nails can be particularly challenging since the quick isn't visually identifiable. To safely trim black nails, focus on taking small amounts off—about 1/16th of an inch at a time.
Regular trimming every two weeks helps keep nail length manageable and prevents the quick from extending deeper into the nail. Look for a whitish appearance at the nail's tip; this indicates you're in the safe zone for nail trimming without hitting the quick. Additionally, knowing how to prevent gastrointestinal upset can help if your dog accidentally ingests something while you're preoccupied with grooming.

Janhavi Personalized Toiletry Bag for Men, Gifts for Boyfriend, Toiletry Bag For Shower Caddy,Personalized Initials & Wheat, Mens Toiletry Travel Bag Travel Essentials Men(Medium, Yellow Brown, J)
Handcrafted Engraved Initials & Wheat: Janhavi premium PU leather toiletry bag for men has different initial that are...
As an affiliate, we earn on qualifying purchases.
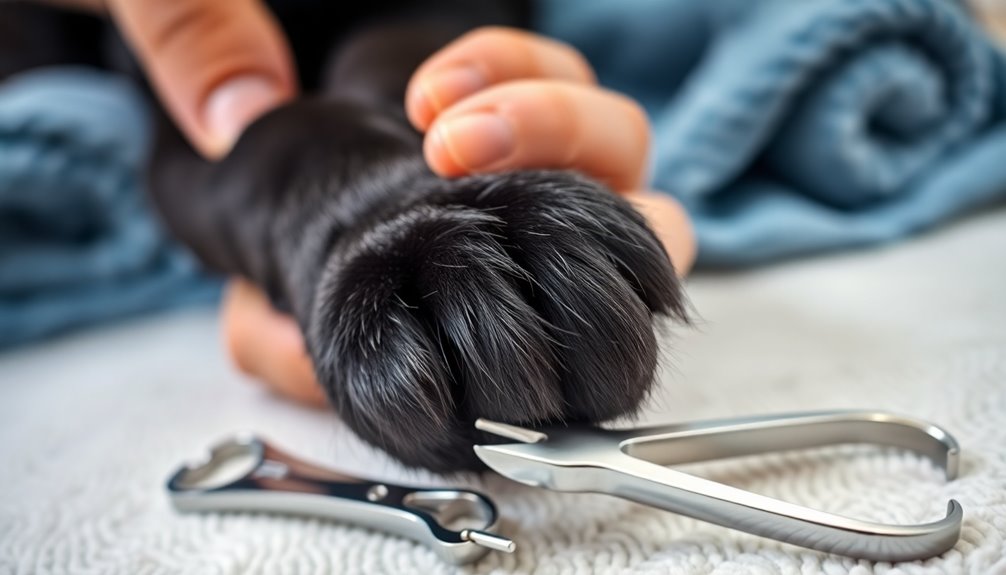
Essential Nail Trimming Tools

When it comes to trimming your dog's nails, choosing the right tools is essential.
You'll find two main types of trimmers—scissor style and guillotine style—each with its own benefits.
Don't forget to have safety accessories like styptic powder on hand to handle any mishaps. Additionally, understanding the importance of budgeting for pet care can help you afford the necessary grooming tools.
Trimming Tool Types
Choosing the right trimming tool can make all the difference in your dog's nail care routine. There are two main trimming tool types to evaluate: scissor-style and guillotine-style. Scissor-style trimmers are often easier to use, especially for beginners, while guillotine-style offers strength and precision.
| Trimming Tool Type | Best For |
|---|---|
| Scissor-Style | Beginners |
| Guillotine-Style | Strength and Precision |
| Both Types | Black Dog Nails |
| User Preference | Comfort and Control |
| Nail Length | Regular Trims (Every 2 Weeks) |
Using the right tool helps you manage nail trimming effectively, making it easier to identify the quick in dark nails. Regular trims prevent the quick from extending, ensuring safer future cuts. Additionally, maintaining a regular grooming routine can contribute to your dog's overall health and wellness.
Safety Accessories Needed
To guarantee a safe and effective nail trimming session, gather essential safety accessories before you start.
Always have styptic powder on hand; it's vital for quickly stopping any bleeding if you accidentally cut the quick.
Use a flashlight or bright light to illuminate the nail structure, helping you identify the quick more easily on black nails.
Choose between scissor-style or guillotine-style trimmers based on your comfort, but consider a nail file or grinder for a smoother finish and to reduce the risk of cutting the quick.
Don't forget to have some treats ready to reward your dog for good behavior, making the experience positive for both of you.
Additionally, ensuring your dog has improved air quality can help keep them calm during the trimming process, making it easier for both of you.
Happy trimming!

FAMILIFE Gifts for Men, Manicure Set Clippers Manicure Kit Nail Clipper Sets 16pcs Mens Grooming Kits Professional Stainless Steel Nail Kit Brown Leather Case Travel Kits
【HIGH QUALITY MANICURE SET PROFESSIONAL】 - Made of high quality carbon steel, Familife stainless steel manicure set are...
As an affiliate, we earn on qualifying purchases.
Techniques for Trimming Black Nails
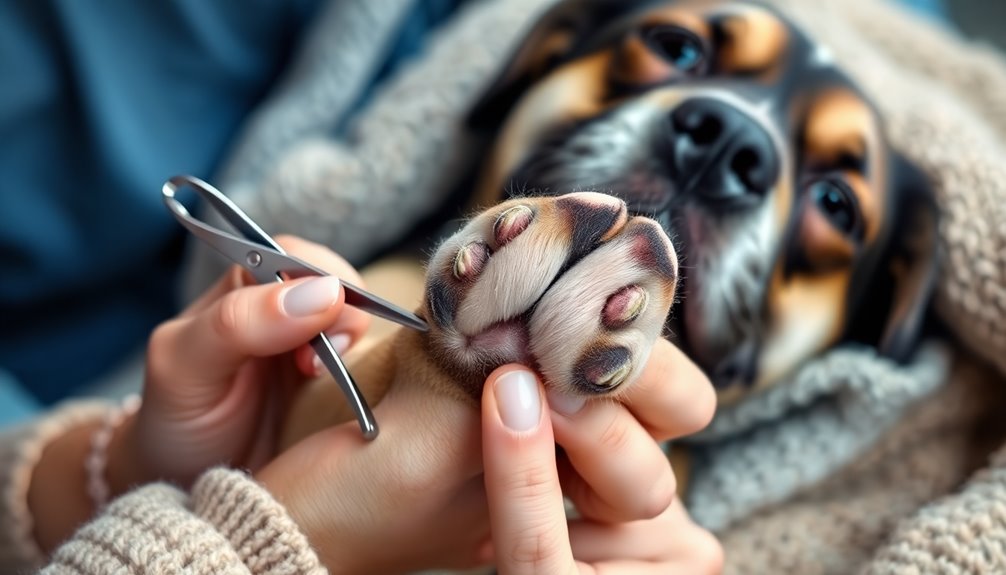
When trimming black dog nails, it's essential to identify the quick to avoid cutting it and causing pain. Trim gradually, taking off just a tiny bit at a time, and look for a whitish appearance on the nail to guide you. This careful approach not only keeps your pup comfortable but also helps you maintain their nails at a manageable length. Regular grooming, including nail trimming, is important for overall pet health as it prevents injury and discomfort.
Identify the Quick
Although trimming black dog nails can be challenging, knowing how to identify the quick makes the process much safer.
Start by examining the nail closely. Here are some tips to help you recognize the quick:
- Look for a vertical dark center within the nail, signaling where the quick begins.
- Use your index finger as a guide to measure how much nail you can safely trim.
- Remember to take off only about 1/16th of an inch at a time to avoid cutting into the quick. Understanding nail care practices can further enhance your trimming technique and ensure your dog's comfort during the process.
Trim Gradually and Carefully
Trimming your dog's black nails requires patience, as cutting too much at once can lead to painful accidents. Focus on cutting just about 1/16th of an inch each time.
After each small cut, check the nail; a whitish appearance means it's safe to continue, while a darker center signals you should stop. I'm using the vertical dark center of the nail as a guide since the quick gets closer to the tip in longer nails.
Always trim from top to bottom for a cleaner cut. Keep styptic powder handy in case you accidentally nick the quick. Regular nail trimming can also support dental hygiene and overall health for your dog.
If you have any questions, feel free to reach out to my email address for further assistance.

Personalized Leather Toiletry Bag for Men – Custom Shaving Dopp Kit with Name or Initial, Travel Gift for Groomsmen, Husband, Dad, Boyfriend, Birthday, Anniversary, Valentines Day Gifts for Men, Him
Personalized Leather Toiletry Bag: Crafted from genuine leather, this customized toiletry bag features 12 elegant engraving styles for...
As an affiliate, we earn on qualifying purchases.
Identifying the Quick in Dark Nails

Identifying the quick in dark nails can be tricky, but with a little patience, you can do it safely. Here are some tips to help you locate the quick:
- Look for a vertical dark center inside the nail, which indicates the vein.
- Gently press the nail to reveal the fleshy center that resembles a vertical eyeball.
- Trim small amounts, about 1/16th of an inch, until you notice a whitish appearance, signaling it's safe to cut more.
Regular trims every two weeks will help keep the quick shorter and make future cutting easier. Additionally, ensuring proper airflow around the unit can create a calm environment for your dog during nail trimming.
If you accidentally cut the quick, don't panic! Apply styptic powder immediately and give your dog treats and praise to help them feel reassured.
Steps to Safely Cut Dog Nails

Cutting your dog's nails can be a straightforward process if you follow these essential steps. Start by trimming small amounts, about 1/16th of an inch, to avoid cutting into the quick.
After each cut, observe the nail; if you see a whitish appearance, you can safely trim more, but stop if a dark center appears.
Use a scissor-style or guillotine-style trimmer, positioning the clippers to cut from top to bottom for effective trimming.
Keep styptic powder handy to stop any bleeding if you accidentally cut the quick, and consider using alternatives like corn starch or flour.
Finally, aim for regular trims every two weeks to prevent overgrown nails and help identify the quick more easily over time. Regular outings promote confidence and good behavior in your dog, making nail trimming a less stressful experience.
What to Do If You Accidentally Cut the Quick

Accidents can happen, and if you accidentally cut the quick while trimming your dog's nails, it's important to act quickly to manage the situation.
Start by applying styptic powder to stop the bleeding effectively. If you don't have styptic powder, you can use alternatives like:
- Corn starch
- Flour
- A clean cloth to apply gentle pressure
It's essential to remember that this rarely requires a vet visit, but staunching the bleeding is vital. Additionally, keeping your dog's oral hygiene in check can help prevent complications related to stress during nail trimming.
Afterward, reassure your dog with praise and treats to keep the experience positive.
If your dog seems overly nervous during the trimming process, it's best to stop and try again later to avoid adding more stress.
Tips for Trimming Clear Dog Nails
Trimming clear dog nails can be a straightforward process if you know what to look for. The pinkish center of the nail indicates the quick, which extends further than it appears. To avoid cutting into the quick, aim to leave a small buffer of nail.
Use a gradual cutting method, trimming about 1/16th of an inch at a time. This approach minimizes the risk of nicks. Regular trims, ideally every two weeks, help keep the quick from extending too far into the nail, making future trims easier.
Before cutting, always visually confirm the appearance of the quick's fleshy center to prevent injury and bleeding. With these tips, you'll make nail trimming a safer and simpler experience.
When to Seek Professional Help

Even with the right techniques, some situations may call for professional help when it comes to your dog's nail care.
If you find yourself in any of these scenarios, don't hesitate to consult a groomer or veterinarian:
- Your dog shows considerable fear or aggression during nail trimming.
- You've accidentally cut the quick and your dog is bleeding considerably.
- Your dog's nails are extremely overgrown and you're unsure how to safely trim them.
Professional groomers are experienced in handling anxious dogs, allowing them to trim nails quickly and safely.
If you're uncertain about trimming black nails or locating the quick, seeking expert guidance can be invaluable.
Maintaining Regular Nail Trimming Schedule

Maintaining a regular nail trimming schedule is essential for your dog's health and comfort. Aim to trim your dog's nails every two weeks to keep them at a manageable length and minimize the risk of cutting the quick.
As you establish this routine, you'll encourage the quick to recede, allowing for more nail to be safely trimmed over time. Keep an eye on your dog's nail growth and adjust your trimming frequency based on their activity level.
Consider using a calendar or reminder system to stay on track, ensuring you don't miss any trims. Gradually increasing the frequency of trims can help desensitize your dog, making future sessions smoother and more efficient for both of you.
Frequently Asked Questions
How Do You Know Where the Quick Is on Black Dog Nails?
When you're trimming your dog's nails, it can be tough to see where the quick is, especially if the nails are dark.
To avoid cutting too far, take off small amounts, about 1/16th of an inch at a time.
As you trim, look for a whitish appearance or a vertical dark center, which can indicate the quick's location.
Regular trims help keep the quick shorter, making it easier to manage in the future.
How Do I Cut My Dog's Nails if They Are Black?
Imagine trimming a hedge at dusk, where the edges blend into shadows.
When cutting your dog's nails, take it slow and steady. Hold their paw gently, and make tiny cuts, about 1/16th of an inch at a time. Look for any whitish areas at the tip to guide you, stopping before the dark center.
Keep styptic powder handy, and reward your pup with treats to ease any nervousness during the process.
Are Black Dog Nails Harder to Cut?
Yes, black dog nails are generally harder to cut.
You can't easily see the quick, which makes it tricky to know where to cut safely. If you're not careful, you might accidentally cut into the quick, causing pain and bleeding.
It's essential to trim slowly and observe for any signs that indicate a safe cut. Regular trimming can help keep the nails manageable and reduce the risk over time.
What to Do if My Dog's Nail Is Black?
If your dog's nail is black, it's like trying to find a treasure in a shadowy cave; the quick can be elusive.
Start by trimming tiny bits, about 1/16th of an inch, to avoid hitting the quick. Watch for a whitish hue that signals safety.
If you accidentally cut it, don't panic—apply styptic powder or cornstarch to halt the bleeding.
Regular trims help keep the quick shorter and make future sessions easier!
Conclusion
In summary, keeping your dog's nails trimmed is essential for their health and comfort. Did you know that nearly 80% of dogs experience nail-related issues if their nails aren't regularly maintained? By understanding your dog's nail anatomy and using the right tools and techniques, you can guarantee a safe and stress-free trimming experience. Remember to trim regularly and seek professional help if you're unsure. Your furry friend will thank you for it!