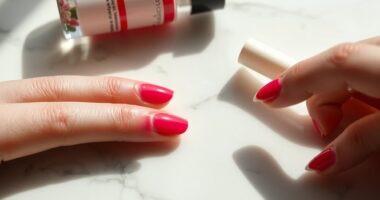

To do ombre nails, gather your materials like three complementary polish colors and a latex sponge. Start by prepping your nails with a clear base coat. Once dried, layer your chosen colors on the sponge and gently dab it onto your nails for a blended effect. Finish with a clear topcoat for added shine and protection. It's an easy process that can showcase your creativity, and there's so much more to explore!
Key Takeaways
- Gather materials including base coat, top coat, three nail polish colors, and a latex sponge for blending.
- Prepare nails by cleaning, trimming, filing, and applying a clear base coat.
- Choose a light base color and apply two thin coats, allowing each to dry completely.
- Use the sponge method to blend colors, gently stamping onto the nail for an ombre effect.
- Finish with a high-quality top coat for shine and protection, and clean up any excess polish around the nails.
Gather Your Materials
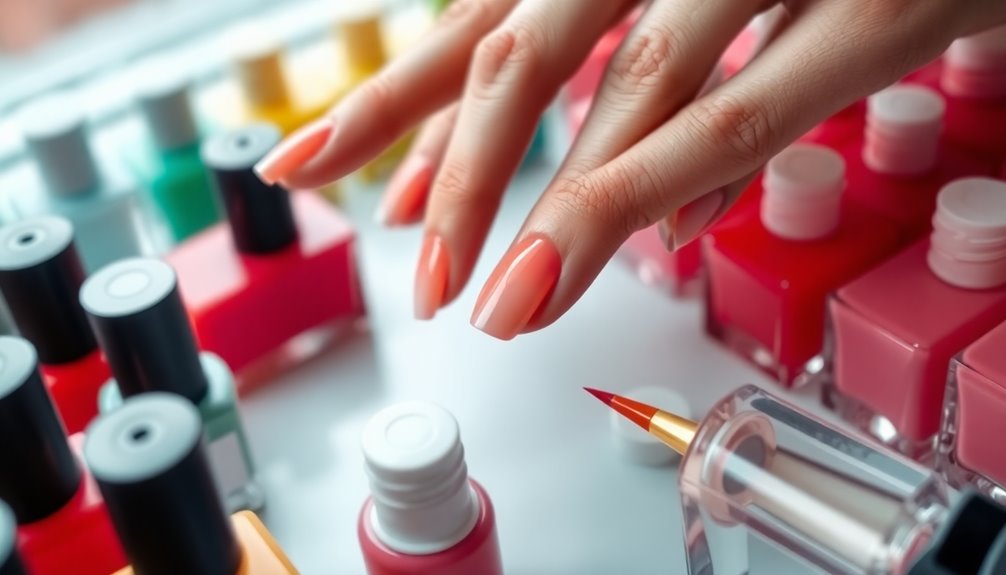
Before you plunge into creating your stunning ombre nails, you need to gather your materials.
Start with a base coat to protect your nails, followed by a top coat for that glossy finish. Choose three nail polish colors in the same family, beginning with the lightest and moving to the darkest for a seamless gradient.
You'll also need a latex sponge, which is perfect for blending those colors. Don't forget a clean-up brush or cotton swab for touch-ups, as well as nail polish remover for any mishaps. Additionally, having a nail curing lamp can help quickly set your designs and ensure a long-lasting finish.
To make your life easier, consider using tape around your nails to protect your skin. With these essentials, you're ready to elevate your nail care game!
Prepare Your Nails

To achieve the best results with your ombre nails, start by cleaning your nails thoroughly.
Use a cotton ball soaked in nail polish remover to remove any old polish and oils, ensuring a fresh base.
Next, trim your nails to your desired length with nail clippers, then smooth the edges using a nail file to clean the sides for a neat appearance.
Gently push back your cuticles with a rounded manicure stick or your thumbnail to create a clean nail bed.
Now, apply a clear base coat to protect your nails from staining, allowing it to dry completely.
Finally, choose a light base color, like white or a pale shade, and apply two coats, letting each coat dry fully before the next. Additionally, consider using a clear base coat to enhance the longevity of your nail design.
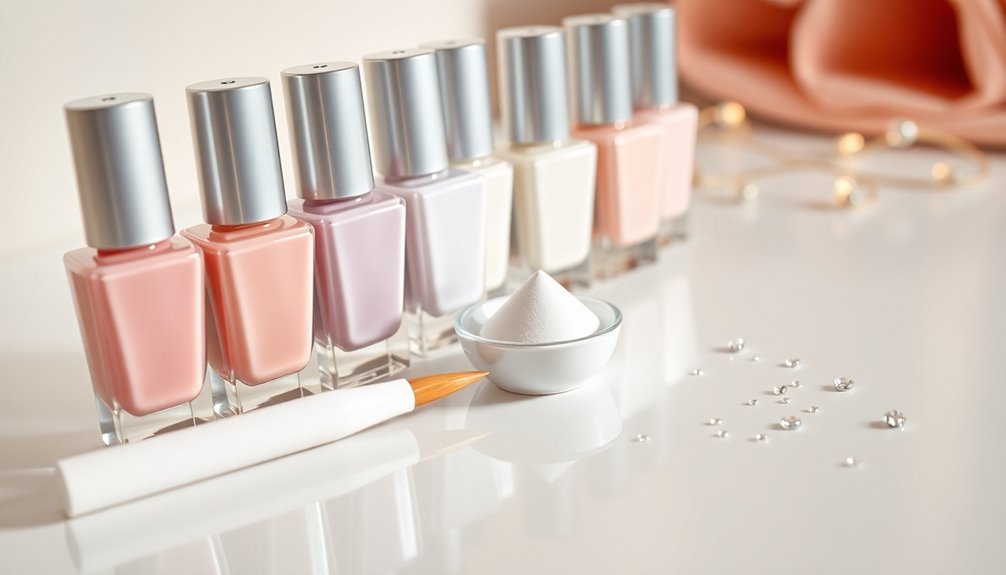
Choose Your Color Palette
When choosing your color palette for ombre nails, pick shades that complement each other to create a smooth gradient. Sheer variations work best, as they blend seamlessly and enhance the overall look. Consider a combination of light, mid-tone, and darker hues to add depth to your design. Additionally, exploring family-friendly amenities at various locations can inspire your color choices based on vibrant and engaging themes.
Select Complementary Shades
Selecting the right shades is essential for achieving a stunning ombre effect on your nails. To create a harmonious gradient, you should choose three colors within the same color family, ranging from the lightest color to darker shades.
Here are some tips to help you with choosing colors:
- Opt for pastel colors for a gentle shift.
- Make sure your colors have similar undertones to avoid harsh contrasts.
- Use semi-opaque, sheer, or translucent colors for a soft blend.
- Look for 'S' for Sheer from Kokoist or Vetro colors with two stars for the best results. Additionally, consider using earthy tones for a more natural aesthetic in your ombre design.
Consider Sheer Variations
While you might be tempted to choose bold colors for your ombre nails, considering sheer variations can elevate your design.
Opt for polishes labeled 'S' for Sheer from Kokoist, as they blend beautifully, creating a seamless shift. Pastel colors work wonders for ombre techniques, offering a soft and visually appealing gradient.
Vetro colors with two stars also provide excellent sheer options, enhancing your ombre effect. Start with your lightest base color, then gradually introduce darker shades to maintain harmony in your gradient.
Utilizing semi-opaque, sheer, or translucent shades allows the underlying base color to subtly influence the final look, ensuring your nails stand out in the best way possible. Additionally, experimenting with educational and skill-building toys can inspire creativity in other areas of your life, including nail art designs.
Get creative with color families to achieve a stunning ombre finish!
Apply the Base Color
To start applying your base color, choose a light shade like white for the best ombre effect.
Before you paint, prep your nails by shaping them and cleaning up any excess polish.
Then, apply a clear base coat to protect your nails and guarantee a smooth application. Additionally, consider the health implications of your nail care products, as some may contain high saturated fat which could impact your overall well-being.
Nail Preparation Techniques
Nail preparation is essential for achieving a flawless ombre effect, and starting with a clean slate makes all the difference. Here are some key nail preparation techniques to follow:
- Use nail polish remover to eliminate oils and residue.
- Trim and shape your nails with clippers and a nail file.
- Gently push back your cuticles for a tidy nail bed.
- Apply a clear base coat to protect against staining.
Once your nails are prepped, you can choose a light base color, typically white or a soft pastel. Additionally, having proper nail care is crucial for maintaining healthy nails throughout the ombre process.
Paint two thin coats, allowing each coat to dry completely before applying the next. This foundation guarantees your ombre design looks stunning and lasts longer!
Choosing Base Color
Choosing the right base color is essential for achieving a stunning ombre effect, as it sets the stage for your gradient. Typically, opt for a white or very light color to enhance the gradient effect of your ombre nails.
Start by applying a high-quality base coat to protect your nails and improve polish adhesion. Once that's done, apply the base color in two thin coats, ensuring even opacity. Allow each coat to dry completely before moving on.
If you're using gel polish, let the base color cure properly under a UV/LED lamp for longer-lasting results. Finally, make sure the base color is smooth and free of bubbles or imperfections, as this greatly impacts the overall appearance of your ombre nails. Additionally, consider incorporating breathwork techniques to help cultivate a more relaxed mindset while you create your nail art.
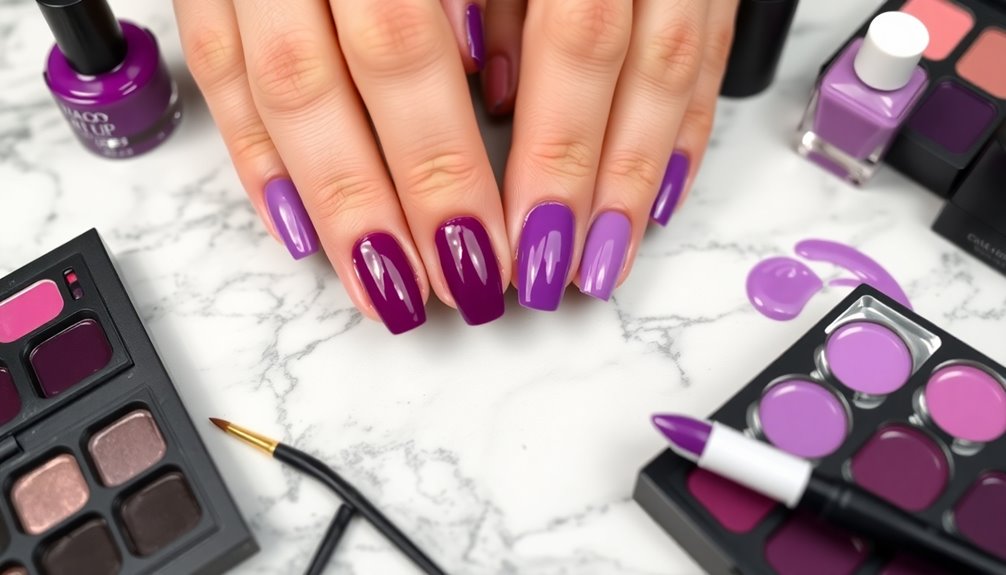
Create the Ombre Effect
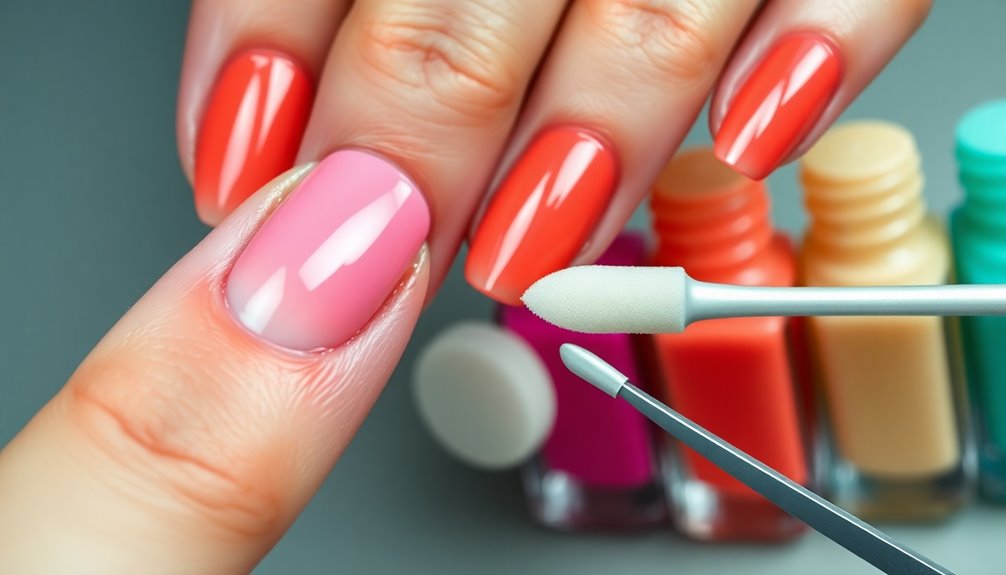
Creating the ombre effect is a fun and artistic way to elevate your nail design. To achieve stunning ombré nails, follow these steps:
- Use the sponge method for blending.
- Layer colors in straight horizontal lines.
- Adjust pressure for intensity.
- Clean up the skin around your nails.
Start by painting ombré colors in straight lines on a wedge makeup sponge, with the lightest color at the base.
Gently stamp the sponge onto your nail, rolling it from side to side.
Don't forget to remove any excess polish from your skin around your nails with a clean-up brush or cotton swab dipped in nail polish remover.
For a smoother finish, apply a clear topcoat to blur the colors and enhance your design! Additionally, consider sipping on herbal teas like chamomile to help relax while you create your beautiful nails.
Finishing Touches
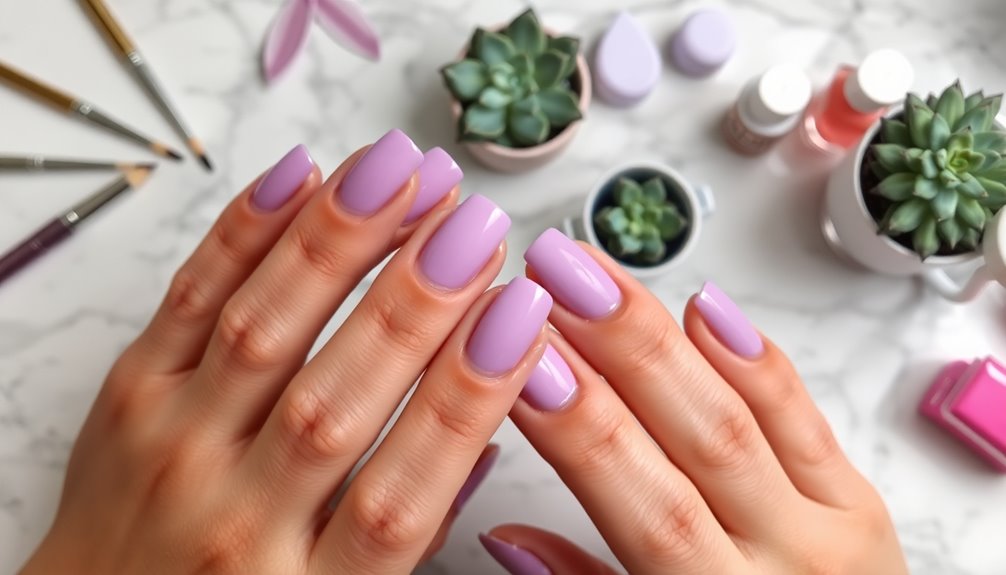
Once your ombre nails have dried for about 10-15 minutes, it's time to add the finishing touches that will elevate your design.
Start by applying a clear topcoat to enhance the gradient and create a smooth finish. Consider using two thin layers of topcoat to guarantee your nails look even and glossy while preventing chips.
To achieve a neat appearance, use a cotton swab dipped in nail polish remover to clean around your nails, removing any excess polish. Make sure to allow the topcoat to dry completely before using your hands to avoid smudging.
For a professional finish, opt for a high-quality topcoat like Kokoist Ultra Glossy Topcoat, which fills imperfections and enhances shine. Additionally, keeping your nails well-hydrated with a good moisturizer for nails can help maintain their health and appearance.
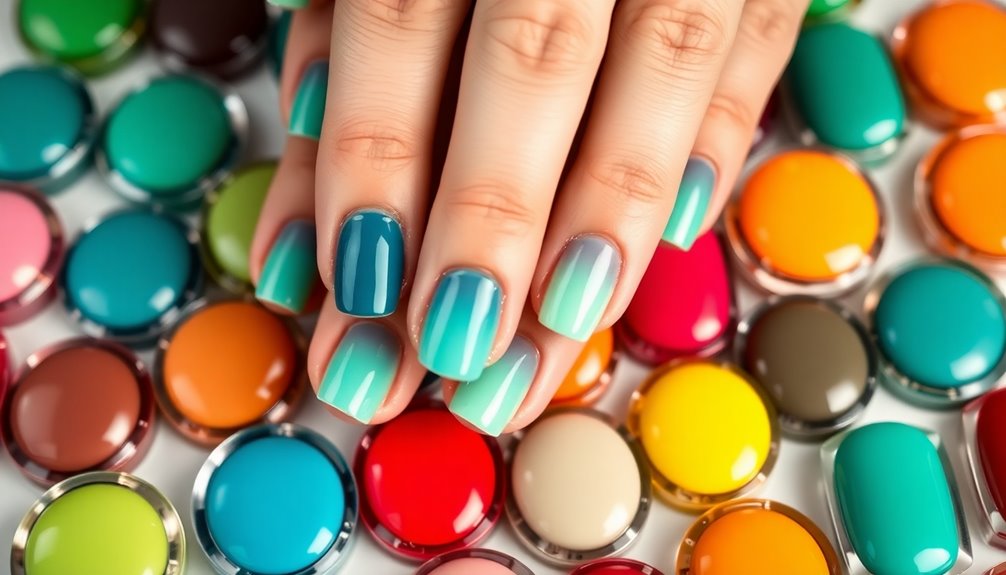
Show Off Your Ombre Nails
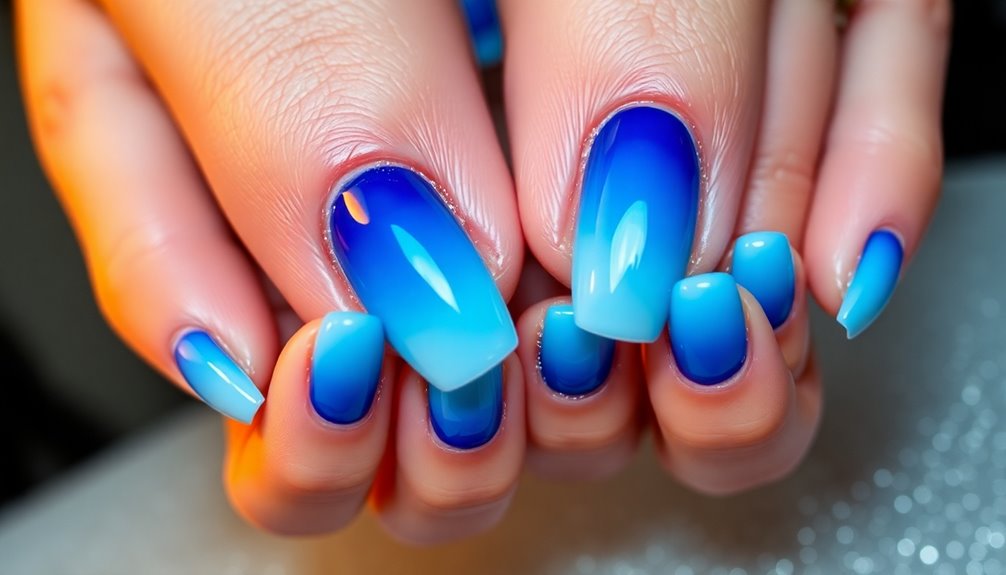
How can you make your ombre nails truly stand out? Showcasing your stunning ombré effect is essential for every nail artist. Here are some tips to help you engage your audience:
- Take well-lit photos highlighting the gradient effect from various angles.
- Share your nail art on social media platforms like Instagram and TikTok, using hashtags like #OmbreNails and #NailArt.
- Post before and after pictures to illustrate the transformation and technique.
- Join online nail art communities to connect with fellow enthusiasts and get feedback.
Frequently Asked Questions
How Do You Do Ombre Nails for Beginners?
To create ombre nails as a beginner, start by prepping your nails with a clean base coat and a light base color.
Grab a wedge makeup sponge, and apply three nail polish shades in horizontal lines, starting with the lightest.
Dab the sponge onto your nails, layering until you achieve the intensity you want.
Clean up any mess with nail polish remover, then finish with a topcoat for a smooth, polished look.
How Do Nail Techs Do Ombre Nails?
Nail techs achieve ombre nails by applying semi-opaque or sheer colors directly with a Kokoist Art Clear Gel and a tap brush for blending.
They start with a base gel coat, define the smile line using a liner brush, and then tap the brush vertically to blend colors.
After curing the initial coat, they apply a second coat, refining the gradient with micro taps, and finish with a thick topcoat for a glossy finish.
Is Ombre Nail Gel or Dip?
Choosing between gel and dip for ombre nails is like picking the perfect paint for a sunset.
Gel gives you a soft, seamless blend, while dip powder offers vibrant, bold colors. Each technique has its charm; gel's sheer elegance contrasts with dip's playful opacity.
Whichever you choose, remember that a topcoat is essential to lock in your masterpiece.
Are Ombre Nails Hard to Do?
Ombre nails can seem tricky at first, but with practice, you'll find they're not as hard as you think.
You'll need to focus on blending colors seamlessly and be patient during the application process.
Using sheer or semi-opaque colors helps hide mistakes, making it easier for you.
With the right tools and techniques, like layering gradually and tapping lightly, you'll create stunning ombre nails that look professional in no time.
Conclusion
As you admire your ombre nails, think of them as a sunset fading into twilight. Each hue blends seamlessly, just like the day gives way to night. You've transformed your fingertips into a canvas, painting a masterpiece that reflects your creativity. Just as no sunset looks the same, your unique design showcases your personal style. So, let your nails be the sky, vibrant and alive, inviting others to gaze in wonder and appreciate the beauty you've created.