To do polygel nails, start by prepping your natural nails: trim, push back cuticles, and buff the nail surface. Choose snug dual forms and apply a base coat. Use poly gel in the forms, then cure them under an LED or UV lamp. Remove the forms, file the edges, and finish with a top coat. Don't forget to hydrate your cuticles afterward. Continue on to discover more tips for a stunning and long-lasting manicure.
Key Takeaways
- Start by preparing nails through trimming, cuticle removal, and buffing for optimal adhesion.
- Select and size dual forms that fit well without gaps, ensuring full coverage of the nail bed.
- Apply a base coat, then use slip solution to manipulate and apply poly gel into dual forms.
- Cure the poly gel under an LED lamp for 45 seconds or UV lamp for 2 minutes for durability.
- Finish with a top coat, rehydrate cuticles with oil, and maintain cuticle health for a polished look.
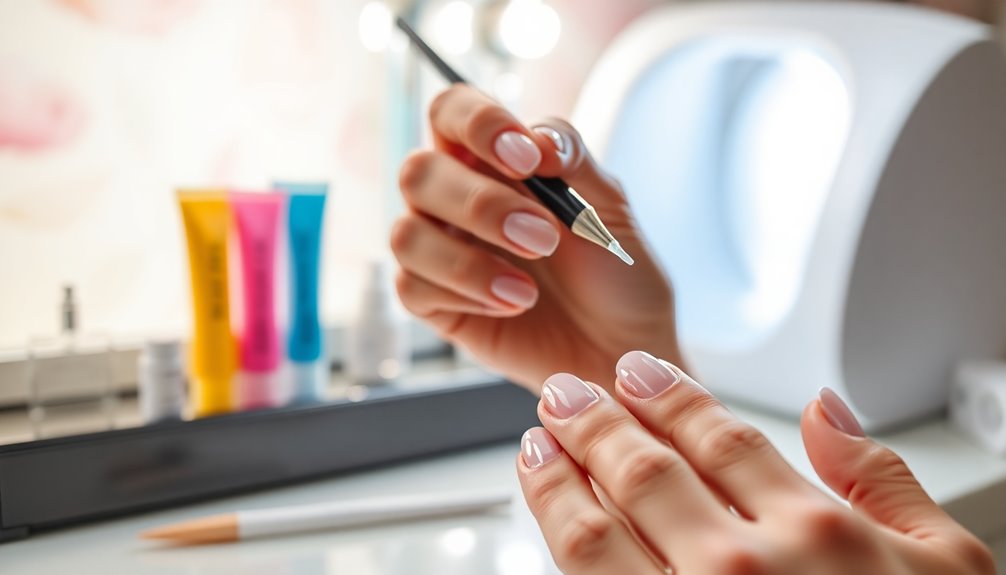
Nail Preparation
Nail preparation is essential for achieving a flawless polygel manicure. Start by trimming your natural nails to create a clean slate for application.
Next, apply cuticle remover and let it sit before gently using a cuticle pusher to push back your cuticles and remove any dead skin. This gives you a polished working area.
Then, take a nail file to shape and buff the surface of your nails, ensuring better adhesion for the base gel.
Don't forget to wipe off any dust with a lint-free wipe and some alcohol.
This meticulous preparation sets the foundation for a beautiful and long-lasting polygel manicure, so take your time to get it right! Additionally, nail preparation is crucial for ensuring that your manicure lasts longer and looks more professional.
Sizing Dual Forms

Once your nails are prepped, it's time to focus on sizing your dual forms for the polygel application.
Choose a size that fits snugly against your natural nail without any gaps—proper sizing is vital for a seamless look. The McCart Poly Gel Kit offers 60 dual forms, giving you plenty of options.
If your natural nails are shorter or have a unique shape, you might need to trim the forms for a better fit. Make certain the forms cover the entire nail bed and extend slightly beyond the free edge.
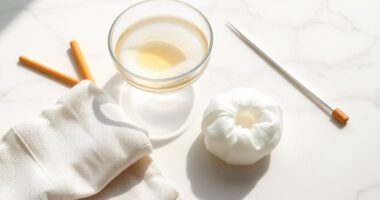
To help manipulate the polygel inside the dual forms, use a slip solution like 70% alcohol for a smoother application and better fit. Additionally, achieving a flawless application can improve your overall mental health and boost your confidence, much like how individuals can experience positive effects post-divorce.
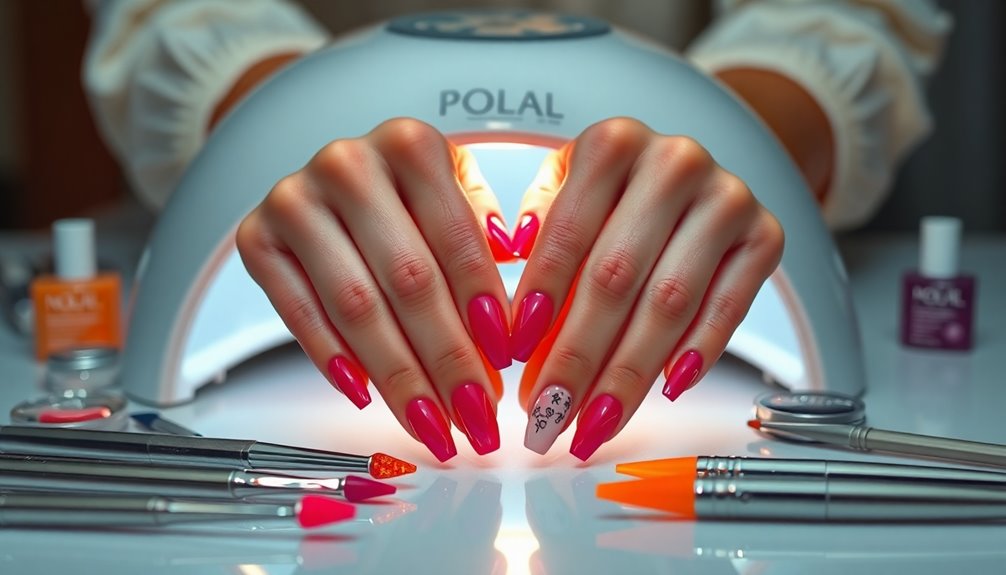
Application Process
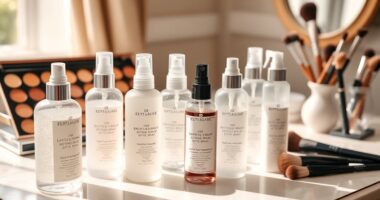
Before diving into the application process, make sure your natural nails are clean and prepped.
Start by applying a base coat to each nail, creating a smooth foundation for the poly gel. Use 70% alcohol as a slip solution to easily manipulate the poly gel without it sticking to your tools.
Choose your desired shade of poly gel—dark pink is a great beginner-friendly option—and apply it into the dual form. Once you're satisfied, carefully place the form on your nail.
After application, cure the poly gel nails for 45 seconds under an LED lamp or 2 minutes under a UV lamp.
Finally, remove the dual forms, trim any excess, file the nails, and finish with a top coat for a polished look. Additionally, if you experience any blemishes during the process, consider using pimple patches to help with treatment and recovery.
Curing the Poly Gel
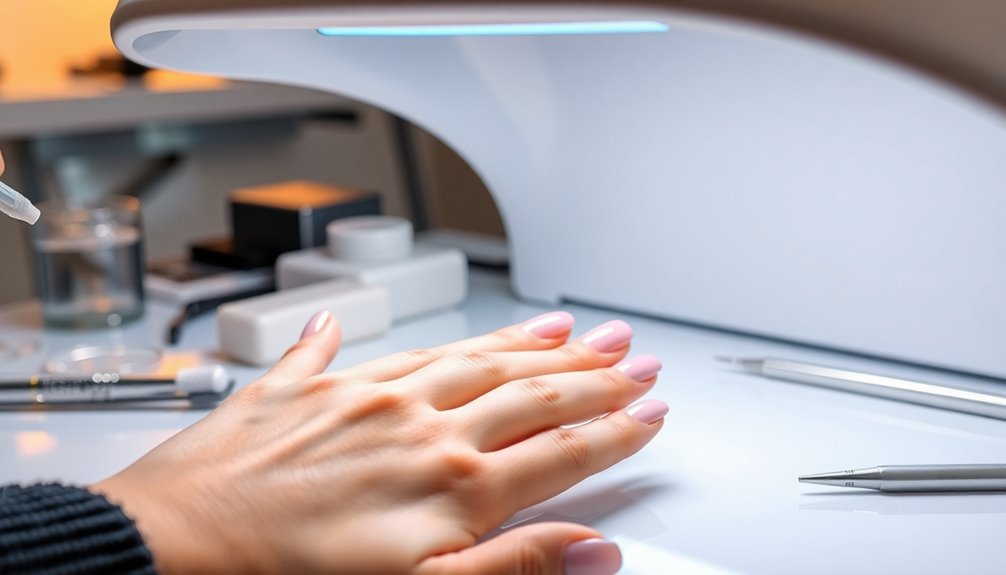
Curing the poly gel is vital to guaranteeing your nails are strong and long-lasting.
After applying the dual forms, you need to cure the applied poly gel nails for 45 seconds with an LED lamp or for 2 minutes with a UV lamp to confirm proper hardening.
It's important to use the correct base gel from your kit before curing, as the instructions may mistakenly label it as a top coat.
To make the application smoother, use 70% alcohol as a slip solution, which helps prevent the poly gel from sticking to tools.
Also, make certain the curing lamp is properly positioned over each nail for even exposure to light, assuring a fully cured and durable finish. Additionally, maintaining a well-organized makeup room can enhance your overall nail application experience.
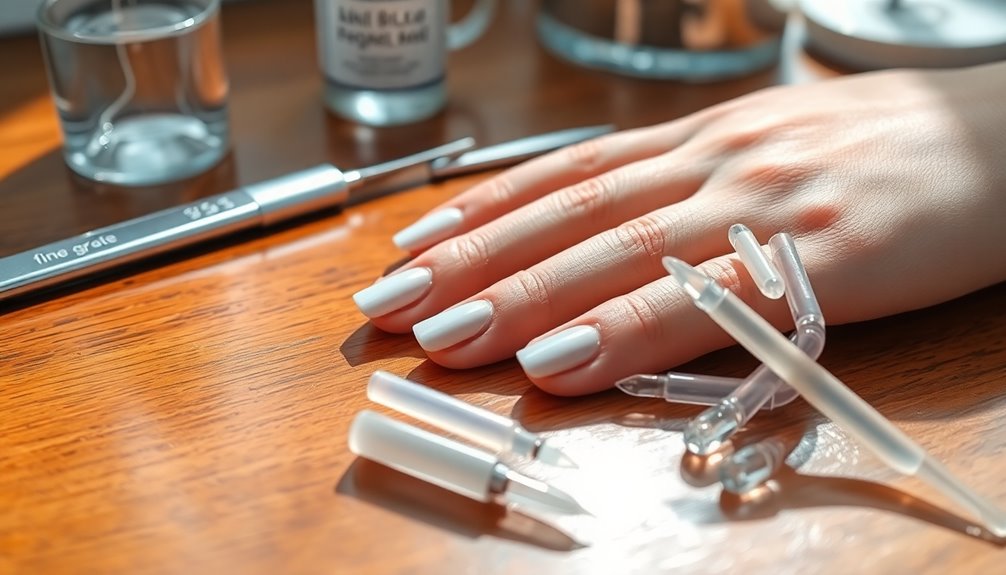
Finishing Touches
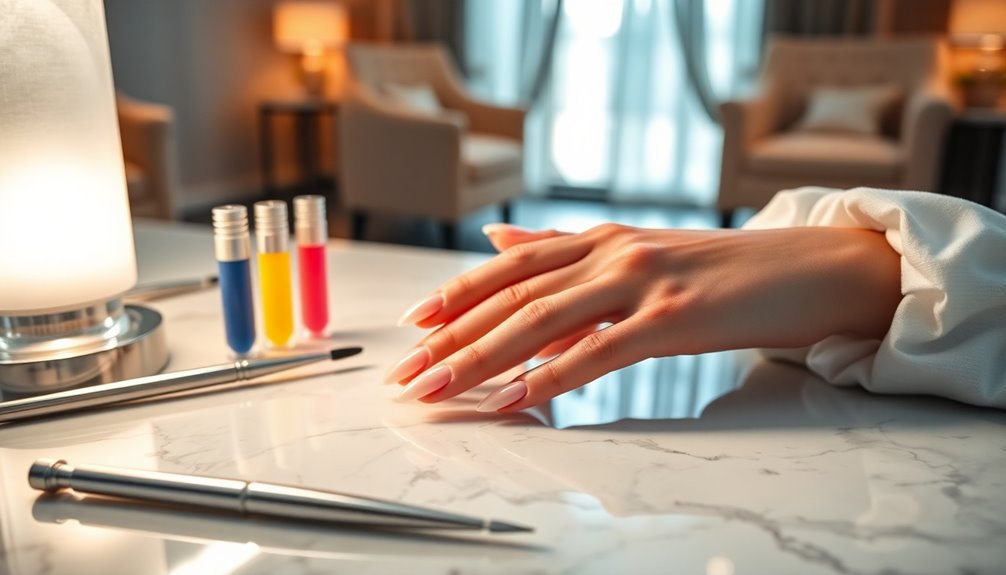
Now that your poly gel is cured, it's time to apply the topcoat smoothly for that perfect shine.
Don't forget to rehydrate your cuticles afterward to keep your nails looking their best. Incorporating aromatherapy techniques can enhance your self-care routine while you pamper your nails.
These finishing touches will elevate your manicure and guarantee it lasts longer.
Apply Topcoat Smoothly
Once you've finished filing and shaping your nails, it's essential to prepare for the topcoat application.
Start by wiping off any excess dust with a lint-free wipe soaked in alcohol.
Then, apply a thin layer of no-wipe gel topcoat evenly over each nail, ensuring it covers the edges to prevent chipping.
Cure the topcoat under an LED lamp for 45 seconds or under a UV lamp for 2 minutes to achieve a durable, high-gloss finish.
Once cured, take a moment to enhance your manicure by applying cuticle oil around the nail area.
This step helps maintain nail health and elevates the overall appearance of your polygel nails. Additionally, ensuring the right color accuracy in your nail design can enhance the visual appeal of your manicure.
Enjoy your beautiful, shiny manicure!
Rehydrate Cuticles Effectively
To keep your nails looking their best, it's important to rehydrate your cuticles after applying the topcoat. Start by applying cuticle oil liberally to nourish and hydrate your cuticles, promoting healthy nail growth.
Opt for a cuticle oil enriched with essential oils and vitamins, like vitamin E or jojoba oil, to enhance moisture retention. Gently massage the oil into your cuticles and the surrounding skin to boost blood circulation and guarantee even absorption.
For a long-lasting manicure, make it a habit to rehydrate your cuticles daily, especially after exposure to water or harsh chemicals. You might also consider using a cuticle remover or exfoliating scrub weekly to maintain a clean and healthy nail area. Additionally, keeping your cuticles hydrated can prevent issues similar to how dogs benefit from proper nutrition and care.
Maintaining Your Manicure
Maintaining your polygel manicure is essential for keeping your nails looking fresh and flawless.
Start by regularly applying cuticle oil to keep your cuticles hydrated and prevent lifting of the gel. Avoid using your nails as tools for opening packages or scratching surfaces; this can chip or break your gel nails.
Clean your nails with a gentle soap and water solution, steering clear of harsh chemicals that can weaken the gel over time.
Schedule fills or touch-ups every 2-3 weeks to address growth and maintain the overall look of your manicure.
Finally, wear gloves during household chores or when your hands will be exposed to water for extended periods to prolong the life of your stunning polygel nails. Additionally, consider designating pet-free zones in your home to reduce exposure to pet hair that may cling to your manicure.
Frequently Asked Questions
Can You Do Polygel Nails at Home?
Yes, you can definitely do polygel nails at home! With the right kit, like the McCart Poly Gel Kit, you've got everything you need.
Just make certain to prep your nails properly by trimming, caring for your cuticles, and filing.
Using dual forms makes application easier, and curing the nails with an LED or UV lamp guarantees they harden correctly.
Finish with a no-wipe topcoat and some cuticle oil for a stunning look!
What Is the Downside of Polygel?
When you think of a flawless manicure, polygel might seem like the perfect choice.
However, it's crucial to know the downsides. Polygel doesn't self-level, so you'll need to apply it with precision to avoid bumps. Curing each layer takes time, which can be a hassle.
Beginners may struggle with its consistency, and allergic reactions, though rare, are possible.
Plus, removing polygel can be more labor-intensive than other nail products, demanding extra care.
How to Polygel Nails Step by Step?
To create stunning polygel nails, start by prepping your natural nails—trim, push back cuticles, and file them.
Choose dual forms that fit well, apply a base gel, and use slip solution for the poly gel.
Squeeze the gel into the dual forms, shape with an alcohol-dipped brush, and cure under an LED or UV lamp.
Finally, trim, file, and apply a no-wipe topcoat, then hydrate your cuticles for a finished look.
Are Polygel Nails Good for Beginners?
Absolutely, polygel nails are great for beginners!
They give you better control and precision during application since the gel stays put where you place it.
You'll find that the McCart Poly Gel Kit is user-friendly, complete with tools and instructions.
Plus, using a slip solution like 70% alcohol makes it easy to work with the gel.
The quick curing time means you won't be waiting long to achieve a beautiful finish!
Conclusion
In the world of nail artistry, mastering polygel nails is like painting a masterpiece on your fingertips. With a little practice and patience, you can transform your nails into stunning works of art that shine like stars in the night sky. Remember, the key to a lasting manicure is in the details—nurture your creations and they'll continue to dazzle. So, go ahead, release your creativity, and let your nails tell a story that's uniquely yours!