To remove acrylic nails at home, start by clipping them down and buffing the surface. Soak cotton balls in 100% pure acetone, place them on your nails, and wrap them in aluminum foil. Wait 20-30 minutes for the acrylic to soften, then gently push it off with a cuticle pusher. If needed, repeat the soaking process. Don't forget aftercare to restore your nails, and you'll discover more tips for a smooth removal.
Key Takeaways
- Clip acrylic nails as short as possible to reduce bulk before removal.
- Buff the surface of the acrylic to enhance acetone absorption for effective softening.
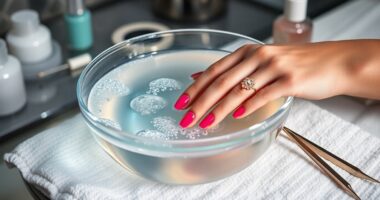
- Soak cotton balls in 100% pure acetone, place them on nails, and wrap with aluminum foil.
- Wait 20-30 minutes, then gently push off softened acrylic with a cuticle pusher.
- Apply cuticle oil and nail strengthener after removal to restore nail health.

Teenitor Acrylic Nail Kit With Chrome Powder, Almond Tips, Art Brushes, Charms, 3D Gel, Tools, Stand - Beginner Set
- Complete Nail Art Kit: Includes 300 false tips, tools, charms, and more
- Durable Almond Nail Tips: Half matte, high toughness, impact resistant, fits most nails
- Chrome Nail Powder Set: 8 colors with metallic and iridescent effects
As an affiliate, we earn on qualifying purchases.
Tools Required for Safe Removal

When you're ready to tackle acrylic nail removal at home, having the right tools on hand is vital for a safe and effective process.
Start with nail clippers to trim the extensions down to size, making the removal easier. You'll need a nail file, preferably with 100/80 grit, to reduce bulk and smooth your natural nails.
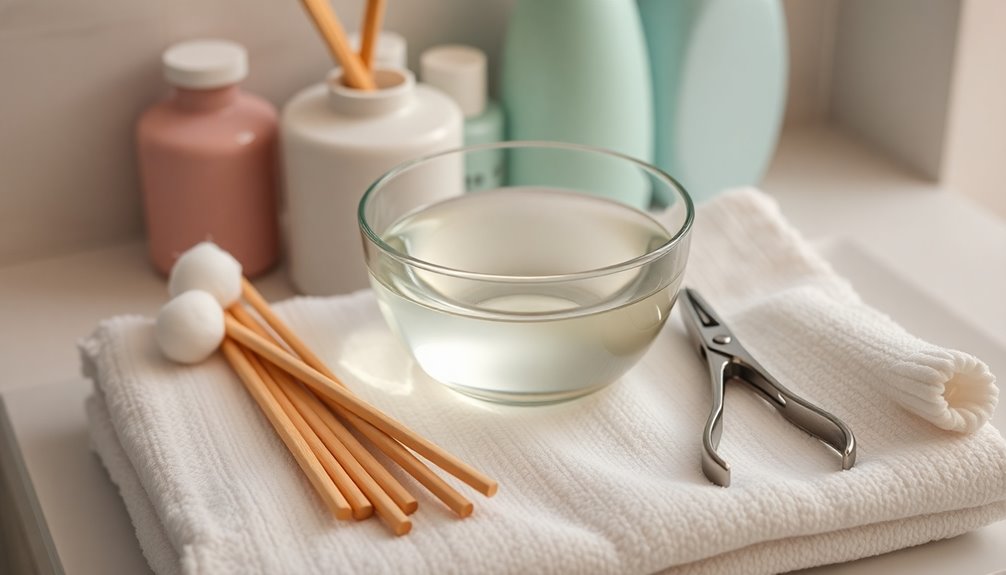
100% pure acetone is essential for dissolving the acrylic; regular nail polish remover won't cut it. Gather cotton balls to soak in acetone and apply directly to your nails, securing them with aluminum foil.
A cuticle pusher will help gently remove softened acrylics without damaging your natural nails. Finally, a nail buffer is great for those finishing touches, ensuring a clean look. Additionally, it's important to ensure your nails are completely dry before applying any products to maximize the effectiveness of the removal process.
Step-by-Step Process for Acrylic Nail Removal
To successfully remove your acrylic nails at home, you'll need a few essential tools and a clear process.
Start by clipping the nails and buffing the surface to prepare for acetone.
Using a suitable method, such as color accuracy adjustments, can help avoid any damage to your natural nails during the removal process.
Following the detailed steps will guarantee a safe and effective removal.
Essential Tools Needed
Removing acrylic nails at home requires a few essential tools to guarantee the process is efficient and safe.
Make sure you have the following items ready:
- Nail clippers for trimming the extensions
- 100% pure acetone for effective soaking
- Nail file (coarse grit recommended) to help with removal
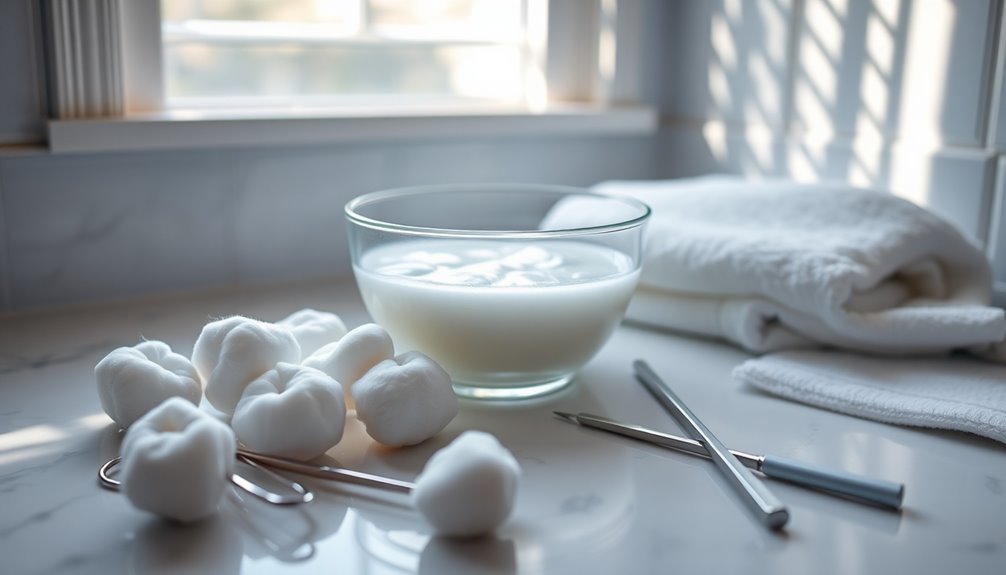
- Cotton balls and aluminum foil for wrapping
- Nail buffer for smoothing your natural nails afterward
These tools will help you effectively soak and remove your acrylic nails. Additionally, be aware of the potential for ethical concerns regarding the materials you use, ensuring they are safe for your nails and skin.
Don't forget to have cuticle oil on hand for post-removal care, as it nourishes and hydrates your natural nails and surrounding skin.
With the right tools, you'll make the process much easier and safer for your nails.
Detailed Removal Steps
With your tools ready, you can now tackle the process of removing your acrylic nails step by step. Follow these detailed removal steps:
| Step | Action | Purpose |
|---|---|---|
| 1. Nail Clipping | Use a nail clipper to trim acrylics as close as possible. | Minimize material to remove. |
| 2. Buff the Surface | Buff the surface of the acrylics with a coarse file. | Allow acetone to penetrate better. |
| 3. Acetone Soak | Soak cotton balls in acetone, place on nails, wrap with aluminum foil. | Keep heat in for effective soaking. |
After 20-30 minutes, gently push off the softened acrylic. Repeat soaking if necessary. Finally, buff your natural nails lightly, apply cuticle oil, and restore hydration for healthy nails. Be sure to hydrate your nails afterward, as acetone can be harsh on natural nails, leading to dryness and brittleness.
Alternative Methods for Removal Without Acetone
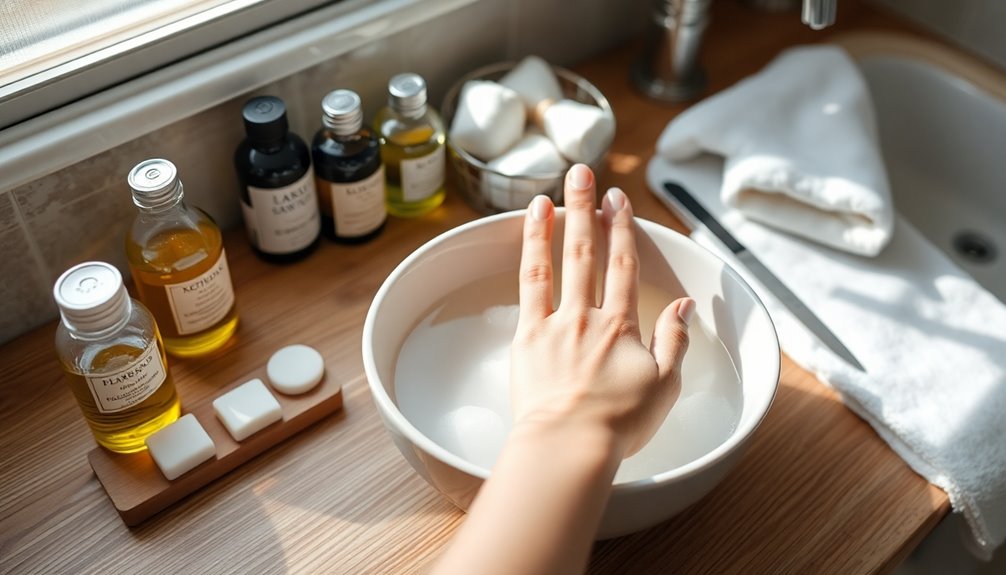
- Soak your nails in an acetone-free remover for 30 to 40 minutes to soften the acrylic.
- Use a cuticle stick for gently prying the edges once the acrylic has loosened.
- Employ tweezers to lift and peel off the acrylic nails carefully.
- Maintain a careful approach to avoid damaging your natural nails.
- Remember, patience is key; rushing the process can lead to damage.
- Additionally, ensuring proper airflow around the unit can help maintain a clean environment while you perform this delicate task.
Aftercare for Natural Nails Post-Removal

After removing your acrylic nails, it's vital to focus on nourishing and hydrating your natural nails. Applying cuticle oil and a nail strengthener can greatly help restore their health and prevent brittleness. Additionally, incorporating quality ingredients into your nail care routine can further enhance the recovery process. Don't forget to give your nails a break from polish for a few weeks to allow for proper recovery.
Nail Nourishment Techniques
Once you've removed your acrylic nails, nurturing your natural nails is crucial for restoring their strength and health.
To effectively achieve nail nourishment, follow these tips:
- Apply a nail strengthener daily for at least a week to fortify brittle nails.
- Use cuticle oil regularly to enhance moisture levels and support nail growth.
- Gently buffing nails can smooth out rough spots without causing damage.
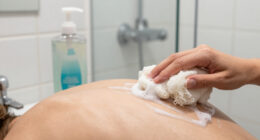
- Hydrate your hands with a nourishing hand cream to combat the drying effects of acetone.
- Take a break from acrylics and polishes for a few weeks to allow your nails to recover.
- Incorporating glycolic acid into your skincare routine can also help improve overall skin texture, promoting healthier nails and cuticles.
These nail care techniques will help your natural nails regain their vibrancy and shine after acrylic removal.
Hydration and Moisturization
Proper hydration and moisturization are essential for your natural nails' recovery after acrylic removal. Start by applying cuticle oil daily to nourish and hydrate your nail beds, preventing dryness. A nail strengthener can restore your nails' integrity and combat brittle nails, so use it for at least a week. Regularly apply hand cream to counteract the drying effects of acetone, keeping your hands soft and aiding in overall nail health. Keep an eye out for signs of discoloration, cracking, or splitting, which may indicate additional care is needed. Allowing a break from acrylics for a few weeks can also help your natural nails regain strength and resilience. Additionally, consider using a nourishing ingredient like shea butter to further enhance the moisturizing process.
| Product | Purpose |
|---|---|
| Cuticle Oil | Nourish and hydrate |
| Nail Strengthener | Restore integrity |
| Hand Cream | Moisturizing and softening |
| Recovery Oil | Enhance nail health |
| Moisturizer | Prevent dryness |
Protecting Nail Health
To guarantee your nails stay healthy after acrylic removal, it's essential to adopt a thoughtful aftercare routine.
Start by applying a nail strengthener daily for at least a week to restore your natural nails' strength. Don't forget to pamper your nail beds with cuticle oil, providing essential moisture and preventing brittleness.
Take a break from acrylics and polishes for a few weeks to allow for nail recovery. Keep an eye out for any signs of discoloration, cracking, or splitting.
Finally, regularly applying hand cream will combat the drying effects of acetone and maintain overall nail health. Additionally, practicing self-care routines can enhance your overall well-being during the recovery period.
- Use a nail strengthener daily
- Apply cuticle oil frequently
- Avoid acrylics for a few weeks
- Monitor for damage
- Moisturize with hand cream
Tips and Precautions to Avoid Damage

As you prepare to remove your acrylic nails, it's important to take precautions that protect your natural nails from damage.
Start by clipping your acrylic nails as close to your natural nail as possible. This minimizes the acrylic that needs to be removed, allowing you to soak in acetone effectively.
Use high-quality 100% pure acetone for the best results, and apply petroleum jelly around the nail beds to protect the surrounding skin from irritation.
While removing your acrylics, avoid using excessive force; don't peel or pry them off. Instead, gently push the acrylic.
Keep a close eye on your nails during the process, and stop if you notice any signs of excessive damage, like cracking or splitting. Regular cleaning of your nails can help maintain their health and prevent damage during acrylic removal.
Expert Recommendations for Home Removal
While removing acrylic nails at home can be a straightforward process, following expert recommendations guarantees you do it safely and effectively.
To achieve acrylic nails without damage, stick to this step-by-step process:
- Start with gentle filing to remove the top layers of the acrylics.
- Clip and buff your nails before soaking.
- Soak in acetone for 20-30 minutes, using high-quality acetone for best results.
- Wrap your nails in aluminum foil to keep the acetone from evaporating.
- Use a cuticle pusher to gently push off the softened acrylics.
Avoid forcefully peeling them off, as this can harm your natural nails.
Frequently Asked Questions
How Do You Get Acrylic Nails off at Home Fast?
To get acrylic nails off fast, start by clipping them down to about two centimeters above your nail bed. This helps speed up the process.
Next, soak cotton balls in acetone, place them on your nails, and wrap them with aluminum foil. Leave it for about 20 minutes.
If you want to enhance effectiveness, warm the acetone slightly before soaking.
Just remember to be patient and avoid pulling too hard to protect your natural nails.
What Is the Least Damaging Way to Remove Acrylic Nails?
Removing acrylic nails can feel like peeling away layers of an onion, but you want to do it gently.
The least damaging way involves soaking cotton balls in pure acetone and wrapping them around your nails with foil for 20-30 minutes.
Before soaking, clip and buff the acrylics to ease the process.
Use a metal cuticle pusher to lift off the softened layers, protecting your natural nails in the process.
How Do You Take off Acrylic Nails Without Acetone?
To take off acrylic nails without acetone, start by clipping them down close to your natural nails.
Gently pry the edges with a cuticle stick to loosen them.
Soak your nails in acetone-free nail polish remover for about 30 to 40 minutes.
Once they're loosened, use tweezers or a cuticle pusher to carefully lift and peel them off.
Don't forget to moisturize your nails and cuticles afterward to keep them healthy!
Can Vinegar Remove Acrylic Nails?
You might think vinegar could work for removing acrylic nails since it's natural, but it really won't do the job.
Vinegar lacks the strong solvents needed to break down acrylics, leading to prolonged soaking without results. Instead, you'll want to use acetone, which effectively dissolves the acrylic layers.
Trying vinegar could damage your natural nails without achieving the desired removal, so it's best to stick with proven methods for safety and effectiveness.
Conclusion
Removing your acrylic nails at home can feel intimidating, but it's totally doable with the right tools and techniques. You might worry about damaging your natural nails, but if you follow the steps carefully and prioritize your nail health, you'll be just fine. Embrace the process, and you'll be proud of your DIY skills. Plus, you can pamper your nails afterward, giving them the care they deserve. So, go ahead and give it a try!