
To remove dip nails, start by cutting and filing them to a manageable length. Buff off the shiny topcoat, then soak your nails in 100% pure acetone for 10-20 minutes. Use a metal pusher to gently scrape off the loosened dip powder. Finally, buff and shape your nails to restore their surface. Don't forget to hydrate and take care of your nails afterward. There's more to learn about maintaining healthy nails during this process.
Key Takeaways
- Cut and file dip nails to a manageable length, then buff the shiny topcoat with a coarse nail file for better acetone penetration.
- Soak cotton balls in 100% pure acetone, then wrap them around the nails using aluminum foil for effective removal.
- Allow nails to soak in acetone for 10-20 minutes, monitoring for any remaining dip powder before gently pushing it off with a metal pusher.
- If residue remains, soak nails for an additional five minutes and thoroughly clean the cuticle area for healthy nail growth.
- After removal, apply cuticle oil and hand cream daily to hydrate and strengthen nails, allowing a week of recovery before reapplying dip powder.
Understanding Dip Powder Nails
Dip powder nails, often referred to as SNS nails, have become a favorite choice for those seeking a long-lasting manicure.
These nails can last three to five weeks thanks to their durable composition, which combines nail resin with colored acrylic powder. The application process involves layering the powder with a strong adhesive, giving you a thicker and more resilient finish compared to traditional nail polish.
One major advantage is that dip powder nails dry naturally, eliminating the need for UV light.
However, it's important to understand that the strong bond created during application makes it challenging to remove dip powder nails at home. Proper removal techniques are vital to protect your natural nails from thinning or damage. Additionally, regular outings to a salon can help maintain the health of your nails and ensure proper removal techniques are used.
Essential Tools for Dip Nail Removal
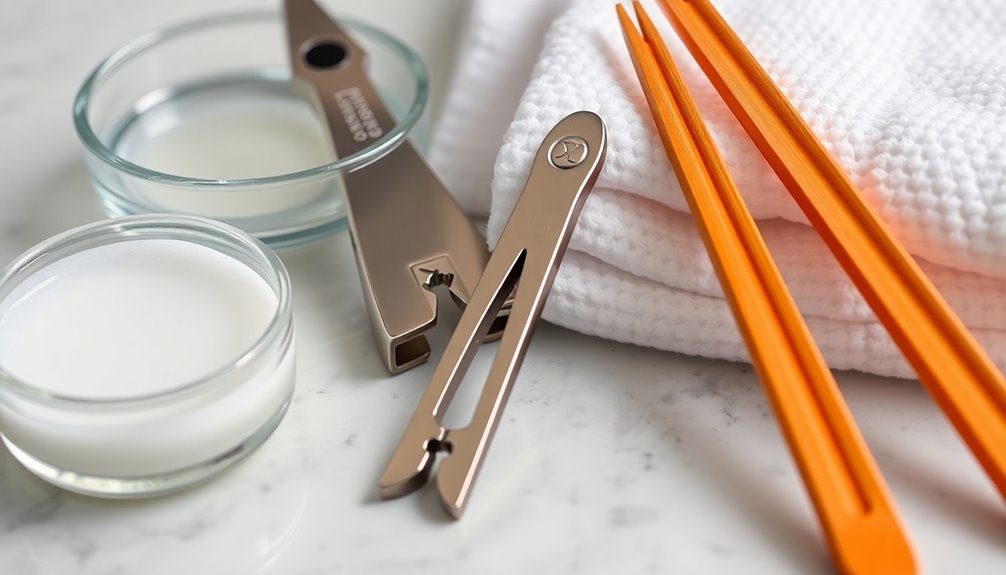
To effectively remove dip nails, you need a few essential tools.
You'll want 100% pure acetone, a coarse nail file, and cotton pads to help dissolve the dip powder.
Don't forget a soaking bowl and aluminum foil to secure the cotton, making the process smoother and more efficient. Additionally, using HEPA filtration can improve air quality while working with acetone, reducing exposure to harmful fumes.
Required Tools Overview
When you're ready to remove your dip nails, having the right tools on hand makes the process smoother and more effective. Here's a quick overview of the essential tools you'll need:
| Tool | Purpose |
|---|---|
| 100% Pure Acetone | Dissolves dip powder effectively |
| Coarse Nail File | Buffs off the shiny topcoat for better penetration |
| Nail Clippers | Trims nails to a manageable length |
| Cotton Balls | Soaks in acetone and applies to nails |
| Metal Pusher | Gently scrapes off the loosened dip powder |
Gather these tools to guarantee you can efficiently remove your dip nails and protect your natural nails in the process. Using high-quality products can also help prevent damage to your nails during the removal process.
Acetone and Application
Removing dip nails effectively relies heavily on the application of 100% pure acetone. This powerful solvent penetrates the dip powder, dissolving the bond for easier removal.
Follow these steps for best results:
- Buff the Topcoat: Use a coarse nail file (100 grit) to gently buff off the shiny topcoat before applying acetone. This enhances absorption.
- Soak Your Nails: Soak cotton balls or pads in acetone, place them on each nail, and wrap them with aluminum foil to maximize contact time.
- Scrape Off the Powder: After soaking, use a cuticle pusher to remove the softened dip powder gently, avoiding damage to your natural nail bed.
Always work in a well-ventilated area to manage acetone fumes safely. Additionally, it's important to remember that regular maintenance of your nails can help prevent damage and promote healthier growth.
Nail Care Essentials
Once you've successfully removed your dip nails, it's important to have the right tools on hand for the process. Here's a quick list of essentials to keep your nails healthy:
| Tool | Purpose | Notes |
|---|---|---|
| 100% Pure Acetone | Effective nail polish remover | Confirm it's pure for best results |
| Coarse Nail Files (100 grit) | Helps in removing the dip powder | Use gently to avoid damage |
| Nail Buffer | Smooths nail surface post-removal | Essential for maintaining health |
| Soaking Bowl | For soaking your nails in acetone | Aids in effective removal |
| Aluminum Foil | Wrap around cotton for enhanced soaking | Improves acetone penetration |
With these tools, you'll make the dip nail removal process smoother and protect your nails. Additionally, ensuring proper nail care essentials is crucial for maintaining the health of your nails after the removal process.
Step 1: Cut and File Your Dip Nails
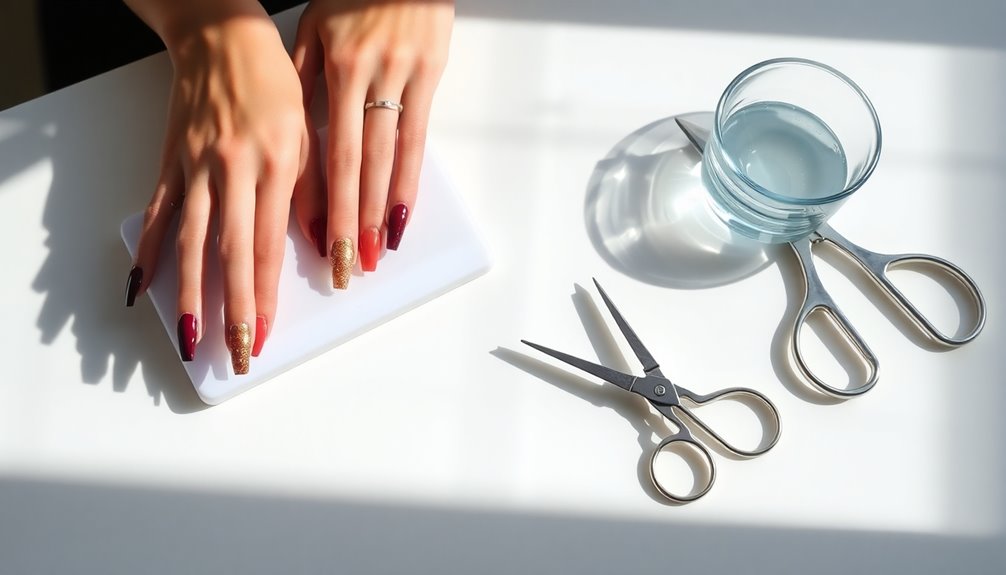
Start by trimming your dip nails down to your natural length with nail clippers; this helps minimize the amount of product you'll need to remove.
Once you've done that, follow these steps to file your nails effectively:
- Use a coarse nail file (100 grit) to buff off the shiny topcoat of the dip powder.
- File in a back-and-forth motion until you see fine white dust, indicating sufficient removal of the top layer.
- Avoid over-buffing to protect the integrity of your natural nails and cuticles, as excessive filing can weaken the nail plate.
After filing, make sure to clean your nails of any dust.
This step sets you up for ideal removal in the next phase, and using advanced technology offerings can enhance your nail care routine.
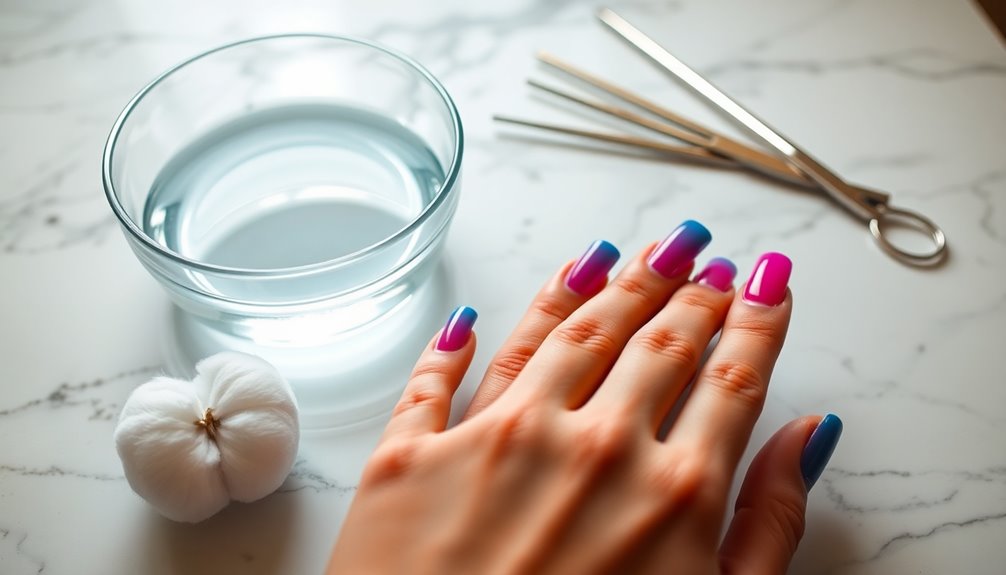
Step 2: Soak Your Nails in Acetone

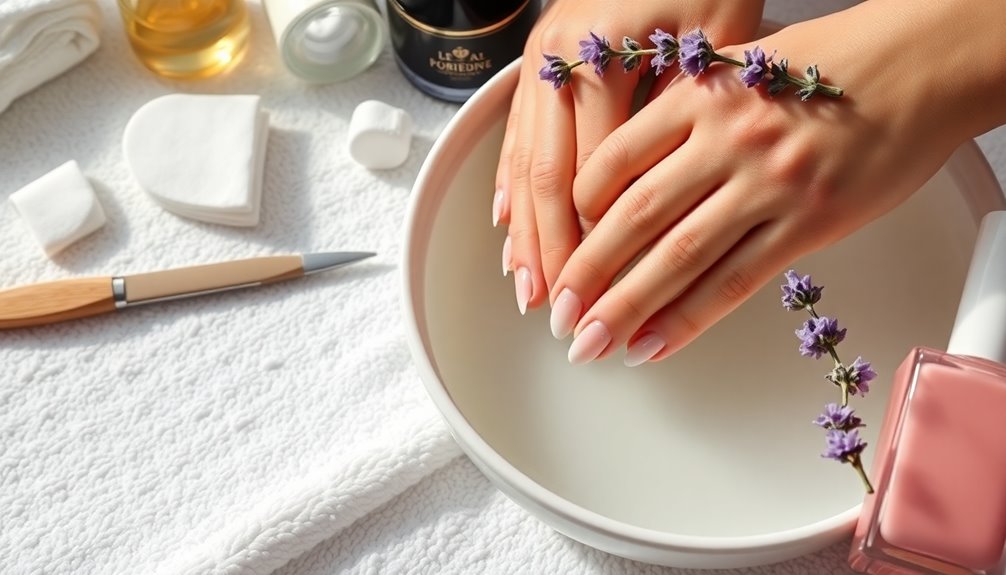
After filing your dip nails, it's time to soak them in acetone to break down the remaining product. Use 100% pure acetone and fully submerge your nails for 10 to 20 minutes.
To protect the skin around your nails, apply petroleum jelly beforehand. This will help prevent irritation from acetone. If you find the dip powder isn't flaking off easily after the initial soak, consider extending the soaking time for better absorption.
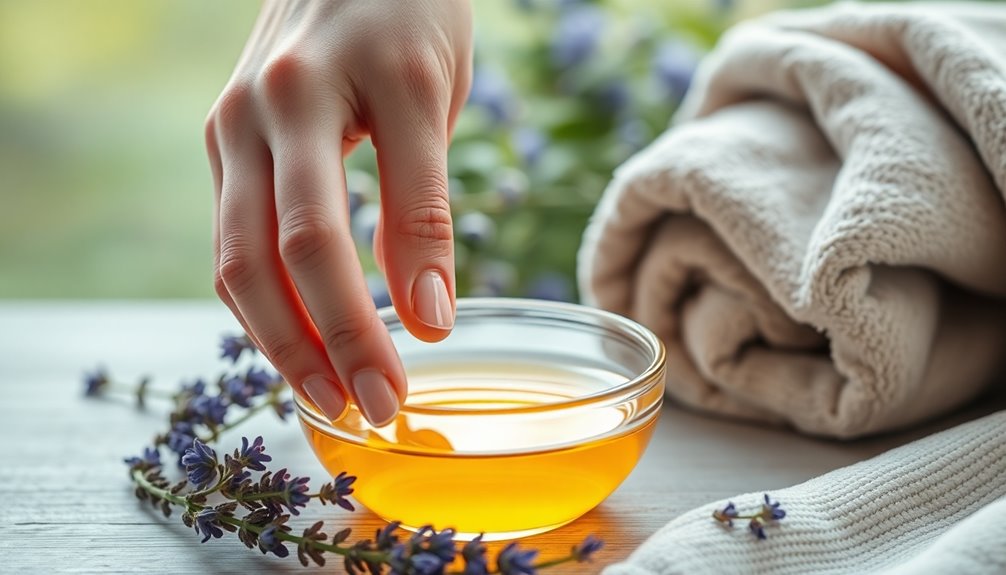
A deep soaking bowl is ideal as it guarantees your nails are completely covered, making the removal process more efficient. Remember to work in a well-ventilated area to manage the strong fumes associated with acetone. Additionally, consider using essential oils like lavender after the process to promote relaxation and soothe the skin.
Your nails will be ready for the next step!
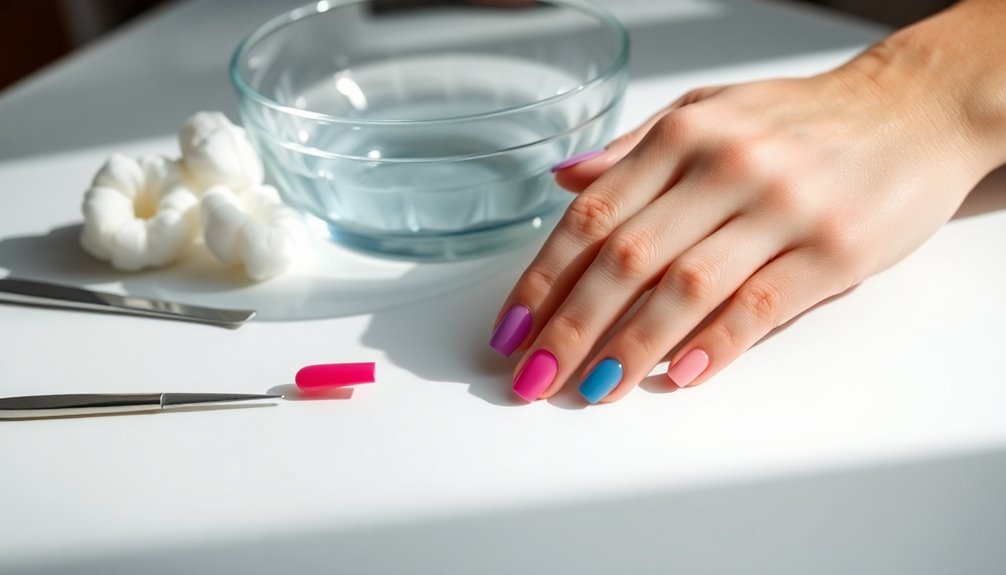
Step 3: Gently Push Off the Dip Powder
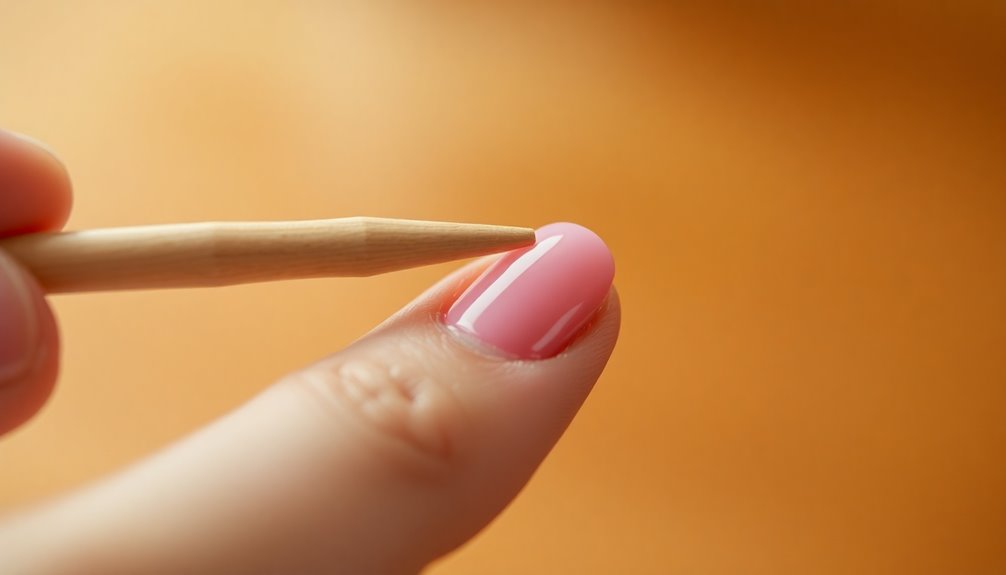
Now that your nails have soaked, it's time to gently push off the dip powder.
Use a metal pusher or orangewood stick, applying minimal pressure to protect your natural nails.
As you work, keep an eye on your nail health to guarantee you're not causing any damage. Regular cleaning and monitoring for infection can help ensure your nails remain healthy during the process.
Proper Tool Usage
To effectively remove dip powder, gently push it off using a metal pusher or orangewood stick, starting at the cuticle area.
Apply minimal pressure to protect your nail bed and avoid damage. Use a scraping motion to lift the softened dip powder off and work your way toward the tip of the nail.
If the dip powder doesn't flake off easily, return your nails to the acetone soak with a soaked cotton ball for a few more minutes.
Here are some tips for proper tool usage:
- Verify your metal pusher is clean to prevent infection.
- Apply controlled pressure while scraping off the dip powder.
- Always start at the cuticle for the best results. Additionally, consider enjoying a dessert like Dirt Cups as a fun reward after your nail care routine.
Gentle Pressure Application
Gently applying pressure is vital when pushing off dip powder to protect your nails. Start at the cuticle area and gently push towards the tip of the nail using a metal pusher or orangewood stick.
Remember, applying minimal pressure is important; excessive force can harm the nail bed and cause pain. If you encounter resistance, don't force it—re-soak your nails in acetone before trying again. This helps soften the dip nails, making the removal process smoother.
After pushing off the dip powder, check the nail surface for any remaining residue. Leftover product can weaken your natural nails over time, so verify everything is clean before moving on.
Individuals with Borderline Personality Disorder often experience intense emotional responses, which may lead to behaviors that require gentle handling, much like the care needed in nail removal.
Your nails will thank you for the gentle approach!
Inspect Nail Health
Inspecting your nail health after removing dip powder is essential for maintaining their integrity.
After you gently push off the dip powder, take a moment to evaluate your nails. Look for any signs that might indicate damage, such as:
- Discoloration: Any unusual color could signal issues beneath the surface.
- Brittleness: If your nails feel weak or snap easily, they may need some care.
- Product Residue: Confirm there's no leftover dip powder; if you spot any, soak your nails for another five minutes.
Be gentle while pushing, as excessive pressure can harm your natural nail bed.
Cleaning the cuticle area helps promote healthy growth and prevents product residue build-up, keeping your nails in top shape.
Step 4: Buff and Shape Your Nails
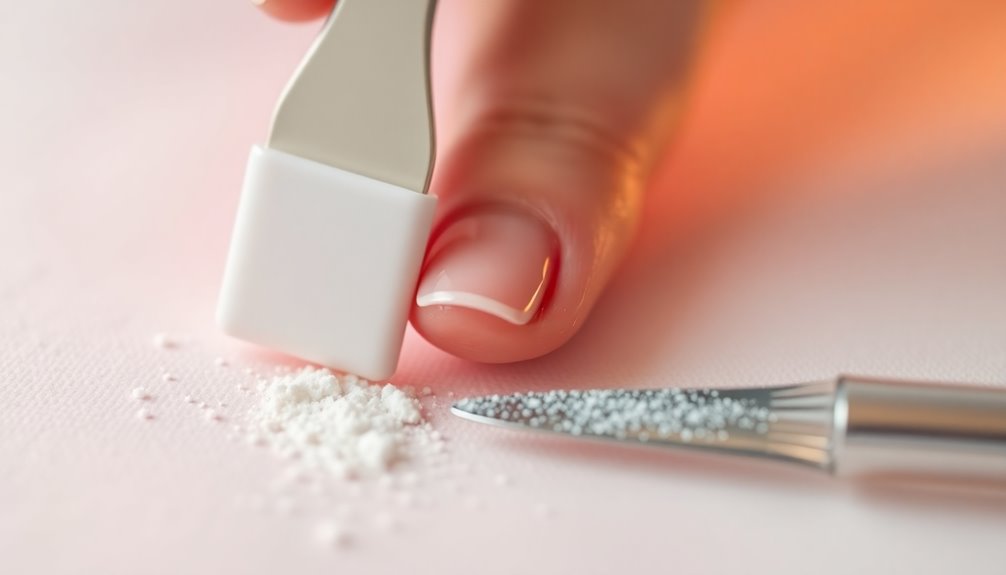
Once you've successfully removed the dip powder, it's important to buff and shape your nails for a smooth and polished finish.
Start by using a nail buffer to gently smooth out the nail surface, eliminating any rough patches or residue. Next, grab a fine-grit nail file to shape your nails into your desired look, ensuring you avoid jagged edges.
Keeping your nails short is wise, especially after removal, as it helps prevent breakage during this vulnerable phase. Regular buffing also promotes circulation and removes dead skin cells around the cuticle area, maintaining nail health.
Finally, consider applying a nail strengthener post-buffing to reinforce and protect your nails as they recover from the dip powder application.
Step 5: Hydrate and Care for Your Nails
To guarantee your nails recover properly after removing dip powder, it's vital to hydrate and care for them. The harsh effects of acetone can leave your nails and surrounding skin dry, so replenishing moisture is important.
Here's how you can take care of your nails post-removal:
- Apply Hand Creams: Use a rich, nourishing hand cream daily to maintain hydration and protect your skin.
- Use Cuticle Oil: Regularly applying a quality cuticle oil, like Happy Cuticle Co., promotes healthy nail growth and keeps cuticles moisturized.
- Incorporate a Nail Strengthener: A good nail strengthener helps restore the nail plate's integrity and prevents breakage.
Commit to these steps to guarantee your nails regain their strength and health after dip nail removal.
Aftercare Tips for Healthy Nails
While your nails recover from the removal of dip powder, prioritizing their aftercare is crucial for maintaining their health and strength. Follow these aftercare tips for healthy nails to support your recovery:
| Action | Benefit |
|---|---|
| Apply nourishing cuticle oil daily | Replenishes moisture and promotes growth |
| Use a quality hand cream | Maintains hydration for nails and skin |
| Incorporate a nail strengthener | Reinforces nail plate, prevents brittleness |
| Moisturize your nails regularly | Improves appearance, prevents peeling and breakage |
Allow a break of at least one week between dip powder applications to further aid recovery. By implementing these simple steps, you can guarantee your nails regain their liveliness and strength in no time.
Frequently Asked Questions
How Do You Remove Dipped Nails at Home?
To remove dipped nails at home, you'll want to start by trimming them down and buffing the top layer with a coarse file. This helps the acetone work better.
Next, soak cotton balls in pure acetone, place them on your nails, and wrap them with aluminum foil for about 10-20 minutes.
After soaking, gently scrape off the dip with a metal pusher, and if there's residue, re-soak for a few more minutes.
Don't forget to moisturize afterward!
How Do Salons Remove Dip Nails?
When you walk into a salon, it's like stepping into a well-oiled machine.
Salons tackle dip nails by first filing the top layer to let acetone work its magic. They wrap each finger in acetone-soaked cotton and aluminum foil, securing it tightly.
After 10 to 20 minutes, they gently scrape off the dip powder, ensuring your natural nails stay safe. Some even use e-files for a quicker, gentler removal process.
Why Is Dip Powder so Hard to Remove?
Dip powder's tough to remove because of its strong adhesive and layering technique.
Since it's designed to last three to five weeks, it hardens considerably, bonding tightly to your natural nails.
Unlike gel nails, which can be softened with specific removers, dip powders require acetone to break down effectively.
Many home remedies just won't work, making it essential to use the right approach for a successful removal process.
How Does Hot Water Remove Dip Nails?
Hot water enhances acetone's effectiveness by increasing its temperature, which helps it penetrate the dip powder more quickly.
When you soak your nails in hot water, it slightly softens the dip powder, reducing the soaking time needed.
The heat elevates acetone's temperature, accelerating the chemical reaction that breaks down the dip powder bond.
Just remember, acetone is essential, as hot water alone won't effectively dissolve the dip nails without it.
Conclusion
Removing dip nails might feel like a formidable task, but with the right tools and steps, you'll have them off in no time! Just remember to be gentle and patient—your nails deserve some TLC after all that color. Once you've completed the process, it's like watching a butterfly emerge from a cocoon; your nails will look fresh and ready to flourish again. So, treat them right and enjoy your beautifully rejuvenated nails!