To shape almond nails, start by trimming the free edge into a triangle. Use a 180 grit file to gently taper the sides towards the center for an elongated look. Keep your filing slow and minimal to maintain evenness. Don't forget to buff the top for a smooth finish. Once you're happy with the shape, you'll want to learn how to properly apply color and embellishments to enhance your stunning almond nails even further.
Key Takeaways
- Sanitize hands and gently push back cuticles to prepare for shaping the almond nails.
- Trim the nail tips into a triangular shape using straight clippers before filing.
- Use a 180 grit file to shape the sides, filing slowly towards the center for symmetry.
- Buff the top of the nail after achieving the almond shape for a refined finish.
- Regularly check for evenness and clean nails before applying any topcoat or enhancements.

GTPLAYER Big and Tall Office Chair Wide Ergonomic Gaming Chair with Deluxe Embossing Designed Leather with Foot Rest,150°Reclining Adjustable Soft Armrests Pocket Spring Back Support and Pillow
More Powerful Features: This office chair combines multiple features such as Deluxe Embossing Designed, Hugging Wingback Design,built-in lumbar...
As an affiliate, we earn on qualifying purchases.
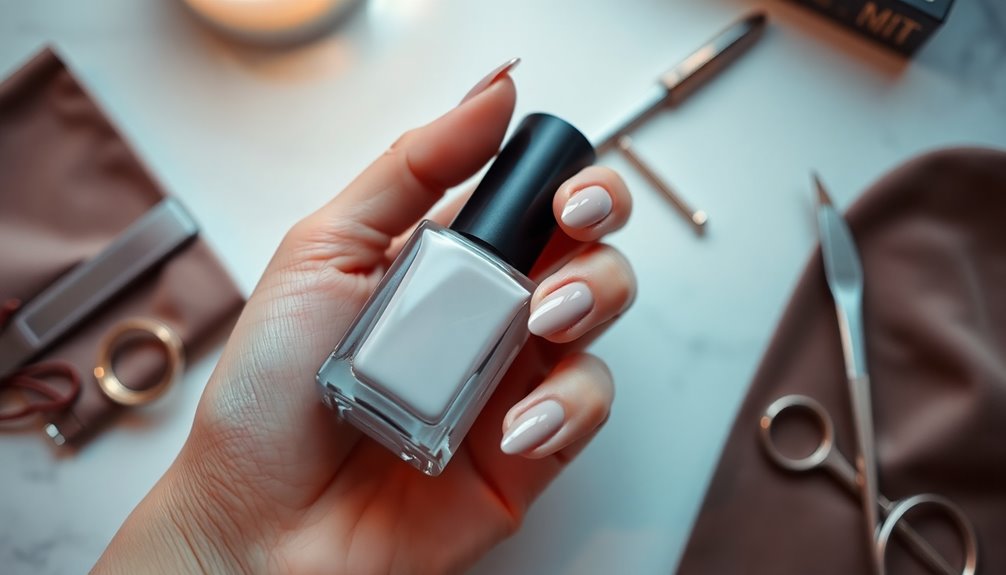
Understanding the Almond Nail Shape

Understanding the almond nail shape can elevate your nail game, as it combines elegance with a modern flair. This unique shape features a pointed free edge and slightly rounded sides, creating an elongated appearance that's both sophisticated and versatile.
To achieve the almond shape, start by trimming the free edge into a triangle and filing the sides towards the center. Use a 180 grit file for gel overlays or an emery board for natural nails to guarantee a smooth finish.
Remember to maintain minimal pressure while filing; this allows the file to do the work effectively and prevents unevenness. The almond shape not only enhances your nails but also opens up a world of creative nail design possibilities. Additionally, being mindful of user consent management can enhance your overall nail care experience by ensuring you have access to tailored products and advice.

Ergonomic Office Chair with Footrest - Adjustable Lumbar Support & Headrest, 90-160° Reclining Mesh Back Computer Chair - Home Office/Gaming, 350lbs Capacity
This is more than a chair; it's a personalized comfort zone for work, rest, and play. We've meticulously...
As an affiliate, we earn on qualifying purchases.
Preparation for Almond Nail Application

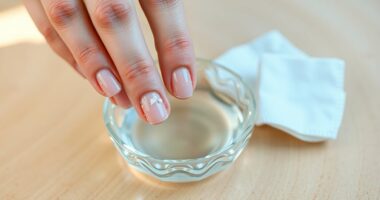
To achieve the perfect almond nail shape, preparation is essential. Start by thoroughly sanitizing both your hands and your client's hands to create a clean workspace.
Next, use a cuticle pusher to gently push back the cuticles, preparing the nail bed for artificial nail tips. Make sure to select an appropriate artificial nail tip and trim it to a shorter length for easier shaping.
Carefully cut the corners of the nail tip into an almond shape, which will minimize filing later on. Finally, prep the nail properly by filing the sides toward the middle. This step is vital to establish the almond shape before you move on to the dip powder application process. Incorporating natural nail health practices during this preparation can enhance the longevity of the almond shape.

GTPLAYER Gaming Chair, Computer Office Chair with Pocket Spring Cushion, Linkage Armrests and Footrest, High Back Ergonomic Computer Chair with Lumbar Support Task Chair with Footrest(Black)
【Reasons for Choosing GTPLAYER】:Experience unrivaled comfort and style with our gaming chair. Featuring a see-through butterfly embroidery design,...
As an affiliate, we earn on qualifying purchases.
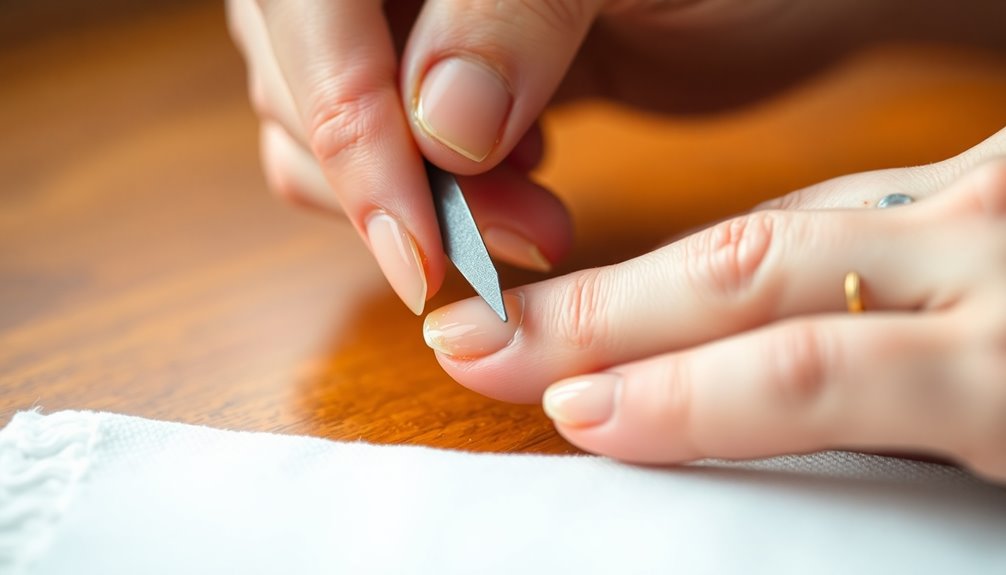
Filing Techniques for Almond Nails

Achieving the perfect almond nail shape requires precision in your filing techniques. Start by trimming the free edge into a triangle with straight clippers, ensuring the point is well-defined.
Then, follow these steps:
- Use a 180 grit file or emery board to gently curve each side towards the center point.
- File slowly from side to side, maintaining minimal pressure for an even shape.
- Buff the top of the nail once you've achieved the desired almond shape, prepping it for a smooth top coat. Remember to keep your nails clean and dry to prevent any infection risks during the filing process.

Respawn 110 Pro Ergonomic Gaming Chair with Footrest for Adults - Comfortable Office Gaming Recliner with Lumbar Support and Headrest, Racing Style Video Game Chairs for Computer Gamer - Gray Fabric
ENHANCED COMFORT FOR ANY SETUP: This ergonomic office chair features dual density foam, lumbar support, and a headrest....
As an affiliate, we earn on qualifying purchases.
Dip Powder Application Process

Before diving into the dip powder application process, it's important to prepare your nails properly for the best results.
Start by applying a base coat (number two) to the natural nail plate, ensuring proper adhesion and strength.
Next, dip your nail into the color powder at a 45-degree angle to avoid disturbing the base layer and achieve an even coat. After each dip, gently tap off excess powder for a clean finish.
Apply two coats of color powder for vibrancy, always encapsulating it with a clear dip powder layer to protect it.
Finally, use self-protect (number three) to activate and harden the dip powder layers, ensuring your nails have a sturdy free edge before moving on to shaping. Additionally, using high-quality materials in the dip powder process can enhance the overall durability and appearance of your nails, as well as promote eco-friendly and safe materials.
Finalizing the Almond Nail Shape

Now that you've shaped your almond nails, it's time to refine them further.
Focus on filing techniques to achieve precision, followed by buffing for a smooth finish. Additionally, consider applying pimple patches to target any blemishes that may distract from your overall look. Finally, let's discuss topcoat application tips to guarantee that your nails look flawless and last longer.
Filing Techniques for Precision
To finalize the almond nail shape, you'll want to focus on precision while filing. Start with a medium grit e-file and a domed safety bit to gently shape the sides of your natural nails towards the center.
Here are some key techniques to guarantee accuracy:
- Steady Hand: Maintain a steady hand and file slowly from side to side to avoid crooked lines.
- Minimal Filing: Perform minimal filing after applying dip powder layers to preserve the almond shape.
- Symmetrical Appearance: Regularly check for symmetry as you work, adjusting as needed.
Once you've achieved the desired shape, remember to clean the nail with a lint-free wipe and alcohol to remove any dust before applying the topcoat for a flawless finish. Additionally, ensuring color accuracy in your nail polish can enhance the overall look and complement your beautifully shaped nails.
Buffing for Smooth Finish
Achieving a smooth finish on your almond nails is crucial for a polished look, and buffing plays a significant role in this process.
After shaping your nails, grab a medium grit e-file with a domed safety bit. Gently buff the surface in one direction to prevent scratches or uneven surfaces.
Don't forget to lightly buff the edges and sides to maintain that perfect almond shape while enhancing your nails' appearance.
Once you're done, use a soft buffer to refine any rough spots and boost shine. Incorporating glycolic acid into your nail care routine can also help in maintaining smoother skin around your nails.
Finally, clean your nails with a lint-free wipe and some alcohol to remove any dust or debris. This prepares your nails for the next layer of polish, ensuring a flawless finish.
Topcoat Application Tips
Once you've perfected the shape of your almond nails, applying the topcoat becomes essential for locking in that sleek look. Follow these tips for a flawless finish:
- Activate the Topcoat: Add a silver touch to enhance the topcoat's effectiveness, ensuring ideal drying.
- Clean the Brush: Wipe off any excess self-protect to keep your topcoat brush clean and ready for future use.
- Apply Evenly: Use the dip essential topcoat (number four) with fast, even strokes. Allow the first layer to dry until it turns matte, indicating it's completely dry and ready for a second coat if desired.
Finally, finish by applying nourishing oil (number five) around your cuticles to hydrate and elevate the look of your almond nails. Incorporating cruelty-free products can not only enhance your nail care routine but also align with ethical beauty standards.
Topcoat Application and Finishing Touches
Applying the topcoat is an essential step in achieving a flawless almond nail look. Start by applying a silver touch to activate the topcoat, ensuring proper adhesion and drying of your nail surface.
As you work, wipe off any excess product from the brush to protect its condition and prevent contamination. Use the dip essential topcoat (number four) in smooth, even strokes for a glossy finish.
Once the first layer dries to a matte finish, you'll know it's ready for a second coat if desired.
Finally, don't forget to apply nourishing oil (number five) around your nails to hydrate the skin and elevate the overall appearance of your manicure. This finishing touch is your number one secret to a stunning almond nail look!
Personalizing Your Almond Nails
While personalizing your almond nails, you can truly express your unique style through various colors and designs. Here are some ideas to get you started:
- Experiment with Colors: Try vibrant hues, pastels, or even a classic French tip to complement the almond shape.
- Add Embellishments: Use rhinestones or nail stickers to enhance elegance—just a little bit can make a big impact.
- Play with Finishes: Mix matte and glossy topcoats to create contrast that highlights the graceful curves of your nails.
Don't forget to reflect on different lengths that suit your lifestyle.
Longer nails emphasize the almond shape, while shorter ones can be practical.
Finally, nourish your nails to maintain their integrity and shine! Additionally, remember that high-quality content can inspire your nail art choices and keep your designs fresh and trendy.
Frequently Asked Questions
How Long Do Nails Need to Be to Have an Almond Shape?
To achieve an almond shape, your nails need to be at least 1/8 inch long beyond your fingertip.
Ideally, you should aim for 1/4 inch to create that visually appealing taper. If your nails are too short, they won't have the characteristic pointy tip, so you'll need to let them grow out.
If you have naturally short nails, consider using artificial tips to reach the desired length and shape.
What Is the Classiest Nail Shape?
If you're looking for the classiest nail shape, almond nails are often the top choice. Their elegant, elongated design mimics the shape of an almond, giving your hands a sophisticated look.
This shape suits various hand sizes and finger lengths, making it perfect for any occasion. Plus, almond nails create an illusion of length and slenderness, enhancing your overall appearance.
You'll find they also pair beautifully with intricate nail art and designs.
Are Almond Shaped Nails Flattering?
Did you know that 78% of people find almond-shaped nails the most elegant?
When you choose almond nails, you're opting for a flattering look that enhances your hands and fingers. This shape creates an illusion of longer fingers, making it perfect for anyone wanting to add a touch of sophistication.
Plus, almond nails adapt beautifully to various nail art designs, allowing you to express your creativity while maintaining that chic appearance.
How to Maintain Almond Shape Nails?
To maintain your almond-shaped nails, regularly file the sides towards the center using a fine grit file.
You'll want to use gentle strokes to avoid damage. Schedule manicures every 2-3 weeks to keep the shape fresh and manage growth.
Don't forget to apply nourishing oil around your nails to keep the skin hydrated.
Finally, be mindful of activities that might cause trauma, ensuring your almond shape stays intact.
Conclusion
To sum up, shaping almond nails not only enhances your style but also boosts your confidence. Did you know that 70% of people feel more put-together with well-groomed nails? By following the right techniques and applying your favorite colors or designs, you can truly make your almond nails stand out. Remember, it's all about practice and personal flair. So, grab your tools and start creating those stunning almond shapes that showcase your unique personality!