To create a Moroccan tile look on a budget, choose an intricate stencil with symmetrical patterns and prepare your surface with thorough cleaning, repairing, and priming. Use high-quality latex or acrylic paints and apply with brush or sponge for crisp results. Seal your design with a clear protective coating, and add contrasting colors for depth. With the right techniques, you can easily transform your space into stunning Moroccan-inspired decor—learn more to master the process!
Key Takeaways
- Choose affordable, reusable Moroccan stencil patterns and apply them to your floor or backsplash for an authentic look.
- Prepare surfaces thoroughly with cleaning, repair, and primer to ensure smooth, long-lasting results on a budget.
- Use high-quality latex or acrylic paints in bold or contrasting colors for vibrant, cost-effective tile effects.
- Apply stencils with foam brushes or sponges in thin layers, and seal with a clear protective coat to extend durability.
- Opt for DIY techniques like masking tape for pattern outlines and simple tools to reduce costs while achieving professional-style results.
Top picks for "stencil floor backsplash"
Open Amazon search results for this keyword.
As an affiliate, we earn on qualifying purchases.
Choosing the Perfect Moroccan Stencil for Your Space

When choosing the perfect Moroccan stencil for your space, it’s important to contemplate the size and style of the pattern. A Moroccan stencil features intricate tile patterns with symmetrical motifs like quatrefoil, star, or trellis shapes, often measuring between 12×12 inches and 24×24 inches for versatility. Consider your area’s dimensions: larger patterns make a bold statement, while smaller motifs give a subtle, classic look. Use durable mylar stencils for longevity, especially in high-traffic spots like floors or backsplashes. Popular Moroccan stencil designs include Zahara Moroccan, Marrakech Trellis, and Casablanca, each offering unique traditional design elements. Whether you opt for custom sizes or standard patterns, selecting the right stencil size and style guarantees your project reflects authentic Moroccan charm. Additionally, understanding the contrast ratio of your chosen stencil material can enhance the overall visual impact of your stencil work. Selecting a stencil with an appropriate pattern complexity can also influence the ease of application and the final aesthetic. Incorporating design consistency across your project helps maintain a cohesive and professional look. Moreover, considering zoning regulations and property restrictions ensures your decorative updates comply with local laws and avoid potential issues. Being aware of the self-understanding benefits can also inspire you to approach your project with mindfulness and personal insight, creating a space that truly resonates with your style.
Preparing Your Surface for a Flawless Finish
To achieve a flawless finish, start by thoroughly cleaning your surface to remove dust, grease, and debris, ensuring the paint will adhere properly. Proper surface preparation is essential. Repair any cracks or imperfections with filler, then sand smooth to create an even base. Applying a high-quality primer like Stix helps seal porous surfaces and promotes better adhesion. After priming, let it dry completely—usually 1-2 hours—before moving on. For ideal results, lightly sand the primed surface to enhance paint adherence and achieve a professional look. Use this table to guide your prep process:
| Step | Key Action |
|---|---|
| Cleaning | Remove dust, grease, debris |
| Repair & Sanding | Fix cracks, smooth uneven areas |
| Priming | Apply primer evenly, let dry |
| Final Sanding | Lightly sand for smooth surface |
Surface Preparation is a crucial step that lays the groundwork for a stunning stenciled finish. Ensuring your surface is properly cleaned and repaired can significantly impact the durability and appearance of your project. Incorporating the right protective styling techniques, such as using crochet tools for locs, can help maintain your design and prevent damage during the painting process. Moreover, understanding the importance of regular cleaning can help preserve your finished work by preventing dirt buildup and damage over time.
Selecting the Right Paint and Tools for Stenciling
Choosing the right paint and tools is essential for a professional-looking stencil. You’ll want durable, high-quality paints like latex or acrylic, along with brushes and rollers suited to your design’s size and detail. Using the proper tools and paints guarantees your project stays vibrant and intact over time. Additionally, selecting paints that are suitable for high-moisture areas can help ensure longevity, especially in kitchens or bathrooms. Water-resistant paint can be especially beneficial for backsplash projects.
Choosing the Best Paints
Ever wonder which paints work best for stenciling floors or backsplashes? For a durable, vibrant design, choose high-quality latex or acrylic paint formulated for interior and exterior use. These paints provide excellent adhesion and resist wear over time. Opt for a matte or eggshell finish instead of gloss, as they make blending easier and reduce reflections that can obscure your stencil details. Use foam or stencil brushes to apply paint in light, even layers, which helps prevent bleeding and ensures crisp lines. Avoid oil-based paints—they’re harder to work with and can damage your stencil. Additionally, selecting paints with VOC compliance can improve indoor air quality and safety during application. Being aware of paint durability ensures your design withstands daily wear and tear. Proper surface preparation is also crucial for achieving the best results and longevity of your stenciled design. Using a primer can further enhance paint adhesion and surface sealing. Once you finish, seal your work with a clear, water-based polyurethane or sealant to protect the design from moisture and daily wear.
Essential Stenciling Tools
Selecting the right tools is key to achieving a professional-looking stencil project. Start with quality stenciling tools like paint brushes, foam rollers, or project sponges for crisp edges and even coverage. Use high-quality latex or chalk paint for vibrant, durable finishes that stick well to surfaces like tile, wood, or cement. Applying a primer such as Stix primer beforehand boosts paint adhesion, preventing peeling or chipping over time. Once you complete your stencil, protect your design with a sealant like water-based polyurethane or floor lacquer, which guards against wear and moisture. Durable stencils made from 10 mil mylar are ideal for detailed, reusable patterns. With the right combination of tools and materials, you’ll achieve a flawless Moroccan tile look on a budget.
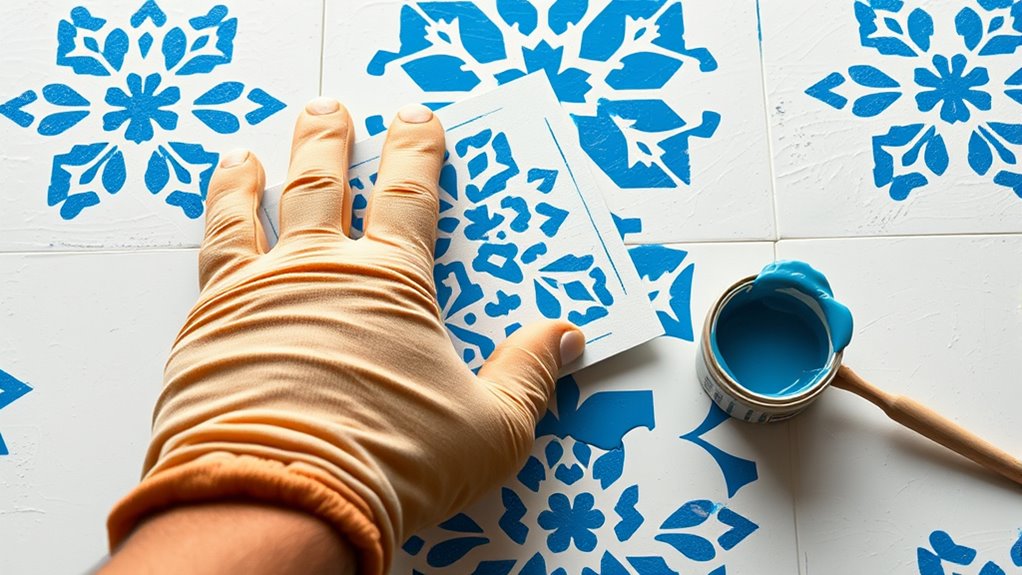
Step-by-Step Guide to Applying the Stencil
To start applying your stencil, first guarantee the surface is thoroughly cleaned and primed. This ensures the stencil sticks well and that the paint bonds smoothly, giving your floor or backsplash a crisp, professional look. Position the stencil carefully, securing it with painter’s tape to prevent shifting as you paint. Use a stencil brush or foam roller to apply paint, dabbing lightly and evenly to avoid bleeding under the design. Apply multiple thin coats, letting each dry completely before adding the next, which results in vibrant, sharp patterns. Once the paint is dry, gently remove the stencil to reveal your Moroccan tile-inspired design. Proper surface preparation maximizes your tan space and ensures the longevity of your painted design. Finally, seal your work with a clear topcoat to protect the painted design and keep it looking fresh.
Creating a Realistic Faux Brick or Tile Effect

Start by using painter’s tape and a level to mark straight lines that mimic the joints of bricks or tiles. This creates a realistic layout for your faux brick or tile effect. Next, apply a base coat of paint that matches the color of the tile or brick you want to imitate, ensuring even coverage. Position your tile stencil securely with painter’s tape, then use a stippling or dabbing technique with a small brush or sponge to apply paint, avoiding drips. Overlap the stencil edges slightly to mimic natural joints and create a seamless appearance. For added realism, consider these tips:
- Choose a tile stencil pattern that resembles authentic layouts
- Use contrasting shades for depth and dimension
- Vary stencil placement for a more natural look
- Focus on consistent, gentle dabbing motions
- Seal with a clear topcoat for durability
- Incorporate stenciling techniques to achieve a more professional and realistic finish. Additionally, experimenting with color blending can help enhance the depth and authenticity of your faux tiles or bricks. Using proper material selection, such as high-quality paints and durable sealants, can also improve the longevity and appearance of your project. Paying attention to the Hyundai Tuning options that suit your style can inspire creative choices in your design process.
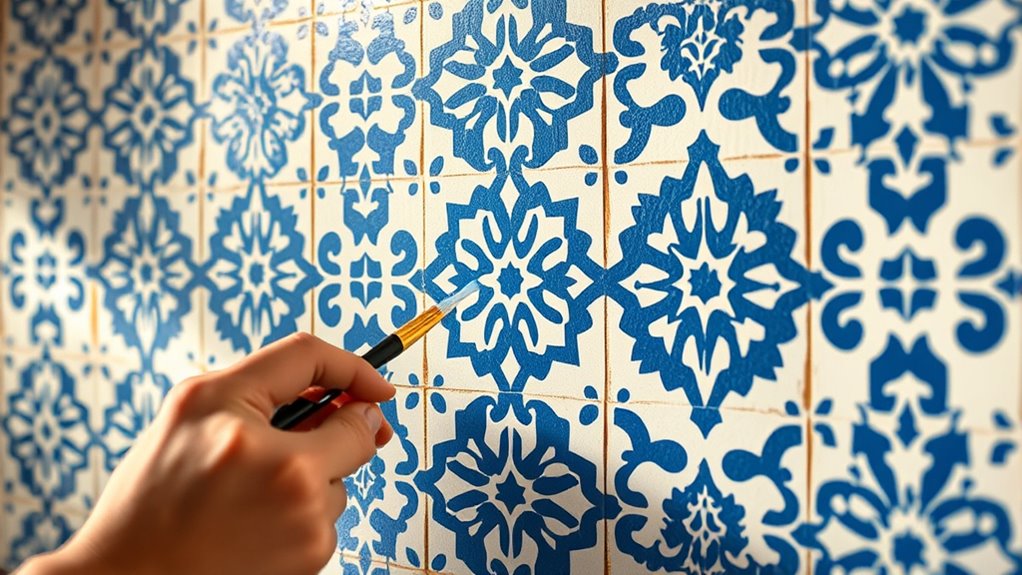
Tips for Achieving Crisp, Clean Lines and Patterns

Achieving crisp, clean lines and patterns in your stenciling project hinges on proper surface preparation and careful technique. Start by applying an adhesive primer, like Stix, to your surface to prevent paint bleed and keep edges sharp. Use high-quality, 10 mil mylar stencils with connected edges to ensure a precise pattern and continuous design. When applying paint, choose small, dense brushes or foam rollers, and use minimal paint to avoid excess that can cause smudging. Carefully remove the stencil while the paint is still slightly tacky to maintain clean edges and prevent smudging. For lasting results, seal your finished design with a clear, matte or semi-gloss lacquer, which helps preserve your crisp lines and pattern integrity over time. Additionally, selecting durable paint types that are designed for stenciling can significantly enhance the longevity and appearance of your design. To further ensure sharp, professional-looking results, consider proper surface preparation techniques that promote paint adhesion and prevent bleeding.
Sealing and Protecting Your Stenciled Floor or Backsplash

Sealing your stenciled floor or backsplash is crucial for protecting your design from damage and daily wear. Applying a clear, water-based polyurethane sealant creates a durable barrier that guards against scratches, moisture, and fading. Multiple coats, with drying time in between, greatly boost the finish’s longevity and resilience. Choose a matte or satin sealant for a natural look that minimizes glare, or opt for high-gloss for a polished appearance. Proper sealing is especially essential in outdoor or high-traffic areas to prevent chipping and fading over time. A well-applied sealant not only enhances durability but also simplifies cleaning and maintenance, helping your project stay beautiful for years. Proper sealing also helps maintain the integrity of your stencil design over time. Using the right sealant application techniques ensures an even coating and prevents bubbles or streaks that could compromise the appearance.
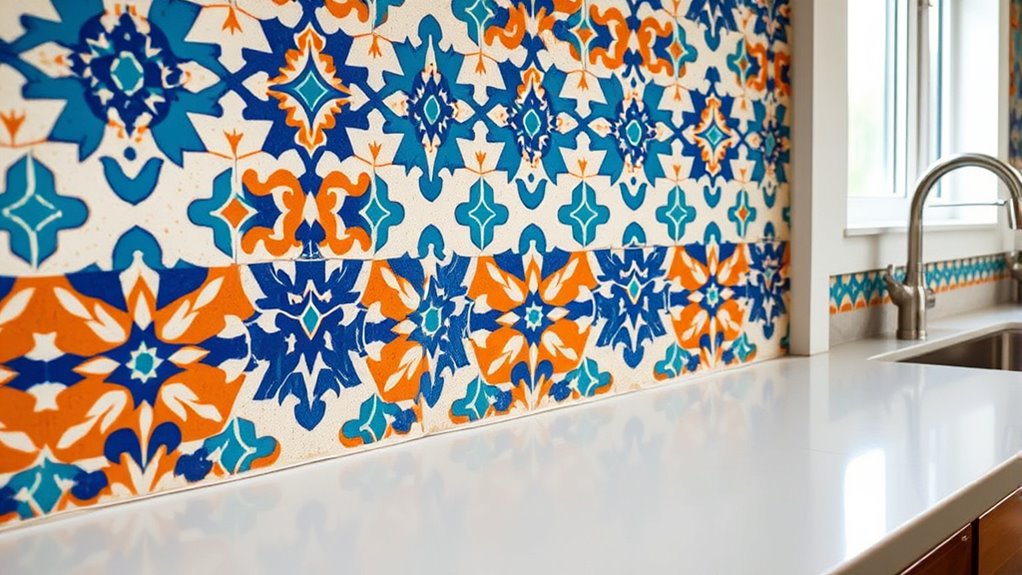
Creative Ways to Incorporate Color and Contrast
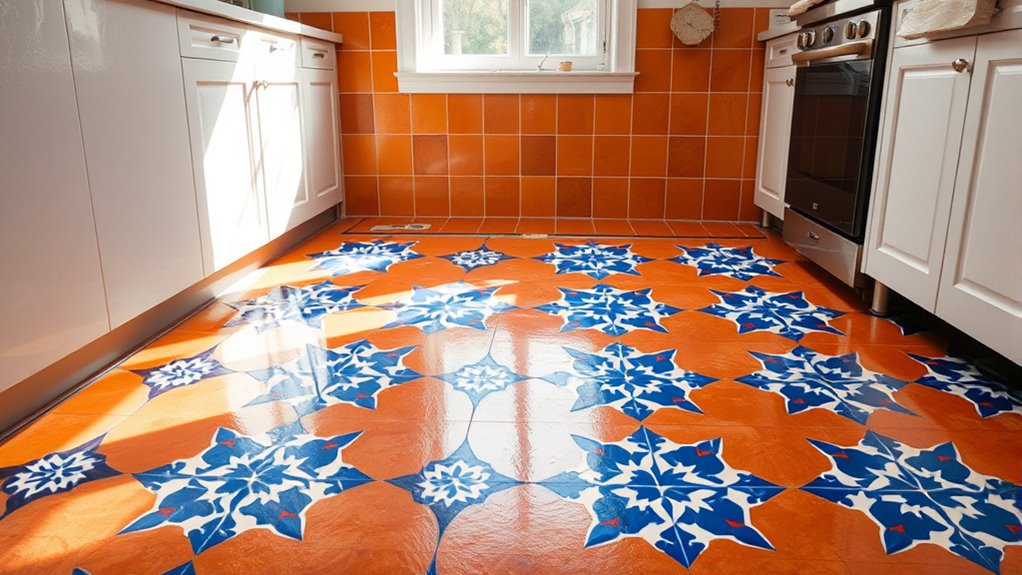
Adding vibrant colors and bold contrasts can truly transform your stenciled floor or backsplash into a stunning focal point. To achieve this, use bold colors like deep blue or vibrant reds to make your Moroccan tile stencil pop and create striking contrast. Incorporate layered stencils with contrasting paint shades to mimic vintage Moroccan tiles and highlight intricate details. Use black or dark borders around your patterns to define shapes and add visual interest against lighter backgrounds. Experiment with color combinations such as turquoise and orange or navy and gold to add vibrancy and depth. Mixing these bold colors and contrasts not only enhances the overall design but also adds a sense of richness and sophistication, giving your space a unique, eye-catching Moroccan tile look on a budget.
Inspiring Before and After Transformations

Many homeowners have transformed dull, outdated floors into stunning Moroccan tile-inspired masterpieces using simple stenciling techniques. The dramatic before-and-after photos showcase how stenciled floors can elevate your space without breaking the bank. With bold colors and Moroccan-inspired designs, you can achieve a high-end look through DIY flooring projects that rival professional renovations. Successful projects often include sealing the surface with polyurethane or lacquer to ensure durability and lasting beauty. These transformations not only boost your home’s style but also increase its curb appeal and value. Whether updating a kitchen, porch, or bathroom, you’ll find that a budget renovation using stencils can produce remarkable results. Here are some inspiring highlights:
Transform dull floors into stunning Moroccan-inspired masterpieces with simple stenciling and bold colors.
- Vibrant color combinations
- Professional-looking patterns
- Cost-effective transformation
- Increased interior charm
- Visitor compliments
Maintaining Your DIY Stenciled Surface for Long-Lasting Beauty

To keep your stenciled surface looking great, you need to focus on proper maintenance and sealing techniques. Regular cleaning with gentle tools and applying a protective sealant will help prevent damage and wear. By taking these steps, you’ll assure your design stays vibrant and lasts for years to come.
Proper Surface Maintenance
Maintaining the beauty of your stenciled surface requires regular care to keep it looking fresh and vibrant. Proper surface preparation before painting ensures maximum adhesion and longevity. After stenciling, applying a quality primer like Stix creates a smooth, durable base that prevents staining or bleeding. Once finished, sealing the design with a water-based polyurethane or floor lacquer protects against moisture, wear, and UV damage. To preserve your work, perform gentle cleaning using non-abrasive cleaners, avoiding harsh chemicals that could damage the finish. Regular maintenance includes reapplying a clear sealant every 1-2 years, especially in high-traffic or outdoor areas. This ongoing care ensures your Moroccan tile look remains stunning and durable over time.
- Surface preparation and sanding
- Applying a high-quality primer
- Sealing with protective sealant
- Gentle cleaning practices
- Periodic re-sealing for longevity
Sealing Techniques and Tips
Applying a clear water-based polyurethane sealant is essential for protecting your stenciled surface from moisture, scratches, and daily wear. Choose a polyurethane with a matte or semi-gloss finish to reduce glare and emphasize your stencil details. To achieve the best results, apply multiple thin coats of sealant, allowing proper drying time—usually 2-4 hours—between each layer. Guarantee the paint has fully cured, waiting at least 24-48 hours before sealing. Proper sealing not only enhances durability but also preserves vibrant colors and crisp designs. Regular maintenance involves gentle cleaning and resealing every 1-2 years, keeping your project looking fresh and stunning. Following these sealing techniques will ensure your DIY Moroccan tile look remains beautiful for years to come.
Regular Care and Cleaning
Once you’ve sealed your stenciled surface, caring for it properly will keep it looking vibrant and fresh for years to come. Regular cleaning with a soft cloth and mild soap prevents dirt buildup without damaging the paint. Avoid abrasive cleaners or scrubbers that can chip or wear down your design. The sealant you applied acts as a protective barrier, so maintenance is simple—just wipe spills promptly to prevent staining or discoloration. For ongoing preservation, consider these tips:
- Use gentle cleaning solutions on your stenciled surface
- Avoid harsh chemicals that can degrade the sealant
- Regularly inspect for chips or wear, and touch up as needed
- Reapply a clear, durable sealant periodically for extra protection
- Keep spills cleaned immediately to maintain vibrant colors
Proper care ensures your Moroccan tile look stays stunning for years.
Frequently Asked Questions
Can You Stencil Floor Tiles?
You can definitely stencil over existing floor tiles if the surface is clean, smooth, and well-prepared. Use high-quality, durable stencils with Moroccan or geometric patterns and apply the paint carefully. Make sure to prime the surface with Stix primer for better adhesion and seal the finished design with a clear lacquer for durability. This DIY approach saves money and gives your floor a fresh, stylish look without costly tile replacement.
Where to Start When Stenciling a Floor?
Starting your stenciling project is like planting a seed—you need a solid foundation. Begin by thoroughly cleaning and repairing the surface to guarantee it’s dust-free and smooth. Measure carefully to plan your design, then secure the stencil with painter’s tape to prevent shifting. Applying primer and testing on a small area helps you perfect your technique, so your project grows beautifully without costly mistakes.
How to Paint a Pattern on Floor Tiles?
You start by thoroughly cleaning and drying your tiles, then applying a primer like Stix for better paint adhesion. Mask off areas you want to keep free using painter’s tape. Secure your stencil with tape or adhesive, then use a stencil brush or roller to dab latex paint onto the pattern. Apply several thin coats, letting each dry completely, and finish with a clear polyurethane to protect your work.
Do Floor Stencils Last?
You might wonder if your stenciled floor will survive a hurricane of foot traffic and spills. With proper care, high-quality paints, and sealing, your stencils can last a staggering 3 to 5 years or more! Regular cleaning and resealing keep them looking fresh, preventing fading or peeling. So, yes, with the right maintenance, your beautiful design can stand strong through years of everyday life.
Conclusion
By choosing the right stencil and materials, you can achieve a stunning Moroccan look without breaking the bank. With patience and creativity, your DIY project can rival professional finishes, proving that budget-friendly upgrades are truly possible. Remarkably, studies suggest that engaging in hands-on home improvement can boost your mood and sense of accomplishment, making your space not just beautiful but also emotionally rewarding. So, go ahead—transform your space and enjoy the process!