
To keep your projector bright and dust-free, regularly clean the lens with a soft cloth and check filters and vents for dust buildup. Position it in a clean, well-ventilated space away from dust-prone areas, and schedule filter and lamp replacements as needed. Adjust your display settings and manage ambient lighting for best visuals. Continuing with effective maintenance helps guarantee your projector stays in top shape—discover more tips to optimize performance.
Key Takeaways
- Regularly clean the projector lens, filters, and vents to prevent dust buildup and maintain optimal brightness.
- Replace filters and lamps according to manufacturer guidelines to ensure efficient airflow and consistent image quality.
- Position the projector in a dust-free environment, away from open windows, kitchens, and areas prone to debris.
- Calibrate display settings and manage ambient light to enhance brightness and reduce washout effects.
- Schedule routine maintenance, including cleaning filters every 3-6 months and inspecting internal components for dust.

MagicFiber Microfiber Cleaning Cloth, 6 Pack – Premium Cloth for Glasses, Lens, Screens & More
Glasses cleaner – Sourced from the highest quality microfiber that absorbs and removes dust, oil, smudges, fingerprints, dirt,…
As an affiliate, we earn on qualifying purchases.
As an affiliate, we earn on qualifying purchases.
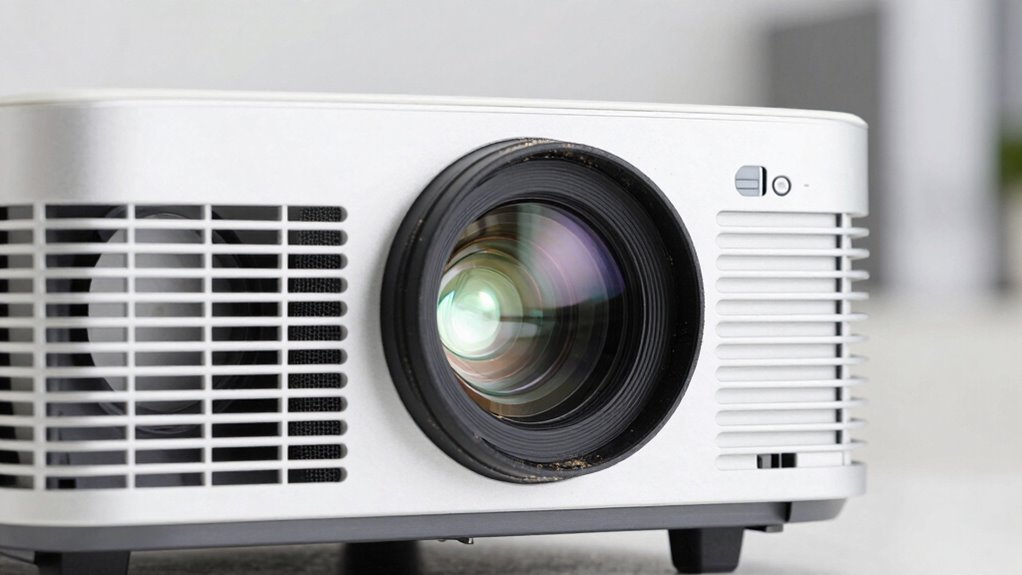
What Causes Brightness Loss and Dust Buildup in Projectors?
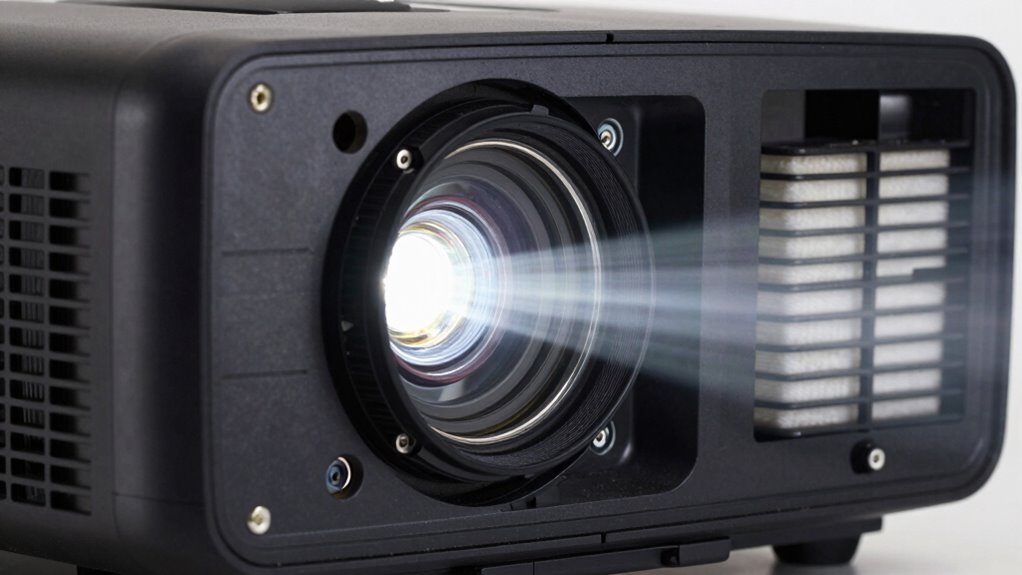
Brightness loss and dust buildup in projectors often happen because of accumulated dust inside the device and aging components. Over time, dust can clog filters, reducing airflow and causing the cooling system to work harder. When filters are neglected, dust settles on internal parts, blocking light paths and diminishing image brightness. Regular filter maintenance helps prevent dust from settling inside the projector, ensuring proper airflow and cooling. A well-maintained cooling system keeps internal temperatures stable, protecting components from overheating. Additionally, proper maintenance practices are essential for extending the lifespan of your projector and maintaining optimal performance. By keeping filters clean and ensuring your cooling system functions properly, you minimize dust buildup and prolong your projector’s lifespan, maintaining ideal brightness and performance. Incorporating dust prevention methods can further help reduce internal contamination and keep your projector functioning at its best. Implementing preventative measures such as using air purifiers or keeping the projector in dust-free environments can significantly contribute to maintaining brightness levels, especially when combined with effective cleaning routines.

Litance ELPAF32 Replacement Projector Air Filter for Epson V13H134A32 PowerLite Home Cinema 1060 2040 2030 1040 880 VS240 VS230 VS330 660 730HD 2045 VS260 VS220 740HD 760HD EB-S41 V210 640 500 Filter
Litance Replacement Projector Air Filter for Epson: ELPAF32 / V13H134A32
As an affiliate, we earn on qualifying purchases.
As an affiliate, we earn on qualifying purchases.
How to Identify If Your Projector Needs Cleaning or Maintenance

If your projector’s image looks fuzzy or faded, it might be time for a cleaning. Unusual noises during operation can also signal internal issues needing attention. Keep an eye out for these signs to make certain your projector stays in top condition. Regular maintenance can help prevent damage and extend the lifespan of your device. Additionally, paying attention to color accuracy and contrast ratios can help ensure your projector continues delivering high-quality images. To maintain optimal performance, consider also monitoring air quality around your device, as dust and pollutants can impact its internal components and overall function. Incorporating navigation and mapping techniques into your cleaning routine can help identify hard-to-reach areas where dust may accumulate. Monitoring internal components such as filters and fans can further help in maintaining peak brightness and image clarity.
Signs of Image Deterioration
Are you noticing that your projected image isn’t as clear or vibrant as it used to be? This could be a sign of image deterioration. First, check if your projector requires recalibration—misaligned settings can cause blurry or distorted images. Next, observe the overall brightness; if the image appears dimmer despite a fresh bulb, it might be nearing the end of its bulb lifespan. Color accuracy is another indicator—faded or off-color images suggest dust buildup or lens issues. Keep an eye out for uneven lighting or dark spots, which often point to dirty filters or internal dust affecting image quality. Regularly inspecting these signs helps you catch problems early, ensuring your projector remains sharp, bright, and ready for use. Incorporating simple maintenance routines and understanding projector components can extend your projector’s lifespan and maintain optimal image quality. Additionally, understanding the importance of regular cleaning can prevent dust accumulation that compromises image clarity.
Unusual Projector Noises
Noticing strange noises from your projector can be a clear sign that it needs cleaning or maintenance. A loud or unusual projector sound often indicates dust buildup or worn-out parts, especially fans or vents struggling to operate smoothly. If you hear grinding, buzzing, or rattling noises, it’s time to check for dust accumulation and perform noise reduction measures. Regular cleaning of filters and vents can help minimize these sounds and prevent overheating. Ignoring these noises may lead to more serious issues, like overheating or component failure. Staying attentive to any changes in your projector’s noise level or quality is essential for proper maintenance, which can be informed by understanding personality assessment tools and their reliability. Addressing these issues early ensures your projector runs quietly and efficiently, prolonging its lifespan and maintaining excellent image brightness. Additionally, consulting manufacturer guidelines can provide specific instructions for safe cleaning and upkeep. Ensuring proper dust management can significantly reduce the frequency of noise issues and extend the lifespan of your projector. Incorporating routine inspection and cleaning can further help catch potential problems before they escalate.

Projector Dust Cover,Fit for Ceiling Mounted Projector and Universa Projector Waterproof,Dust-Proof, UV-Resistant Cover Oxford Cloth,Dimensions13.7" x 13.7" X 8.6"
Projector dust cover: Protect the projector surface from damage. Keep the projector clean and prevent it from being…
As an affiliate, we earn on qualifying purchases.
As an affiliate, we earn on qualifying purchases.
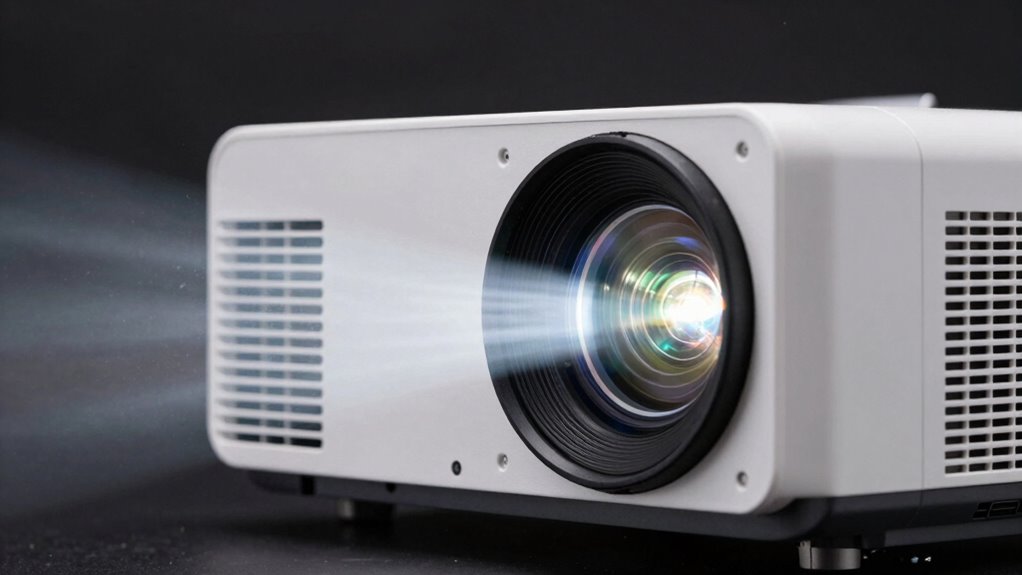
Keep Your Projector Lens and Vents Clean for Bright Images
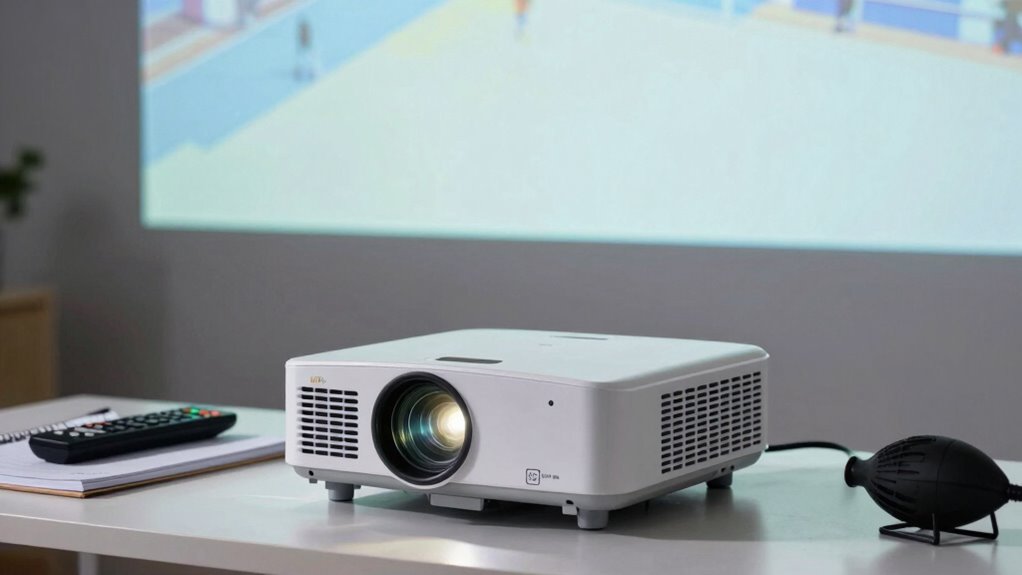
Keeping your projector lens and vents clean is essential for maintaining bright, sharp images. Regular lens cleaning removes dust, smudges, and fingerprints that can dull picture quality. Use a soft, lint-free cloth or a specialized lens cleaning solution for best results, and avoid harsh abrasives. Vent maintenance is equally important; dust buildup in vents can cause overheating, reducing brightness and potentially damaging the projector. Gently vacuum or blow out vents periodically to prevent dust accumulation. Ensure the lens is free of debris before each use to preserve image clarity. Additionally, using proper cleaning techniques helps prevent damage to sensitive components and ensures optimal performance. Regular maintenance can also help in controlling dust buildup, which is crucial for the longevity of your projector. Incorporating simple tools like a dust blower or vacuum can make vent cleaning more effective and easier to perform. Being mindful of filter replacement further supports proper airflow and prevents dust from circulating inside the device. By staying on top of lens cleaning and vent maintenance, you help your projector operate at maximum brightness, extend its lifespan, and enjoy consistently clear, vibrant images.
projector maintenance toolkit
As an affiliate, we earn on qualifying purchases.
As an affiliate, we earn on qualifying purchases.
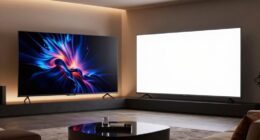
Adjust Screen Settings and Choose the Right Environment
To guarantee your projected images are bright and clear, you need to optimize both your screen settings and the environment where you’re using the projector. Start by calibrating your screen properly; adjust contrast, brightness, and color settings to match your space. Proper screen calibration ensures your images are sharp and vibrant. Equally important is managing ambient lighting; too much light washes out the projection, so dim the room or block out windows when possible. Keep ambient lighting in check to maximize contrast and clarity. Additionally, use the projector’s menu to fine-tune display settings for your specific environment. Being aware of ambient light control can significantly improve your viewing quality. Incorporating at‑home tech solutions like dimmable smart lighting can further enhance your experience. Utilizing lifestyle products designed for home entertainment can help optimize your setup for the best image quality. By balancing screen calibration with suitable ambient lighting, you’ll achieve brighter images and a more enjoyable viewing experience. Paying attention to screen calibration ensures your projector performs optimally in your space.
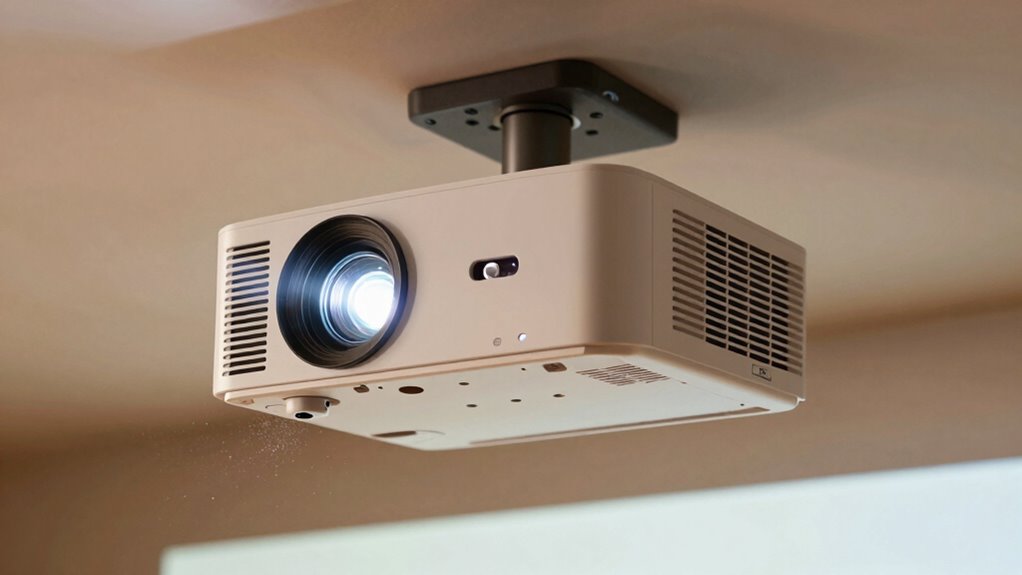
How to Prevent Dust in Your Projector With Proper Placement
Ensuring your projector stays free of dust begins with choosing the right placement. Position it where airflow is unobstructed, and avoid areas with high dust levels. Pay attention to the projection angle—keep it as level as possible to prevent dust from settling in vents. Also, consider ambient lighting; setting up your projector away from excessive light sources reduces the need for brightness adjustments that can attract dust. To maintain a clean setup:
- Place the projector on a stable, elevated surface.
- Keep it away from open windows or vents.
- Ensure the ventilation is unobstructed.
- Avoid direct exposure to dust-prone areas like kitchens or workshops. Regularly inspecting and cleaning filters can also prevent dust buildup and extend your projector’s lifespan. Proper placement minimizes dust accumulation and keeps your projector running smoothly, especially when combined with connected equipment that can alert you to potential issues.
When and How to Replace Filters and Lamps
Knowing when your projector needs new filters or lamps is key to maintaining performance. Look for signs like dim images or increased noise, and follow proper replacement steps to prevent damage. Setting a regular maintenance schedule helps ensure your projector stays in top shape.
Recognizing Replacement Signs
Have you noticed your projector’s image quality declining or the lamp warning light blinking unexpectedly? These are clear signs you might need to replace filters or the lamp. To stay proactive, watch for:
- Reduced brightness or fuzzy images, indicating lamp age or dirt buildup.
- Visible dust or debris on the lens, requiring lens cleaning.
- Excessive heat or noise, signaling filter replacement is overdue.
- Persistent warning lights or error messages, confirming it’s time for a swap.
Regularly inspecting these signs helps maintain peak performance. If images are dim or blurry, check for dust and clean the lens. When filters appear dirty or clogged, replace them promptly to prevent overheating. Recognizing these signs ensures your projector stays bright and dust-free.
Proper Replacement Procedures
When you notice signs like dim images, persistent warning lights, or unusual noises, it’s time to replace your projector’s filters or lamp. Before starting, turn off the projector and unplug it from the power supply to prevent electrical shock. Use the remote control or manually open the access panel to reach the filter or lamp compartment. Carefully remove the old filter or lamp, avoiding contact with the glass or delicate components. Handle new filters or lamps with gloves or a clean cloth to prevent dust or fingerprints. Install the replacement securely, ensuring it’s properly seated. Reassemble the cover and power up the projector. Always follow the manufacturer’s instructions, and double-check that the remote control batteries are working to avoid miscommunication during setup.
Maintenance Schedule Tips
Regularly scheduled maintenance guarantees your projector performs at its best and extends its lifespan. To stay on track, follow these tips:
- Monitor the projector bulb lifespan and replace the lamp before it dims considerably, typically after 1,500-3,000 hours.
- Schedule filter replacements or cleanings every 3-6 months to prevent dust buildup and overheating.
- Use proper lens cleaning techniques—gentle wipes with a microfiber cloth—to keep the image sharp.
- Keep an eye on performance; if brightness drops or images flicker, it’s time to replace the bulb or clean filters.
Troubleshooting Brightness and Dust Problems

Brightness issues and dust buildup are common problems that can substantially affect your projector’s performance. If your image looks dim or washed out, start by checking the color calibration settings to guarantee accurate brightness levels. Adjust the settings if needed, as miscalibration can reduce perceived brightness. Dust inside the projector can also cause dim images and overheating. Carefully clean the air vents and optical components using compressed air, but avoid touching internal parts. Additionally, review your power management settings; sometimes, a lower power mode dims the display intentionally. Resetting these settings to default can restore brightness. Regularly inspecting and maintaining these aspects helps keep your projector bright and dust-free, ensuring top-notch performance and longer device lifespan.
Create a Maintenance Routine to Keep Your Projector Performing Its Best
Maintaining a consistent routine is key to guaranteeing your projector stays in top condition. Regular upkeep prevents dust buildup and keeps your image bright. To do this effectively:
- Set a cleaning frequency based on usage—at least once every 3 months for dust removal and filter checks.
- Calibrate your equipment regularly to guarantee optimal image quality and color accuracy.
- Use compressed air or a soft brush to clean vents and filters, avoiding dust accumulation.
- Schedule professional maintenance annually for thorough cleaning and calibration, especially if you notice dimming or color issues.
Frequently Asked Questions
Can Using a Projector Cover Reduce Dust Accumulation Effectively?
Yes, using a projector cover with dust prevention features can substantially reduce dust accumulation. Protective covers shield your projector from dust when not in use, preventing particles from settling inside and on its surface. This simple step helps maintain image quality, prolongs the device’s lifespan, and minimizes cleaning efforts. Make sure to choose a cover that fits well and is made from breathable material to guarantee effective dust protection without trapping moisture.
How Often Should I Professionally Service My Projector?
You should schedule professional servicing for your projector every 6 to 12 months, depending on usage and environment. Regular maintenance, including cleaning filters and checking internal components, helps prevent issues like dust buildup and brightness decline. Following a consistent maintenance schedule guarantees your projector stays in peak condition, reducing the risk of costly repairs and maintaining image quality. Keep an eye on performance and adjust servicing intervals as needed for best results.
Are There Specific Cleaning Products Safe for Projector Lenses?
You should use safe cleaning products specifically designed for lens cleaning to keep your projector lens pristine. Avoid harsh chemicals or household cleaners, as they can damage the lens coating. Use a microfiber cloth and gentle, safe cleaning products to remove dust and smudges effectively. Regular lens cleaning with appropriate products maintains image quality and extends your projector’s lifespan, ensuring you get the best picture every time.
Does Ambient Humidity Affect Dust Buildup in Projectors?
Sure, humidity levels make dust adhesion a real game-changer. When the air’s humid, dust clings more stubbornly to your projector, making cleaning a constant battle. Ironically, thinking moisture might help keep dust away actually invites more buildup. So, you should keep humidity levels stable, ideally low, to reduce dust adhesion. That way, your projector stays cleaner longer, and you avoid the frustrating cycle of dust and effort.
What Are Signs of Internal Component Damage Due to Dust?
You’ll notice signs of internal component damage from dust accumulation if your projector’s image becomes blurry, flickering, or dimmer than usual. Overheating, strange noises, or frequent shutdowns also indicate dust may be affecting internal parts. Dust buildup can cause components to overheat and fail prematurely. Regular cleaning and maintenance help prevent these issues, ensuring your projector stays in good condition and delivers clear, bright images.
Conclusion
Think of your projector as a delicate garden that needs regular tending. By keeping it clean, well-maintained, and properly placed, you guarantee it blooms with bright, clear images every time. Neglecting its care is like leaving a garden to wither—dust and dimness take over. Stay proactive with your maintenance routine, and your projector will continue to shine as brightly as a well-tended rose, illuminating your space with vibrant clarity.