
To make press-on nails, start by selecting high-quality nail tips that fit your clients' nail beds. Prepare your workspace by keeping it clutter-free and hygienic. Assemble the nails using strong adhesives and decorate with your favorite colors and designs. Cure your creations properly for a long-lasting finish. Finally, package them in eye-catching materials to enhance appeal. If you want to elevate your nail game and learn more insider tips, keep exploring!
Key Takeaways
- Select high-quality full cover tips made from durable materials, ensuring they fit your customers' nail beds for a natural look.
- Prepare your workspace by keeping it clutter-free and hygienic, using protective coverings and essential materials like files and adhesive.
- Paint and design the nails using high-quality gel polish, incorporating popular colors and techniques like ombre or marbling for unique styles.
- Cure the painted nails according to gel product instructions and apply a top coat to seal and enhance the design's longevity.
- Package the finished press-on nails attractively using eco-friendly materials, providing a premium feel that enhances customer satisfaction.
Selecting the Right Nail Tips
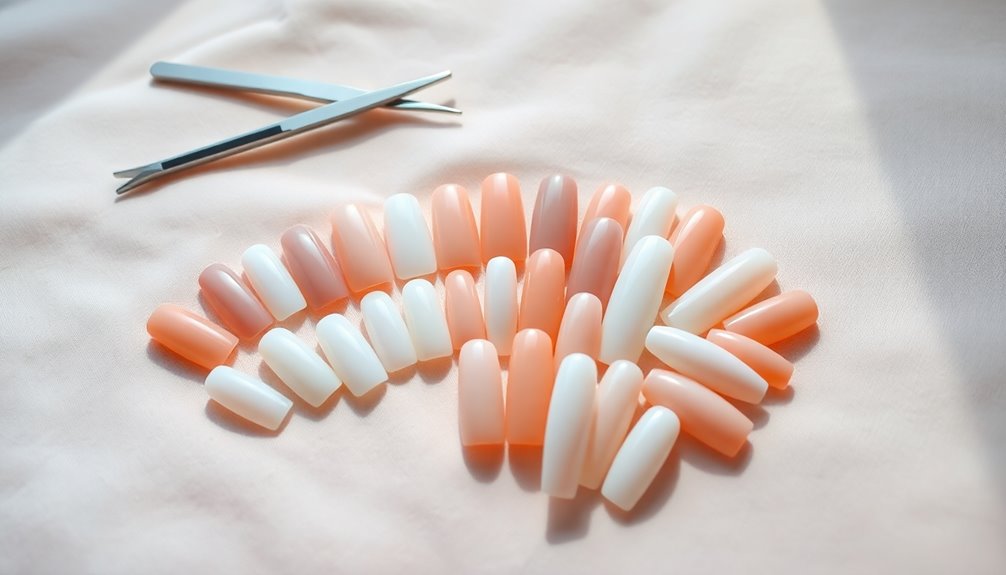
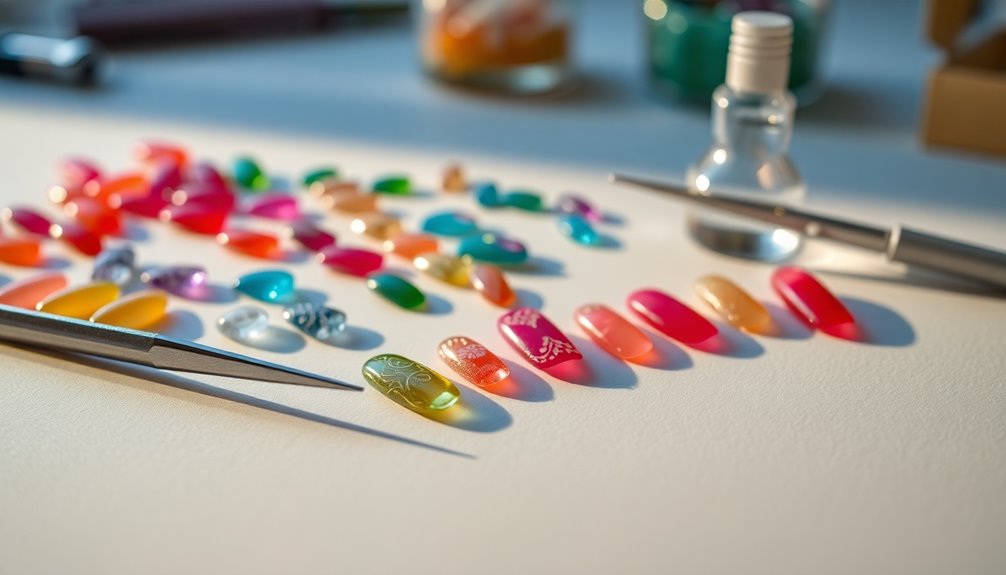
Selecting the right nail tips is essential for creating beautiful press-on nails that your customers will love. Prioritize full cover tips made from durable materials like acrylic resin, gel, or ABS plastic to achieve a natural appearance.
Reputable brands like Kokoist or Apres offer high-quality nail tips that make your press-on nail business thrive, as they're easier to work with and yield better results. Consider providing a variety of shapes and lengths—long oval and coffin styles are popular—so you can cater to different customer preferences.
Pre-measuring your customers' nail beds guarantees a proper fit, enhancing their satisfaction. Start with a limited selection to keep initial costs low, then expand based on customer feedback and demand. Additionally, using high-quality materials can improve the longevity and appearance of the nails.
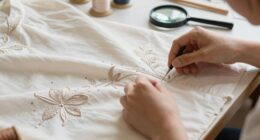
Preparing Your Work Area
After you've picked the right nail tips, it's time to set up your workspace for the nail preparation process.
Start by clearing your work area of clutter to create an ideal environment for crafting your press-on nails. Use a lint-free covering, like a dental bib or silicone mat, to protect the surface and keep it clean.
Slip on some nitrile gloves to maintain hygiene and prevent skin contact with chemicals. Gather all essential materials—brushes, files, alcohol, acetone, towelettes, and any decorative trinkets—to streamline your workflow.
Finally, set up magnetic nail stands using mounting putty or double-sided tape to securely hold the nail tips. A clean environment is key to not only a successful nail design but also supports a healthier lifestyle by promoting cleanliness and hygiene. Nail techs know that a well-prepped space is key to a successful nail design!
Assembling the Nails
As you immerse yourself in assembling the nails, it is crucial to secure the tips properly to guarantee they look professional and last for your customers. Use strong double-sided adhesive like clear mounting tape for reliability. Tools such as orange wood sticks or paintbrushes with blue tac help hold nail tips in place during assembly, ensuring neatness. Regular maintenance includes regular chimney cleaning to prevent creosote accumulation, reducing fire risks.
| Adhesive Type | Strength | Recommended Use |
|---|---|---|
| Clear Mounting Tape | High | Securing tips |
| Craft Glue Strips | Medium | Temporary fixes |
| Adhesive Tabs | Low | Quick applications |
Experiment with various painting methods to create unique nail art and designs. Offering guidance on adhesive options enhances your customers' experience, leading to greater satisfaction.
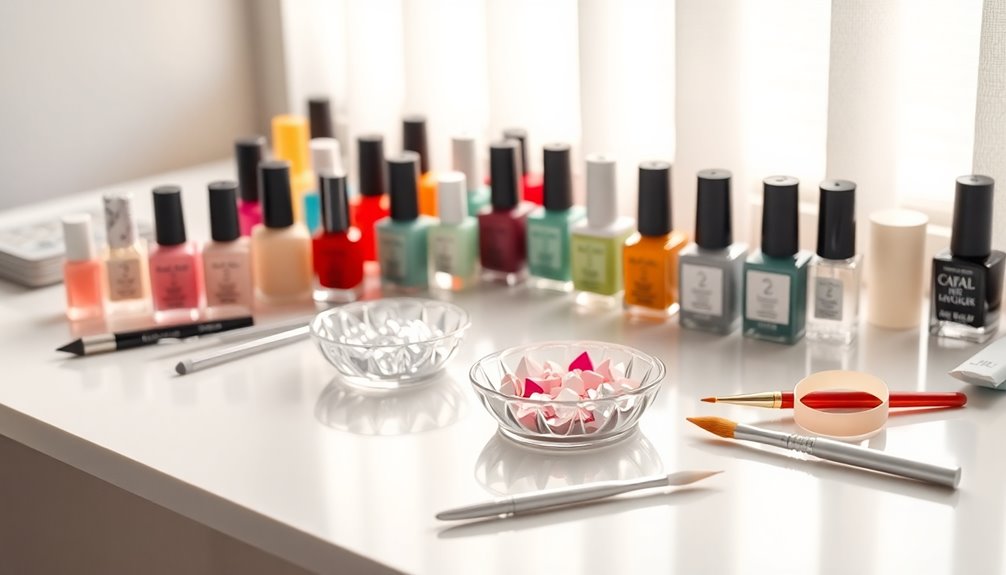
Painting and Designing Your Press-On Nails
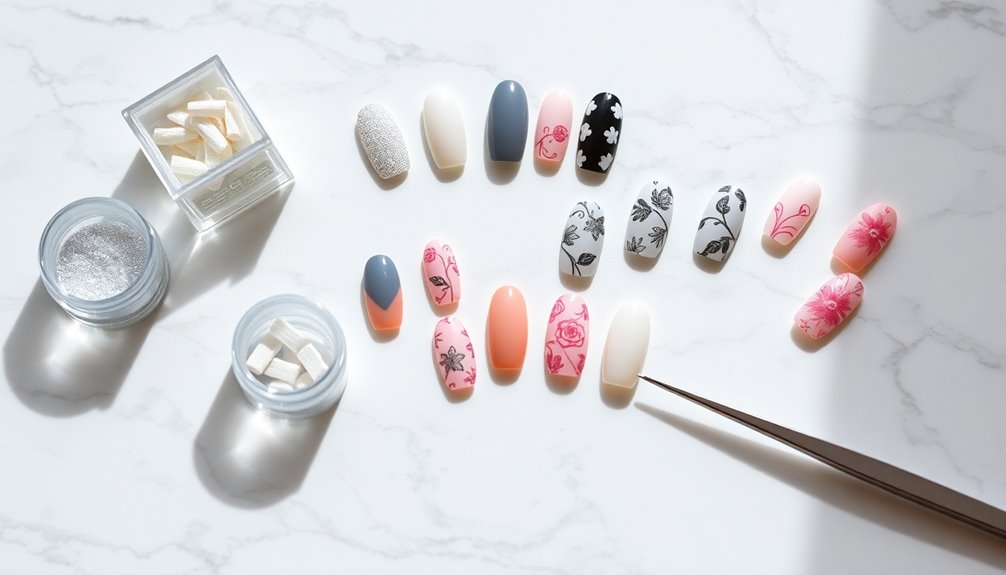
When it comes to painting and designing your press-on nails, choosing the right colors is essential for making a statement. Experiment with various design techniques and tools to create unique styles, from ombre effects to intricate patterns. Don't forget to add decorative elements like glitter or stickers to elevate your designs even further! Consider incorporating nail styles for Valentine's Day to add a romantic touch to your press-on nails.
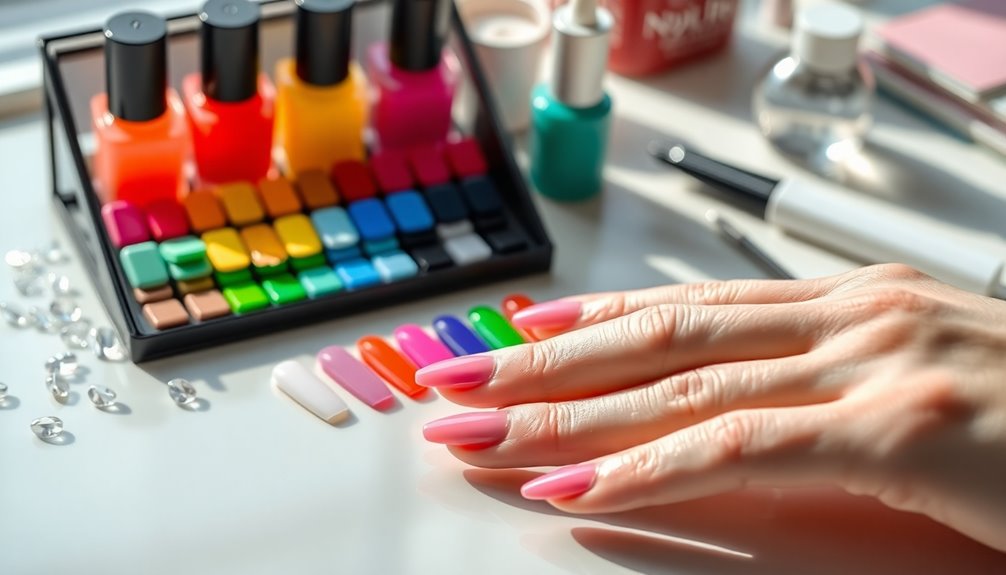
Choosing Nail Paint Colors
How do you choose the perfect nail paint colors for your press-on nails? Start by considering popular seasonal shades and trending colors. Use high-quality gel polish to guarantee your beautiful nails really stand out.
Check social media to spot trendy hues and analyze what's capturing attention in the nail industry. Here are some ideas to inspire your color palette:
- Soft pastels for a fresh spring vibe
- Rich jewel tones for a luxurious winter look
- Vibrant neon shades for summer fun
- Earthy tones for a cozy autumn feel
- Glittery accents for added sparkle
Don't forget to offer customization options, letting customers pick their favorite colors. This approach will enhance your designs and attract a wider audience! Additionally, consider incorporating color accuracy to ensure that the shades you choose appear vibrant and true to life on the nails.
Design Techniques and Tools
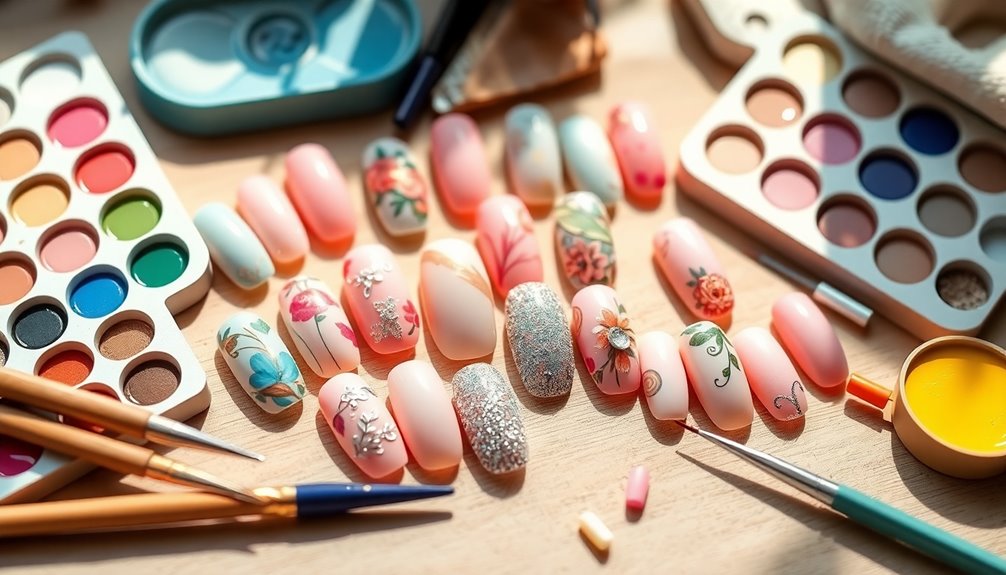
Creating stunning designs for your press-on nails can elevate your offerings and captivate customers. Experiment with various design techniques like ombre and marbling using high-quality gel polishes for vibrant colors. Nail art brushes are essential for precise detailing, allowing you to create unique patterns that stand out. Additionally, incorporating STEM education into your nail art process can enhance creativity and problem-solving skills.
| Design Technique | Description |
|---|---|
| Ombre | Gradient effect from light to dark |
| Marbling | Swirling colors for a fluid look |
| Glitter | Adding sparkle to enhance appeal |
| Nail Foils | Metallic accents for luxury effect |
Showcase your completed designs using nail display tip holders or magnetic stands. Regularly update your portfolio based on customer feedback and seasonal trends to keep your creations fresh and appealing.
Adding Decorative Elements
Incorporating decorative elements into your press-on nails can take your designs to the next level and draw in customers. Use high-quality nail polish or gel for vibrant finishes, and don't shy away from trendy touches.
Here are some ideas to enhance your designs:
- Glitter for a sparkling effect
- Crystals to add glamour
- Nail art stickers for quick designs
- Ombre techniques for a gradient look
- Marbling for a unique twist
Invest in quality brushes and practice on tips to refine your skills. After painting, apply a sealant or top coat to protect your designs and boost durability.
Regularly update your offerings to keep up with trends on platforms like Instagram, ensuring your products stay relevant and appealing. Keeping an eye on affordable styles can also inspire new nail designs that resonate with your target audience.
Curing and Finishing Touches
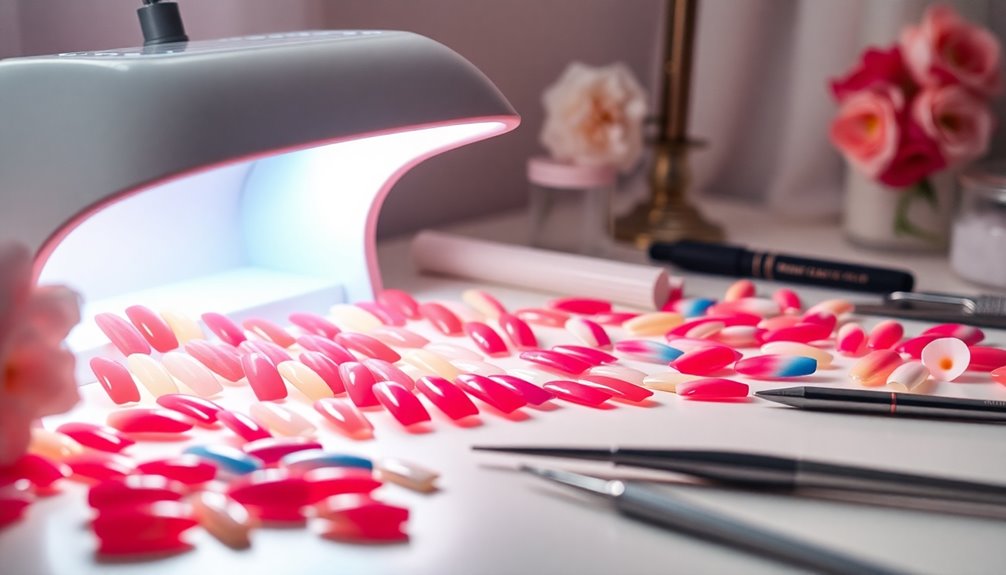
Curing is a crucial step in achieving professional-looking press-on nails. Make sure your curing unit is set to the right height to avoid obstructions. Use a handheld curing unit for flash curing while you work on your designs. Follow the gel products' instructions for curing times, typically between 30 seconds and 2 minutes.
| Step | Action | Duration |
|---|---|---|
| 1 | Flash cure after design | As needed |
| 2 | Full cure in curing unit | 30 seconds – 2 min |
| 3 | Apply top coat | Immediate after curing |
| 4 | Wipe with alcohol towelette | After top coat |
After curing, apply a top coat to seal your designs, then gently wipe away any sticky residue for a clean finish. Additionally, using essential oils like peppermint oil can help create a soothing atmosphere while you work on your nail designs.
Packaging for Presentation

When packaging your press-on nails, consider eye-catching design elements that reflect your brand's style.
You'll want to balance material choices with cost, ensuring your packaging looks professional without breaking the bank.
Plus, exploring eco-friendly options can appeal to environmentally conscious customers while enhancing your brand image. Additionally, understanding the importance of psychotherapy as a primary treatment for individuals with emotional needs can help you create a more relatable brand narrative.
Eye-catching Design Elements
To create a memorable unboxing experience for your press-on nails, consider the impact of high-quality packaging on customer perception.
Eye-catching design elements can elevate your product and encourage repeat purchases. Here are some suggestions I highly recommend:
- Luxurious velvet or cotton inserts for a premium feel.
- Eco-friendly Kraft card stock envelopes that appeal to conscious consumers.
- Custom branding with logos to establish a unique identity.
- Clear window cutouts that showcase your stunning nail designs.
- Detailed application instructions printed inside to enhance usability.
Incorporating luxury materials into your packaging can further enhance the overall presentation and appeal to discerning customers.
Material and Cost Considerations
Choosing the right materials for packaging your press-on nails isn't just about aesthetics; it greatly impacts your costs and customer satisfaction.
You have several packaging options to weigh, like necklace boxes with cotton or velvet inserts, which elevate the presentation but can range from 75 pence to a pound each. If you're looking to save, Kraft card stock envelopes offer a professional look without breaking the bank.
Clear mounting tape is essential for securing nails during shipping, ensuring they arrive intact. Don't forget to include a branded thank you card or application instructions—these small touches can enhance the customer experience.
Avoid using harsh chemicals in your packaging materials to maintain quality, especially if you're a nail tech catering to sensitive clients.
Eco-friendly Packaging Options
A commitment to eco-friendly packaging not only appeals to environmentally conscious customers but also enhances your brand's image.
By choosing sustainable solutions, you can make a positive impact while showcasing your values.
Consider these eco-friendly packaging options:
- Kraft paper boxes made from biodegradable materials
- Compostable mailers to reduce waste
- Recycled cardboard for cost-effective solutions
- Natural cotton inserts for cushioning
- Soy-based inks for environmentally friendly printing
These choices not only minimize environmental impact but also elevate the presentation of your press-on nails.
Plus, offering discounts for returned packaging encourages your customers to participate in sustainable practices, fostering loyalty and community engagement.
Embrace eco-friendly packaging, and watch your brand flourish!
Offering Adhesive Options
Offering a range of adhesive options is essential for ensuring your customers find the perfect fit for their nail needs. By providing both adhesive glue and sticky tabs, you give them the flexibility to choose between a long-lasting solution, which can keep nails in place for up to two weeks, and a reusable option that lasts a few days.
Sticky tabs can be washed and reused if undamaged, making them great for customers who want multiple wears. Educating your customers on the application process for each adhesive type is key; it enhances their experience and helps nails last longer.
Don't forget to include care instructions to maximize the longevity of the press-on nails and keep them looking fabulous!
Tips for Marketing Your Press-On Nails

Marketing press-on nails effectively requires creativity and strategy. To stand out in the competitive nails business, consider these tips:
- Showcase stunning nail designs on Instagram and TikTok for maximum engagement.
- Create a visually appealing online shop with high-quality images and detailed descriptions.
- Incorporate seasonal trends, like glitter or crystals, to attract a wider audience.
- Offer promotions, discounts, or bundle deals to entice first-time buyers and encourage repeat purchases.
- Engage your audience with regular updates, behind-the-scenes content, and customer testimonials.
Frequently Asked Questions
What Do You Need to Make Press on Nails?
To make press-on nails, you'll need several key items.
Start with quality nail tips, preferably full cover ones, for a polished look. Essential tools include a curing unit, files, and brushes for shaping and painting.
Don't forget adhesive glue or sticky tabs for application, along with acetone for prepping the tips.
For creativity, gather decorative elements like glitter and polish colors.
Finally, packaging materials will help you present your finished nails beautifully.
How Do I Make My Own Fake Nails?
Making your own fake nails can feel like crafting a masterpiece!
To start, gather high-quality materials like acrylic resin or gel and select nail tips that fit perfectly. Clear a workspace and wear gloves for safety.
Buff and file the edges of your nail tips to smooth them out. Get creative with colors, glitter, and designs, and remember to cure them properly for stunning, long-lasting results.
You'll love the personal touch you add!
What Materials Are Used in Press on Nails?
When you think about press-on nails, you'll find they're typically made from materials like acrylic resin, gel, or ABS plastic.
These options give you durability and various finishes to choose from. Full cover tips are essential, coming in different shapes and sizes to match your style.
You'll also notice that many press-on nails avoid harsh chemicals, making them a safer choice for your nail health while still offering a beautiful look.
How Can I Make My Press on Nails Last at Home?
To make your press-on nails last at home, avoid soaking your hands for at least two hours after applying them.
Regularly check for any lifting or damage to catch issues early. Keep your cuticles and hands moisturized to prevent dryness, which can lead to lifting.
Always handle your nails gently, steering clear of activities that might stress them. Plus, have nail polish remover and extra adhesive ready for quick touch-ups if needed.
Conclusion
Now that you've mastered the art of making press-on nails, you can release your creativity and style. Imagine the satisfaction of crafting unique designs that reflect your personality, ready to wow your friends. The theory that nail art boosts confidence holds true—when you look good, you feel good. So go ahead, experiment with colors and styles, and don't forget to share your fabulous creations. Your press-on nails aren't just accessories; they're a statement of who you are!