
To do acrylic nails at home, start by researching techniques and safety tips. Watch YouTube tutorials to learn proper application methods. Get a complete acrylic nail kit that includes EMA for safety. Prep your nails by trimming and buffing, then apply a dehydrating nail primer. Mix the acrylic liquid with powder, and apply beads carefully. Let it dry completely before filing and shaping your nails. Keep going to discover more detailed steps for flawless results!
Key Takeaways
- Choose a quality acrylic nail kit with EMA and clear instructions to ensure a safe and effective application process.
- Watch professional tutorials on YouTube to learn techniques like the four ball method and common mistakes to avoid.
- Prepare your nails by removing old polish, trimming, buffing, and applying a dehydrating primer for better adhesion.
- Apply the acrylic mixture carefully, allowing it to dry completely without touching or exposing it to water.
- Shape and finish nails using various grit files for a smooth, polished look, paying attention to the apex for added strength.
Do Your Research
Before you plunge into doing acrylic nails at home, it's essential to do your research. Start by understanding the pros and cons of acrylics; while they're durable, improper application can damage your natural nails.
Familiarize yourself with the chemistry behind acrylics, especially the importance of using low odor monomers to reduce chemical exposure. When selecting an Acrylic Nail Kit, make sure it uses EMA (ethyl methacrylate) instead of MMA (methyl methacrylate) for safety.
Look for detailed instructions that guide you through the acrylic application process. Invest in good quality products to enhance your nail care routine. Additionally, consider the importance of safety when working with chemicals to protect yourself during the application.
Finally, remember to take breaks between applications to let your natural nails recover and stay healthy. Your nails will thank you!
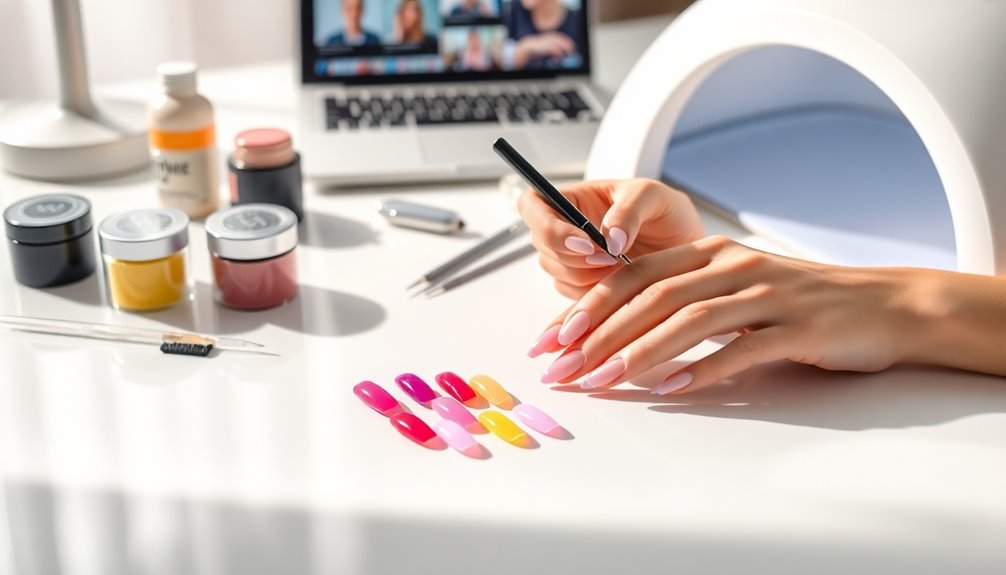
Watch Tutorials on YouTube

As you begin your DIY acrylic nail journey, watching tutorials on YouTube can be a game-changer.
You'll find a wealth of content from professional nail technicians that covers the entire acrylic application process, including essential nail prep and the importance of using nail primer.
Focus on tutorials that demonstrate the four ball method, which can greatly improve your application technique.
Many channels also provide step-by-step guides for creating stunning acrylic nail designs, allowing you to experiment while honing your skills.
By watching multiple videos, you'll identify common mistakes and learn best practices, giving you a well-rounded understanding of at-home acrylic nails. Additionally, consider the importance of proper aftercare to maintain the health of your natural nails after the acrylics are removed.
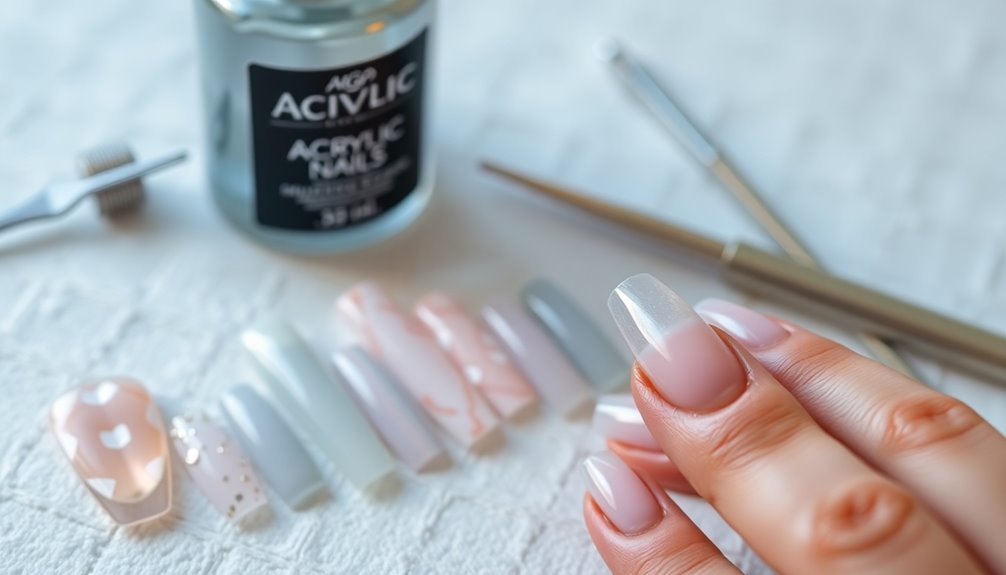
Purchase an Acrylic Nail Kit (or Buy Supplies Separately)
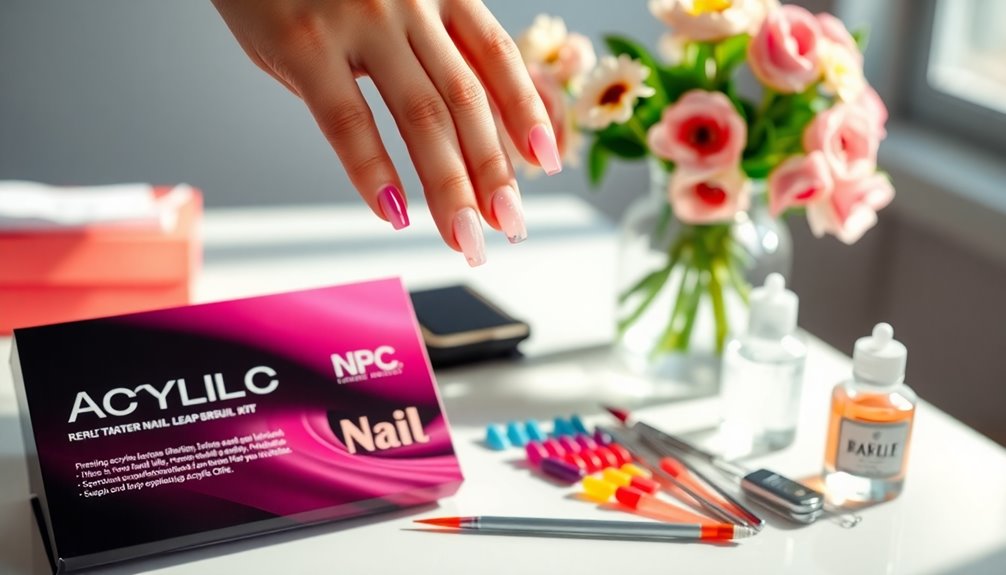
When you're ready to start your acrylic nail journey, choosing the right kit is vital.
Look for all-inclusive options that provide essential tools while ensuring the products contain EMA for safety. As you gain confidence, you might want to invest in individual supplies that fit your style and preferences. Additionally, regular inspections of your tools and products can help identify any issues before they affect your nail application.
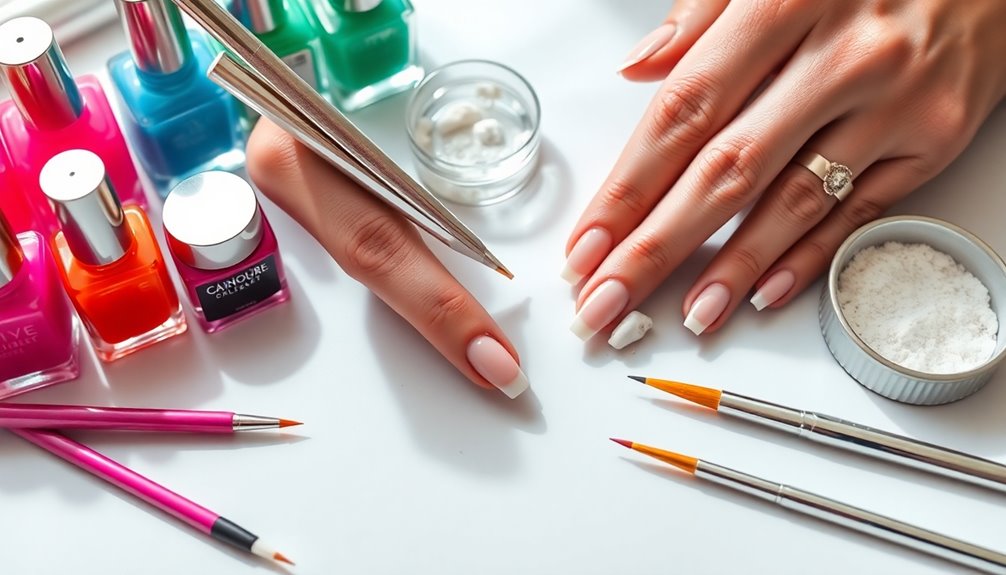
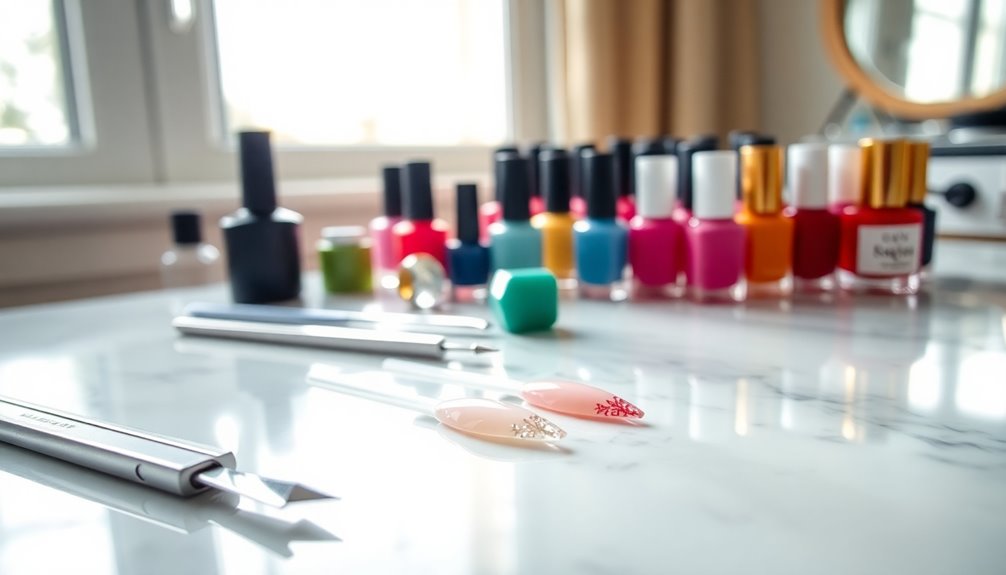
Essential Tools Checklist
To get started with acrylic nails at home, you'll need to gather the right tools. An all-inclusive acrylic kit is perfect for beginners, as it typically includes acrylic liquid, nail tips, acrylic glue, and essential tools for application.
Make sure your kit contains ethyl methacrylate (EMA) for safety. You'll also need nail files in various grits (180, 240, and 1000), quality acrylic brushes for better control, and cuticle pushers for preparation.
Consider adding nail clippers and a nail primer to enhance your results. To build confidence, practice on training fingers or a practice hand before applying acrylics to your natural nails. Practicing these techniques will improve your balance and coordination, which are essential for achieving professional-looking nails.
Investing in quality supplies will help your acrylic nails last longer and look more professional.
Safety Considerations
Having the right tools is just the beginning; safety considerations are equally important when applying acrylic nails at home.
When purchasing acrylic kits, make certain they contain EMA (Ethyl Methacrylate) rather than MMA (Methyl Methacrylate) to reduce the risk of nail damage.
Look for kits that include essential tools and clear instructions, especially if you're a beginner.
Opt for low-odor monomers when possible to minimize harmful fumes.
Always work in a well-ventilated space, and consider wearing a mask to protect yourself from inhaling chemical vapors.
Finally, invest in quality supplies; using subpar products can lead to poor results and increase the risk of allergic reactions. Monitoring your health after using chemical products is crucial for avoiding potential side effects.
Prioritizing safety guarantees a better, healthier experience.
Thoroughly Prep Nails
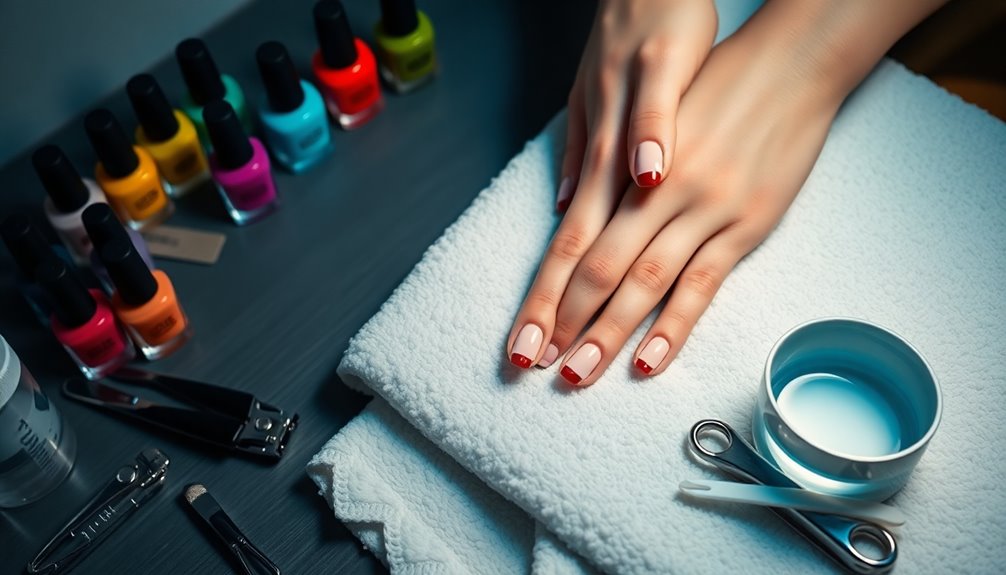
Thoroughly prepping your nails is vital for achieving a flawless acrylic application. Follow these steps to guarantee strong adhesion and a clean surface:
- Remove old nail polish with an acetone-based, oil-free remover for a fresh start.
- Trim your nails to a short, even length, leaving a few millimeters beyond the nail bed for ideal tip application.
- Buff the nail surface gently to create a rough texture, enhancing acrylic adhesion while using a wooden cuticle pusher to push back cuticles, avoiding skin contact.
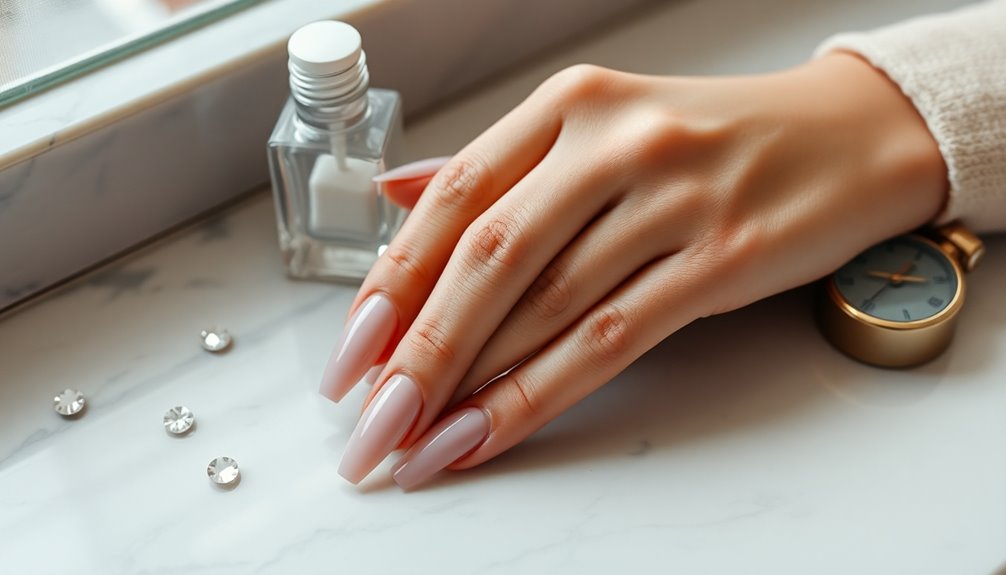
- Apply a dehydrating nail primer to eliminate moisture and oils, essential for guaranteeing strong adhesion.
In addition to these steps, ensuring that your tools are made of non-toxic materials is crucial for maintaining a safe and clean environment during the application process. After this prep, dust off any debris, and you're ready for the next steps in your acrylic application journey!
Size & Apply Acrylic Nails Using Acrylic Nail Glue
Choosing the right size and shape of acrylic nail tips is essential for a flawless finish. Select nail tips that closely match your natural nails, ensuring they fit from sidewall to sidewall.
Before you apply acrylic nails, you might need to trim the tips to your desired length. Apply a small amount of acrylic nail glue to the well of each tip, then gently press it onto your natural nail. Hold it in place for about five seconds for a secure bond.
Make sure the tips are aligned and centered to prevent lifting. Once the tips are securely applied, file the edges where the tip meets your natural nail to create a blended connection, ensuring a smooth and polished look.
Shape Your Newly-Adhered Acrylic Tips
Now that you've securely attached your acrylic tips, it's time to shape them for that perfect look.
Follow these steps to achieve your desired shape while maintaining the integrity of your nail structure:
- Grab a coarse nail file (180 grit) and file both sides at a 90° angle for evenness.
- Focus on the free edge, trimming and filing to create styles like coffin or almond.
- Switch to a finer grit file (240-4000 grit) to smooth edges and enhance durability.
- Dust off any debris before buffing the surface to prep for polish application.
With these techniques, you'll achieve beautifully shaped acrylic tips that look professional and polished! Additionally, consider choosing the right nail shape based on your hand size and finger length for optimal results.
Apply a Dehydrating Nail Primer
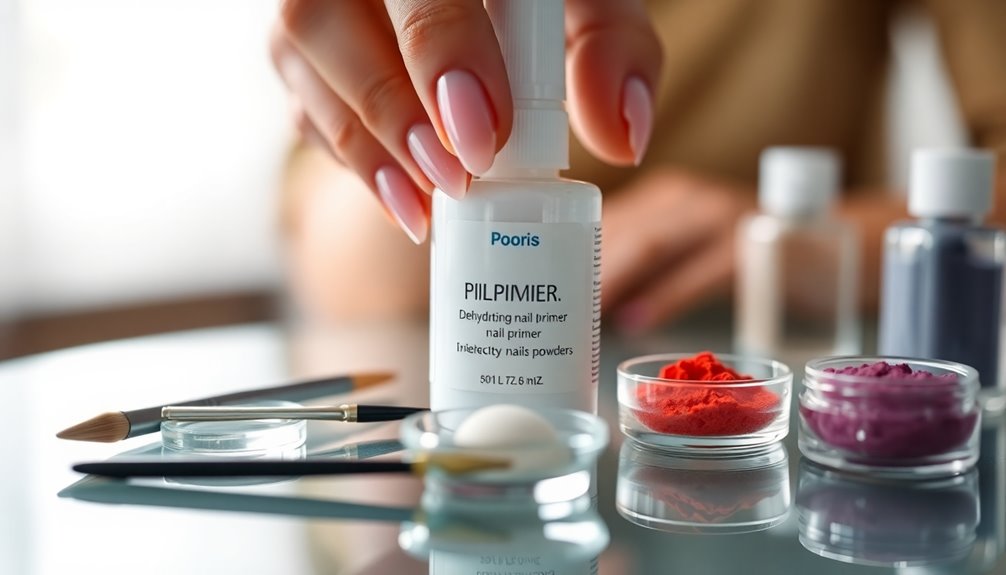
After shaping your newly-adhered acrylic tips, the next step involves preparing your natural nails for the acrylic application.
Start by pushing back your cuticles and buffing your nails to guarantee a clean surface.
Now, it's time to apply a dehydrating nail primer. This essential product removes moisture and oils from your natural nail, promoting better adhesion for the acrylics.
Use a lint-free applicator or brush to apply the dehydrator evenly, avoiding contact with your skin.
Make sure to choose a high-quality, acid-free primer to minimize the risk of nail damage and irritation.
Allow the dehydrating primer to dry completely before moving forward with your acrylic application, as this step is vital in preventing lifting or separation. Additionally, using a dehydrating primer can enhance the overall durability of your acrylic nails by ensuring better adhesion to the natural nail surface.
Coat Your Nails With the Acrylic Mixture
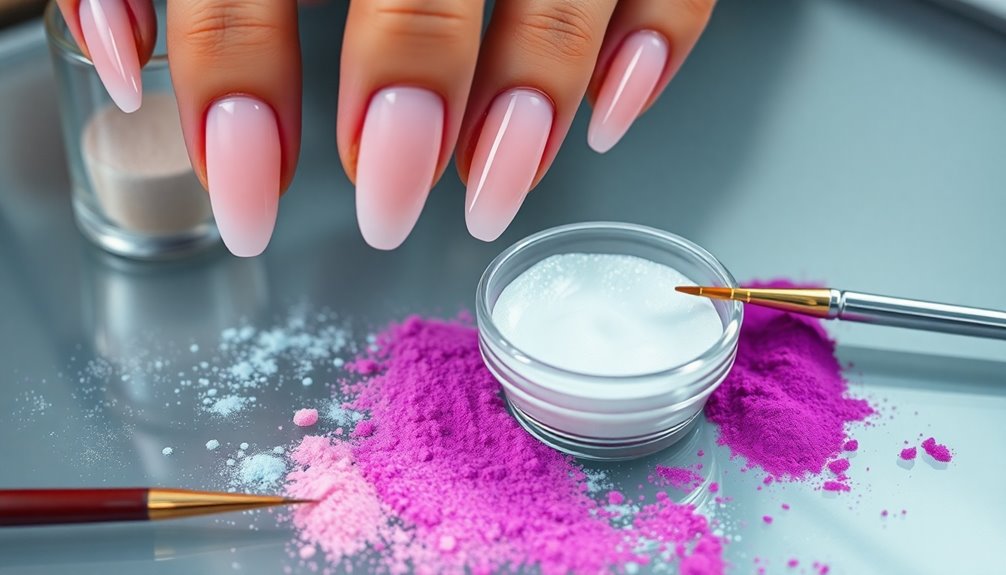
Coat your nails with the acrylic mixture by dipping your brush into the monomer, then gently tapping off any excess liquid before dipping it into the acrylic powder to create a small bead. This is your first step to achieving stunning nails.
- Start applying the acrylic mixture just above the cuticle.
- Gently press and smooth the perfect bead down towards the tip of the nail.
- Use a consistent technique, applying multiple beads to create an even layer.
- Wipe your brush on a paper towel often to control moisture and avoid lumps.
Make sure to work in small sections to maintain control over the acrylic on your nail beds. This process requires precision and skill, similar to the AI training jobs that involve careful attention to detail.
Allow the acrylic to set properly before moving on!
Let the Acrylic Dry
Once you've applied the acrylic mixture, it's crucial to let it dry properly to achieve a flawless finish. Allow the acrylic to dry for about 10 minutes at room temperature, as cooler environments help regulate the drying process.
To check for dryness, gently tap the surface; a clicking sound indicates that the acrylic is fully set. During this time, avoid touching or manipulating the nails, as this can lead to smudging or unevenness.
Also, keep the nails away from water and extreme temperatures to guarantee proper curing. If you're unsure whether the acrylic is dry, it's better to wait a bit longer before moving on to the filing and finishing steps to prevent damaging your work. Additionally, maintaining a clean bathroom environment can help reduce contaminants that might affect the nail process.
Finish With Final Shaping
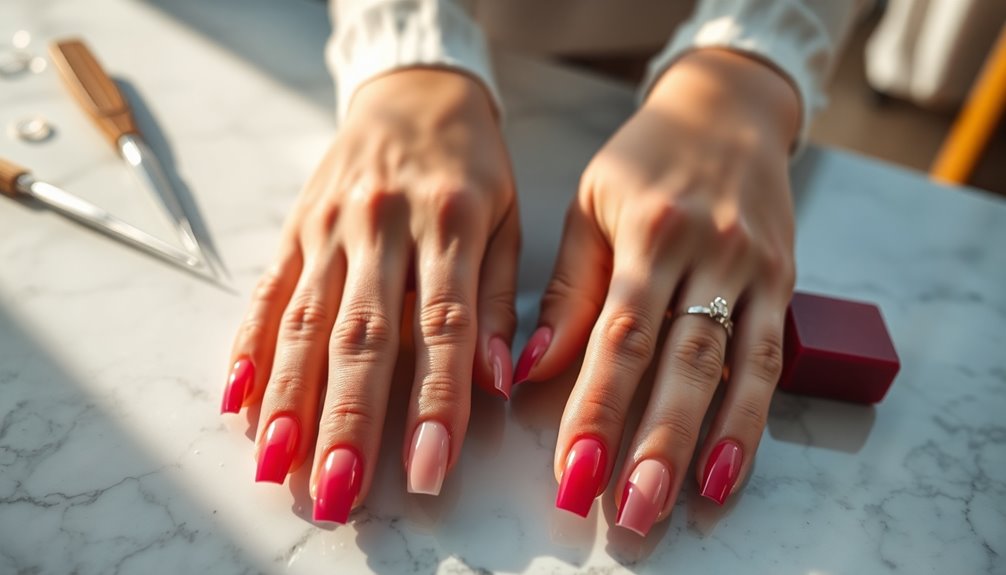
With the acrylic fully dried, you can now focus on finishing the nails with final shaping.
Start by using a 180 grit acrylic file to shape the nails to your desired length and style, paying attention to both sides at a 90° angle for consistency.
Once you have the basic shape, switch to a 240 grit nail file to smooth out any rough edges and prepare the surface for buffing.
Follow these steps for the perfect finish:
- Buff with a 1000 grit file to eliminate scratches.
- Use a 4000 grit file for a high shine.
- Pay attention to the apex for added strength.
- Dust off any residue regularly for a clean application.
Finally, polish your nails to complete the look!
Frequently Asked Questions
How to Do Acrylic Nails at Home Step by Step?
To create stunning acrylic nails, start by prepping your nails—remove old polish, trim, and file them.
Select the right acrylic tips and glue them on securely.
Mix your acrylic liquid and powder to form beads, applying them carefully from the smile line down to the tip.
After it dries, shape and buff your nails for a smooth finish.
Finally, add a clear or colored polish for a polished look.
Enjoy your fabulous nails!
What Products Do You Need to Do Your Own Acrylic Nails?
To do your own acrylic nails, you'll need a thorough acrylic nail kit that includes essential tools and instructions.
Make sure you have acrylic nail tips, glue, and ethyl methacrylate (EMA) liquid and powder.
Gather nail clippers, various grit files, a nail primer, and a disinfected acrylic brush.
Don't forget acetone-based polish remover for cleaning, and cuticle oil to keep your nails healthy after application.
With these products, you're all set!
Can I Teach Myself to Do Acrylic Nails?
Absolutely, you can teach yourself to do acrylic nails!
Think of it as an artistic journey, where each brush stroke brings you closer to a masterpiece. Start with a complete kit and immerse yourself in YouTube tutorials to visualize techniques.
Practice on training fingers to build confidence and refine your skills. Familiarize yourself with the tools and safety measures, and soon enough, you'll be creating stunning nails that reflect your unique style!
Is It Worth Doing Acrylic Nails at Home?
Yes, it's worth doing acrylic nails at home if you enjoy saving money and being creative.
You get to personalize your designs and colors, which lets your style shine. While the learning curve can be steep at first, practice makes perfect, and you'll gain confidence over time.
Plus, with the right tools and techniques, your nails can last up to two weeks, just like a salon job!
Just remember to prioritize safety during application.
Conclusion
Now that you know how to do acrylic nails at home, why not treat yourself to a salon-quality look without the price tag? With the right tools and a little practice, you can create stunning nails that showcase your personal style. Just remember to take your time during each step, and don't be afraid to experiment. Soon enough, you'll be flaunting your fabulous acrylic nails with confidence! Ready to show off your handiwork?