
To make paper nails, you'll need colored cardstock, scissors, glue, and a pencil. Start by cutting small rectangles, rounding the edges to shape your nails. Decorate them with markers or polish and let them dry. Use a strong adhesive to attach the nails to your own, pressing firmly for a few seconds. Smooth out any bubbles and seal the edges with a clear polish for durability. There's more to explore for stunning designs and techniques!
Key Takeaways
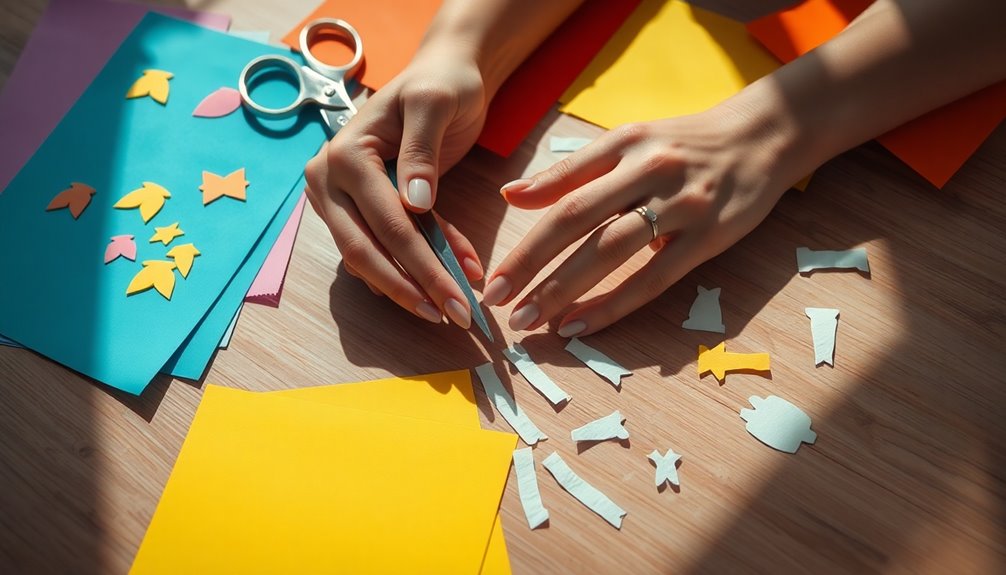
- Select sturdy colored paper or cardstock, cut into small rectangles, and shape them into natural nail forms like oval or stiletto.
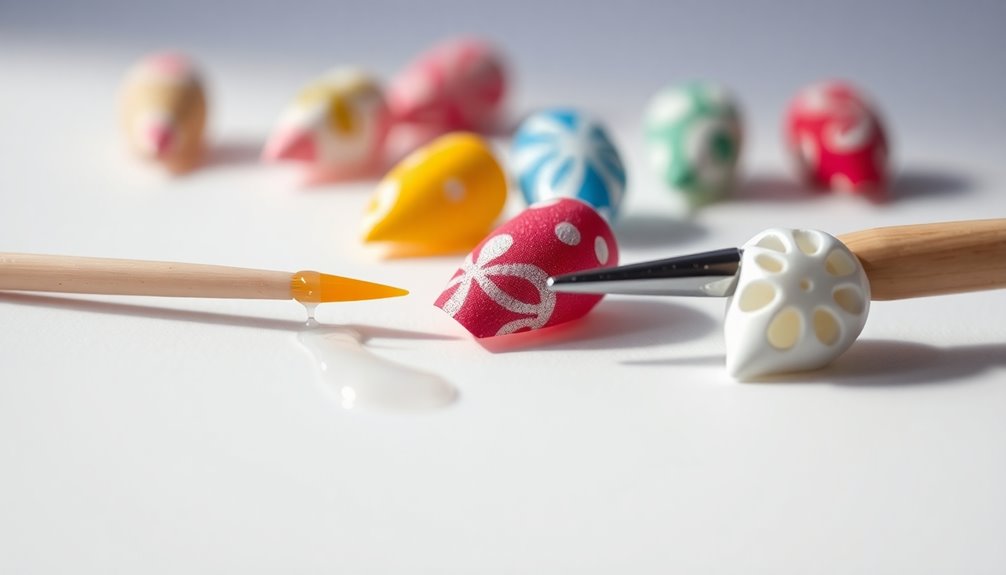
- Decorate the paper pieces with paint or markers, ensuring they dry completely before applying adhesive.
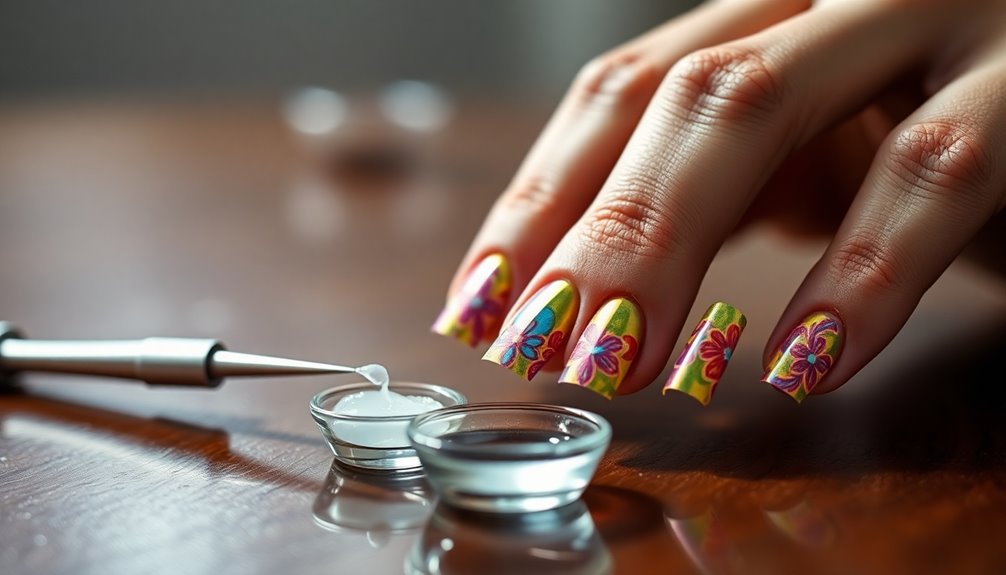
- Use strong craft glue or nail glue to attach the paper nails, holding each in place for 10-15 seconds.
- Smooth out bubbles and seal edges with a clear base coat, applying a top coat for added durability and shine.
- Incorporate embellishments like glitter or stickers, and allow nails to dry for at least 24 hours before heavy use.
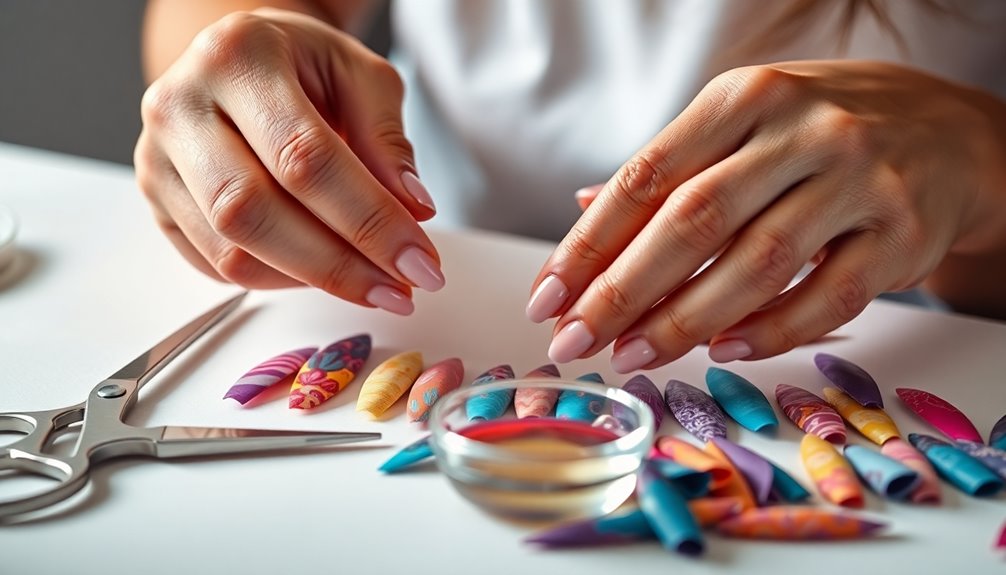
Materials Needed for Paper Nails
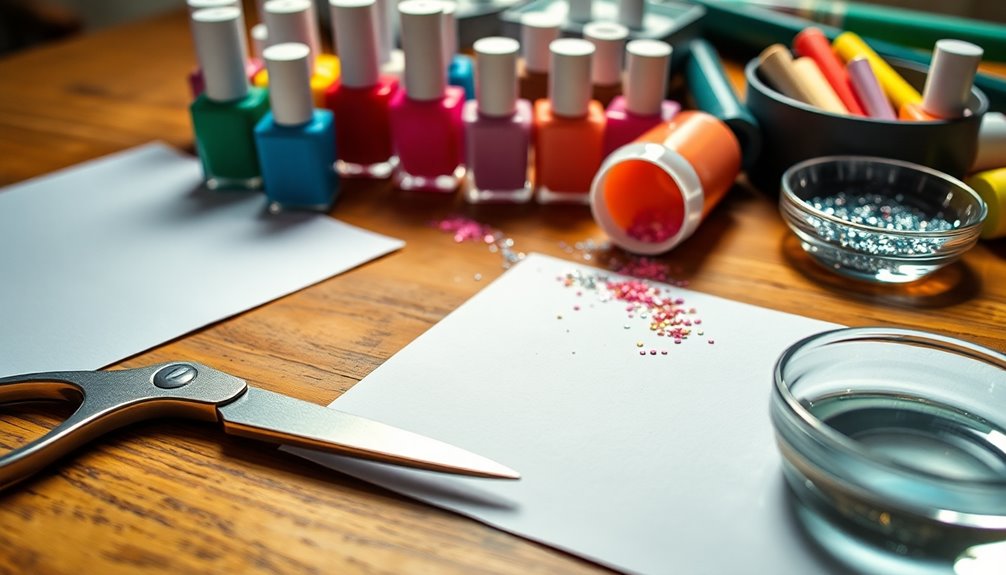
To create stunning paper nails, you'll need a few essential materials. Start with colored paper or cardstock to give your nails that vibrant look.
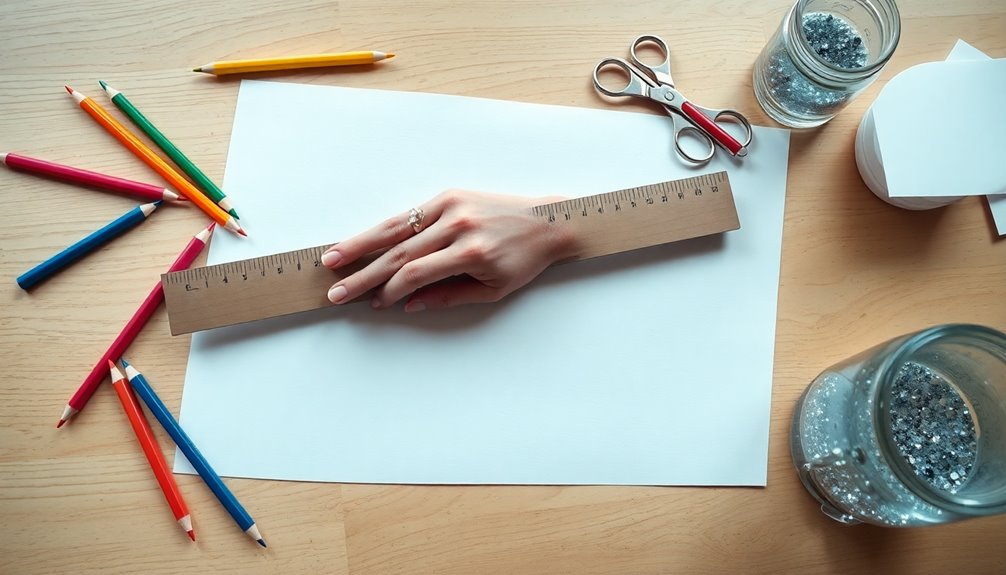
Grab a pair of scissors for cutting out your nail shapes, and a glue stick for easy assembly. A pencil will come in handy for tracing and outlining your desired designs before you cut. If you want uniform sizes, using a ruler can help you achieve that consistency.
Optional materials include nail files to smooth any rough edges and clear tape for extra durability. Additionally, consider how incorporating music therapy into your creative process can enhance your enjoyment and relaxation while crafting.
Once your nails are cut and assembled, feel free to get creative with decorative items like stickers or even nail polish to enhance their appearance. Enjoy the process of making your unique paper nails!
Preparing the Paper
Now that you have your materials ready, it's time to focus on preparing the paper for your nails. Start by selecting a sturdy type of paper like cardstock or construction paper for durability. Cut the paper into small rectangles or squares, about 1 inch by 0.5 inches, for each nail base.
Use a pencil or pen to round the edges, giving a natural nail shape. If you want, you can also paint or decorate these pieces with nail polish or markers. Be certain to let any paint or adhesive dry completely before applying the nails. This guarantees they adhere properly and maintain their shape. Additionally, ensuring your color accuracy can enhance the overall appearance of your paper nails, making them look more vibrant and appealing.
| Step | Action |
|---|---|
| Choose Paper | Select cardstock or construction paper |
| Cut Dimensions | Cut into 1 inch by 0.5 inches |
| Round Edges | Use pencil or pen for a natural look |
| Decorate | Paint or use markers for design |
| Drying | Allow to dry completely |
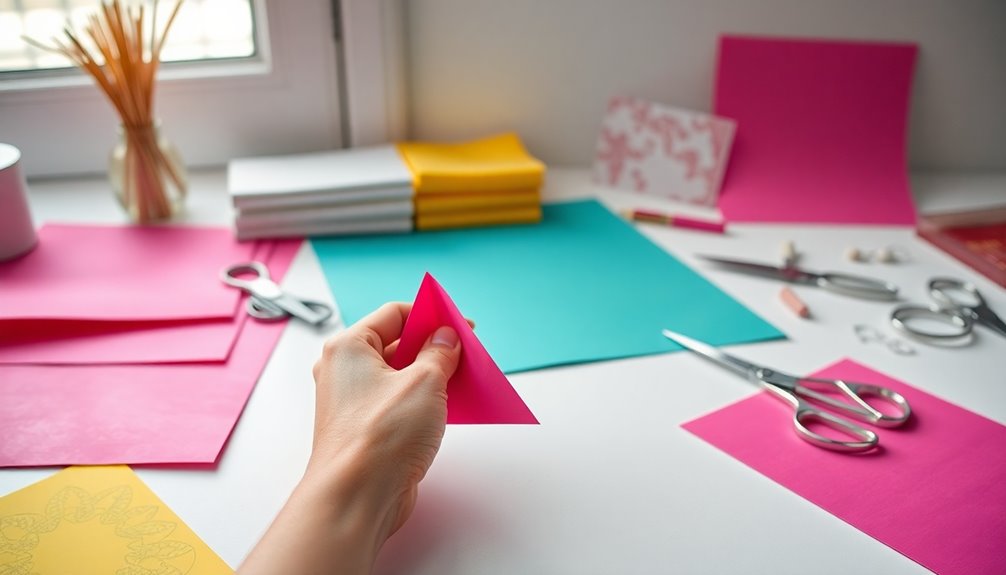
Cutting the Nail Shapes
Now that you've prepared your paper, it's time to choose the nail shapes you want to create.
Grab your scissors and get ready to use precise cutting techniques to shape your nails just right.
Whether you prefer square, oval, or pointed tips, the right tools and careful cutting will make all the difference. You might want to consider your personal style preferences and how they could influence your choice of nail shape selection.
Choosing Nail Shapes
Choosing the right nail shape is essential for achieving your desired look when making paper nails. Start by deciding if you want oval, square, or stiletto shapes, as this choice will influence your cutting technique and overall aesthetic.
To guarantee consistency, use a template or guide for each nail, keeping the length and width uniform for a polished finish. When cutting, grab some sharp scissors or a craft knife for clean edges and precise angles.
Think about the thickness of your paper; thicker sheets offer sturdiness, while thinner ones provide flexibility for easier application. After cutting, gently file the edges with a nail file to smooth any sharp corners, enhancing the final touch of your paper nails. Incorporating safety standards for children's toys can also inspire creative designs that are fun and safe to use.
Tools Needed for Cutting
Having the right tools makes cutting your paper nails a breeze.
You'll want to gather a few essential items to guarantee clean edges and accurate shapes. Here's what you'll need:
- Sharp scissors or a craft knife for precise cutting.
- Cutting mat to protect your work surface when using a craft knife.
- Nail template or stencil for uniform sizes and shapes.
- Ruler to measure and mark straight lines, especially for rectangular nails.
- Fine-tipped scissors for intricate designs or curves, giving you greater control.
Additionally, consider using high-quality materials for your paper nails to ensure durability and a polished look.
With these tools in hand, you'll find cutting your paper nails not only easier but also more enjoyable!
Precise Cutting Techniques
While cutting your paper nails, precision is key to achieving the perfect shape. Start by using a sharp pair of scissors or a craft knife to guarantee clean edges.
To maintain uniformity, trace nail shapes onto your paper using a template. This way, each nail will be the same size. As you cut, take your time; cut slowly and steadily along the lines to prevent jagged edges.
It's also a good idea to use a cutting mat to protect your work surface and stabilize your paper. Finally, practice cutting different shapes like oval or square to refine your technique. Additionally, consider the calming effects of lavender oil to help enhance your focus while crafting.
The more you practice, the better your precision will become, leading to beautifully crafted paper nails.
Applying Adhesive
Applying adhesive is an essential step in guaranteeing your paper nails stay securely in place. Start by choosing a suitable adhesive, like strong craft glue or nail glue.
Apply a thin, even layer to the back of each paper nail—overloading can cause the adhesive to seep out. Position the paper nail carefully on your natural nail, pressing firmly for a few seconds to let it set.
Here are some tips to keep in mind:
- Choose a quick-drying adhesive for efficiency.
- Use a toothpick for precise application.
- Don't rush the drying time; follow the instructions.
- For extra durability, consider a clear top coat.
- Check for any lifting after a few hours.
- Incorporating non-toxic materials in your crafting can ensure a safe experience.
These steps will help guarantee your paper nails look great and last longer!
Attaching the Paper Nails
Now that you've prepared your adhesive, it's time to attach the paper nails.
You'll need a few essential tools, and I'll guide you through a simple step-by-step process to guarantee a perfect fit. To achieve the best results, ensure your nails are clean and dry before applying the adhesive, similar to how chocolate peanut butter bars should be prepared for a rich flavor experience.
Let's get started on making your nails look fabulous!
Tools Needed for Attachment
To successfully attach your paper nails, you'll need a few essential tools that make the process smooth and effective. Having the right items on hand guarantees a professional finish and durability for your creations.
Here's what you should gather:
- Strong adhesive: Use craft glue or a glue stick to keep your paper nails securely in place.
- Scissors: Essential for trimming the nails to your desired shape and size.
- Nail file or buffer: Smooth out the edges after cutting for a polished look.
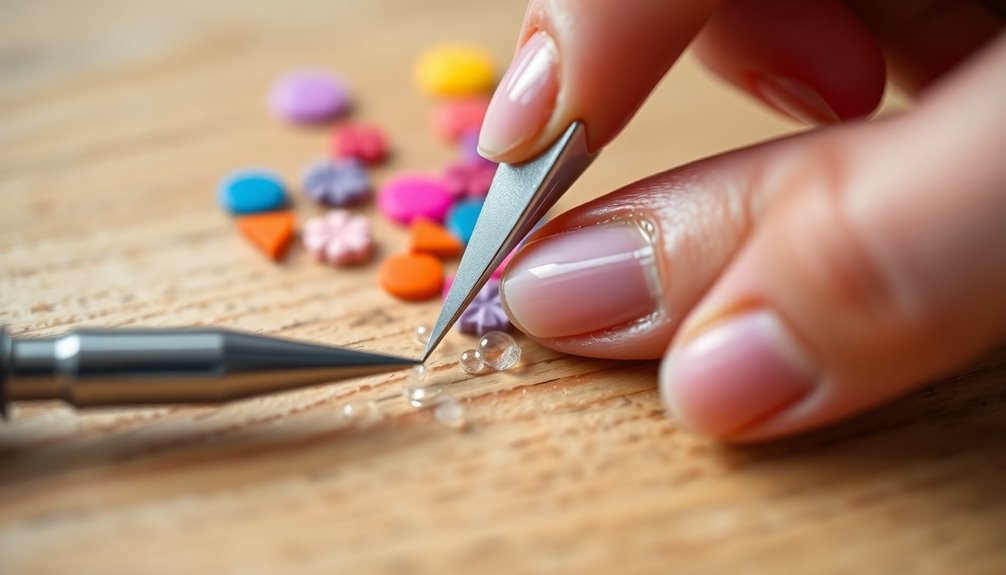
- Tweezers: Perfect for precise placement, especially with small or intricate designs.
- Clear topcoat or sealant: Apply it after attachment to protect your paper nails and enhance durability. Additionally, consider using essential oils for a pleasant scent while crafting, as they can contribute to a more enjoyable atmosphere.
With these tools, you're ready to create beautiful paper nails!
Step-by-Step Application Process
With your tools ready, it's time to attach your paper nails.
Start by ensuring your paper nails are cut to the desired shape and size, fitting comfortably on your natural nails.
Next, apply a thin layer of clear nail glue to both the back of the paper nail and your natural nail for best adhesion.
Carefully press the paper nail onto your natural nail, holding it in place for about 10-15 seconds to secure the bond.
Once the glue sets, feel free to file and shape the paper nails to achieve a polished look.
Finally, apply a top coat of clear nail polish over the entire surface to protect your paper nails and enhance their durability.
Additionally, being aware of local store hours can help you gather supplies conveniently for your nail project.
Enjoy your new look!
Smoothing Out Bubbles
Smoothing out bubbles on your paper nails is essential for achieving a flawless finish. Start by applying a thin layer of clear base coat to create a smooth foundation.
If you spot a bubble, use a small, soft brush or your fingertip to gently press down, working from the center outward. If it persists, lightly score the surface with a fine needle to release trapped air without damaging the paper.
Here are some tips to help you:
- Apply a thin base coat to minimize bubbles.
- Use a soft brush or fingertip for gentle pressure.
- Score stubborn bubbles to let air escape.
- Apply a top coat afterward to seal and smooth.
- Allow adequate drying time between layers to avoid new bubbles.
Sealing the Edges
While sealing the edges of your paper nails might seem like a minor detail, it can greatly enhance their durability and appearance. To do this effectively, use a clear-drying adhesive or craft glue to prevent fraying.
You might also apply a thin layer of clear nail polish to the edges for a glossy finish and extra protection against wear. Another method is to use a heat seal technique by briefly running a flat iron over the edges, which helps bond the fibers and prevent peeling.
For added strength, reinforce the edges with a strip of clear tape before applying any sealants. Don't forget to allow 15-30 minutes for everything to dry properly, ensuring your edges are securely sealed.
Decorating Your Paper Nails
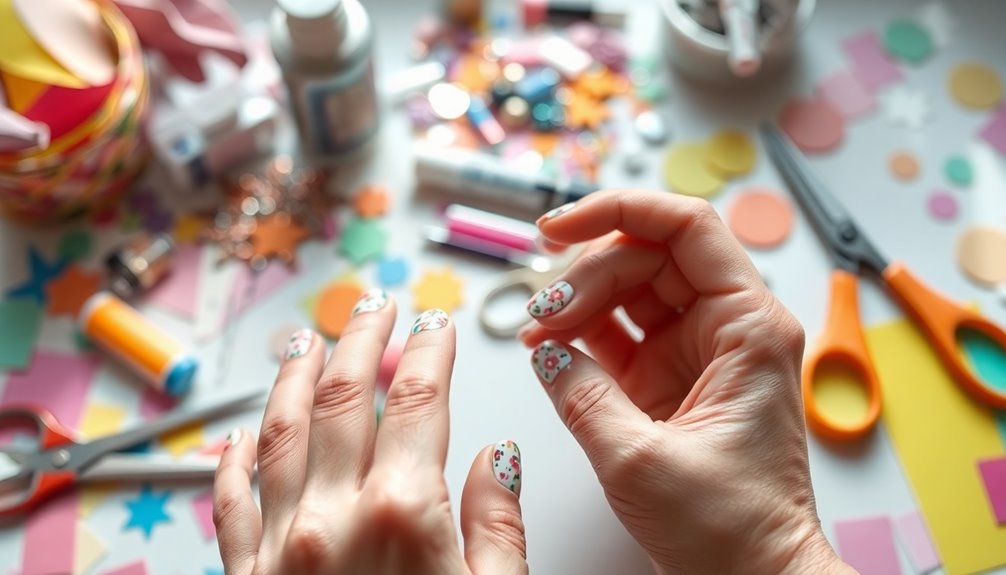
After sealing the edges of your paper nails, it's time to release your creativity and add some flair. You can personalize each nail with unique designs that showcase your style.
Here are some ideas to get you started:
- Use colored markers or paints for intricate designs.
- Apply a layer of clear glue or Mod Podge for a glossy finish.
- Incorporate embellishments like glitter, sequins, or small stickers.
- Experiment with nail art techniques such as marbling or sponging for unique textures.
- Utilize nail templates or stencils for precise shapes and designs.
With these techniques, your paper nails can be a true reflection of your personality.
Enjoy the decorating process and let your imagination run wild!
Tips for Long-lasting Paper Nails
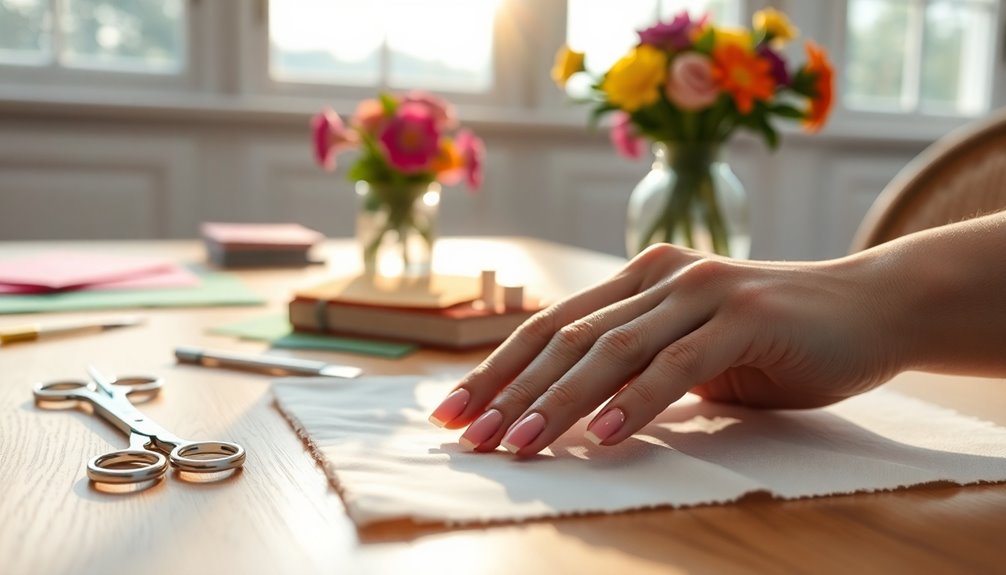
To guarantee your paper nails last longer, it's essential to pay attention to how you apply and care for them.
First, use a strong adhesive like PVA glue to securely attach the paper nails to your natural nails. Seal them with a clear topcoat to protect against chipping and add a glossy finish for enhanced durability.
Make sure to let the paper nails fully dry for at least 24 hours before exposing them to water or heavy use. For added strength, consider layering multiple pieces of paper to create thicker nails.
Finally, regularly moisturize your cuticles and surrounding skin to maintain flexibility and prevent lifting or breaking of the paper nails.
Following these tips will keep your creations looking great!
Frequently Asked Questions
How Do You Make Fake Nails at Home?
To make fake nails at home, start by cutting your chosen material into the desired shape and size.
Confirm it fits comfortably over your natural nails.
Use a strong adhesive, like nail glue, to attach them securely.
For a polished finish, apply nail polish and let it dry completely.
You can add designs with nail art tools or stickers.
Finally, seal your work with a top coat for a shiny, professional look.
How Do You Transfer Paper to Nails?
Imagine your nails as a blank canvas, waiting for a masterpiece.
To transfer paper designs onto your nails, start by cutting out your chosen design.
Apply a base coat for better adhesion. Use clear nail polish or a water-based adhesive to stick the paper down, smoothing out any air bubbles.
Finally, seal it with another layer of polish for durability.
How to Make Paper Mache?
To make paper mache, you'll start by tearing paper into strips, like newspapers or magazines.
Next, mix flour with water to create a smooth paste.
Dip each strip into the paste, squeezing out excess, then layer them onto a mold, overlapping for strength.
Let each layer dry completely before adding more; aim for three to five layers.
Once dried, you can paint and decorate your creation to showcase your artistic flair!
How to Do the Newspaper Nails?
You're about to transform ordinary nails into a chic canvas, but first, let's pause.
Imagine the difference between dull and dazzling—your nails could be the talk of the town!
Start by cutting newspaper into squares.
Apply a base coat to protect your nails.
Then, use clear polish to adhere the newspaper, press gently, and transfer the ink with rubbing alcohol.
Seal it all with a top coat, and you're ready to show off your unique style!
Conclusion
With your paper nails now complete, you've transformed simple materials into miniature works of art, like delicate petals blooming on your fingertips. They're not just a whimsical accessory; they're a canvas for your creativity. As you flaunt your unique style, remember to cherish these little creations, nurturing them with care. Just like a fleeting dream, enjoy their beauty while it lasts, and let your imagination soar, inspiring others to embrace their own artistry.